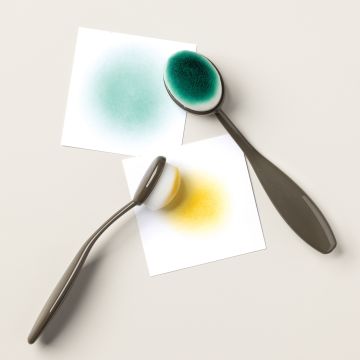
Welcome to our first Totally Techniques blog hop of 2021 where we are sharing lots of ideas for using the new Stampin' Up! blending brushes. The brushes come in packs of 3 and are super soft bristles and lots of them to allow you to add soft or bold backgrounds, stencil and much more.
I'm sharing the most basic use of them which as you can see below is quite impacting depending upon the colours you use, but I love this bold effect with Mango Melody, Magenta Madness and Daffodil Delight.
To start I took a piece of white card. I gently rotated the blending brush on the lightest ink pad first and made sure the brush was 'primed' by that I mean that the ink had worked into the brush. I started off the white card to remove any over excess on the brush and made sure I smoothly rotated the brush in one single direction in patches across the card. I moved through the colours until my white card was no longer white.
I then 'cleaned' the brush on scratch grid paper to remove as much ink as I could before returning to the yellow to add a light blending of the three colours. For this project it didn't need to be perfect and odd stronger patches add to the design.
I then sprayed some water onto my hand and clapped splatters over the piece, leaving the water droplets for a few seconds before blotting with a kitchen paper towel to remove some ink and add a different dimension to the inking.
Next I created my sentiment with this WoW gilded leafing. This is so much fun to use if a little floaty! Yes floaty. You don't want to slam a book down or blow as it is light and will fly.
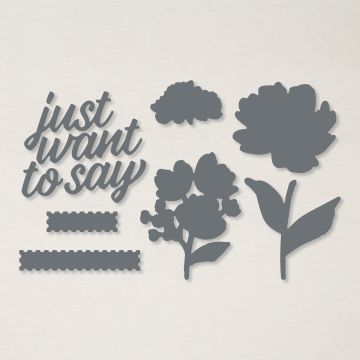
One way to use the leafing is to use Versamark ink, add the returning Heat and Stick powder, gently melt it and then put the leafing onto it and remove bits that don't stick with another blending brush that you can keep for this process. I added the ink to a piece of white and created a whole gilded piece before die cutting the Just Want to Say die. You could of course die cut the words and then do the gilding process.
I made use of the off cut to create another card. On this one I just added the colour blending to the outer edges of a layering piece of white. I then also added colour to an off cut of white which I punched out the balloons. Off cuts from the card above were used to add the pennants and with a pencil I carefully marked where I would place the gold sentiment before blending ink to show through the letters on the embossed white layer.
This will be a perfect card for my young niece who is very girly and loves PINK and SPARKLE.
It's not easy to see but I added Wink of Stella to the balloons which enhanced the colour blending by making it bleed a little and reminds me of rainbow balloons that were popular when I was a similar age to my niece many years ago.
If you'd like to learn more about my online classes and a some new events I have planned please do email me to join my mailing list at zoetant@live.co.uk
Thanks for stopping by and enjoy the hop.
Keep safe and keep stamping
Zoe x
Blending Brushes pack of 3
Gilded Leafing Embellishment
Many Mates stamp set
ink pads
Floral Gallery Dies