It's our last Tantalizing Stampers blog hop sharing fun ideas for using patterned papers or as we call them at Stampin' Up! Designer Series Papers, DSP for short.
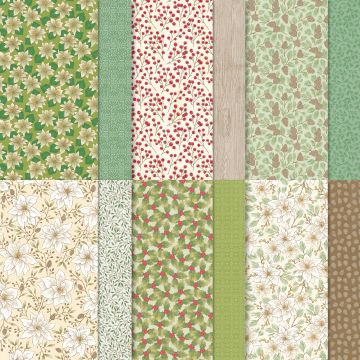
Today I've used the Poinsettia Place pack of papers to create an origami box and have then added a lid using Garden Green card and some of the offcuts of paper for a little more decoration. You can see exactly how to make the base of the box on my Youtube channel. There I made the box into an Easter basket, but I decided a box full of surprises is probably more appropriate for the festive season that is fast approaching.
To make the lid for this size of box I cut a piece of card 51/2" square. I scored on each side at 1 3/16" and cut two of the shortest score lines up to the first perpendicular score line. I then rotated the card through 180 degrees and cut the opposite two short score lines. I added glue to the outside fold edge of each small square and then formed the box lid.
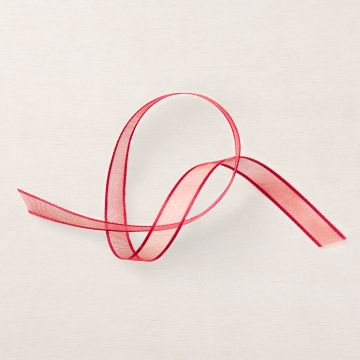
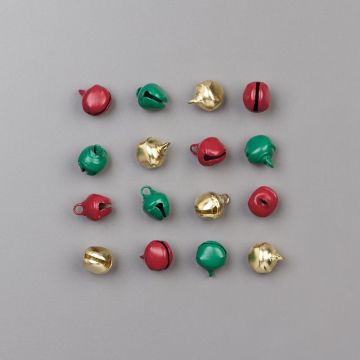
I then added decoration using the off cut 3" x 12" DSP, red ribbon and tiny bells threaded onto gold thread.
I attached these by looping the thread through a hole i created in the box lid and covered on either side with DSP and card, making sure I secured the ends of the thread with double sided tape before hiding them.
Here is the video to show you how to make the box. You can then add the lid by making it in a coordinating colour. You can create similar boxes using A4 paper or card by using a piece that is cut to 21 x 28 cm and score on the short side at 7, 14 cm and on the long side at 7, 14 and 21 cm. The process is the same. Create a lid with a piece of card cut at 12.4 cm square and score on all sides at 2.5cm
You can see more inspiration from other members of my team, The Tantalizing Stampers via the thumbnails at the bottom of this post.
Thanks for popping by I hope you have fun making the box.
Keep safe and keep crafting Zoe x


5 comments:
Absolutely gorgeous box Zoe, beautifully designed and the papers, bow and bells are gorgeous embellishmets, Kate x x
Gorgeous box ...Zoe ...papers are stunning to ....
Hugs Sylvie xx
Gorgeous papers on this stunning box Zoe.
Hugs
Linda xxx
Oh I love this box Zoe, it looks so nice and seems to be a clever design! I will have to try this one soon!
What a clever use of the DSP to create a very useful little box for gifts - perfect for the upcoming festive season xx
Post a Comment