My STAMPING PAPERCRAFT blog - Stamping Scene

Hello and welcome to my blog. I'm a paper craft addict and love sharing my passion for paper crafting . I run online and face to face card making, memory keeping and all sorts of 3D projects. I also sell many of the products I use. If you'd like more information do drop me an email. Thank you for visiting I hope to see you again soon. Zoe x
Showing posts with label rubber stamping shop. Show all posts

Friday, 28 March 2025

Let's make a Split Front Trifold card

handmade birthday split front trifold card
 
Hey crafty friends I'm excited to share this month's card for the Totally Techniques blog hop.  It was fun to make although as you'll see in the video it doesn't always go to plan, but a butterfly can save the day.

This month the team are sharing split front trifold card ideas. This idea was chosen by Sandra Black our German team mate and I've enjoyed the challenge dispite my hiccups.

Here is my video to show you how to cut the base card and place the pieces of DSP etc. You'll note from the picture above I added a little more stamping than the video shows and some brushed gold butterfly embellishments to 'enhance' or should I say disguise my inky fingers mishaps. 


Here you can see one of the closing flaps of the card for ideas of how to decorate your fancy fold card.  Simple stamping with a limited colour palette is quick and easy to do. 
split front trifold hand made card bottom closure

The top layer of your fancy fold could look like this or you could adjust the size of the pieces of card you use.  
handmade card using fancy fold - split front trifold tutorial

When you open both flaps you can decorate the centre space and leave room for hand written messages or stamp a sentiment and more flowers for your recipient. For mine I used a new stamp set called Layered Thoughts that will be available to Stampin' Up! fans from 6 May 2025.  


stamp large sentiments on birthday cards you make

As you can see from the alternative example below you can adjust the measurements of your decoration to change the look of your card. 

handmade cardmaking idea fancy fold


Thanks for popping by today.  Do give this funfold card a try. 

Happy stamping 

Zoe x

You are invited to the Inlinkz link party!

Click here to enter


Supplies Used

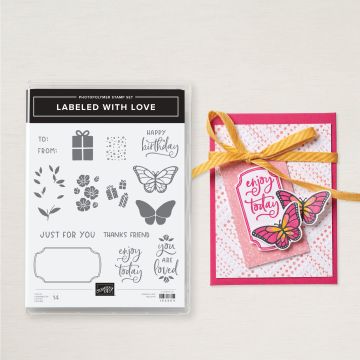
labeled with love stamp set from stampin ' up!


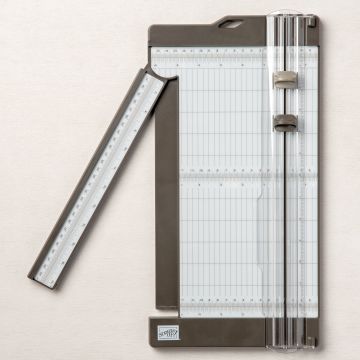
paper trimmer cutter


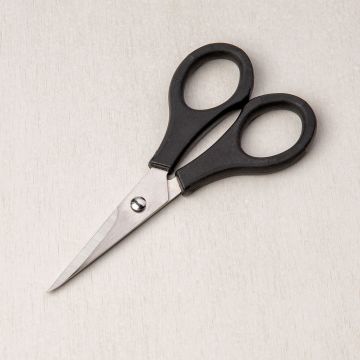
paper scissors snips fussy cutting tool


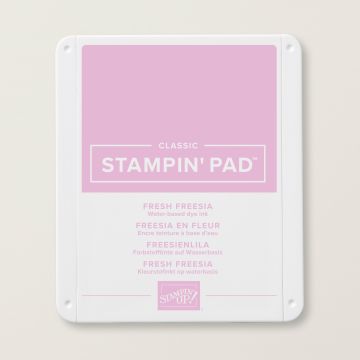
water based ink pads for rubber stamping


Sunday, 18 July 2021

Christmas Card Club - Blue and Silver theme

Silver blue christmas card using biggest wish and embossing folder

Happy Sunday and welcome to another Christmas Card Club Challenge.  Today we are sharing Christmas cards with a colour combo theme of blue and silver.   Mine is a very simple make, but the embossing folder I've used is just so gorgeous that it doesn't need too much fuss.

I've used it on silver foil card and mounted that onto a piece of Night of Navy card. 

My sentiment  is a combo of two stamps. I stamped the Happy in Night of Navy ink, having stamped it off first so that I could stamp with 2nd generation ink for a lighter shade in order to add the second part overlapping a little which I heat embossed with silver powder.  The Christmas stamp will be available soon with a fab new stamp set coming in the Stampin' Up! winter mini catalogue which will be available from 3 August. If you'd like to see all the new stamps and winter stash please ask me for a catalogue. I love the big letters of the Happy they are modern font and connect with so many other sentiments.  

I've added some sparkly ribbon and used a white card base to make the embossed snowflakes really pop.  These would be really easy to make a batch of in no time at all.  

I also made this card for the theme, but I'm not sure about it. It didn't quite go with the idea in my head, but it does follow the theme and as a shaker card will be fun and a little different. 

handmade christmas card using stencils and blending brushes from stampin up with zoe tant

I used a mask/stencil to create a background using Misty Moonlight and Pool Party inks. I added the ink with a blending brush first with the lighter colour and then a dauber to add the darker colour by dabbing rather than blending to avoid going where I didn't want to with the ink.  I placed the self made paper background into a self seal cello bag and added some sequins.  I've adhered the bag to the card base with tear and tape and then added a die cut frame which I stamped with snowflakes from the Penguin Place stamp set.  The stencil is from the Adorning Designs Decorative Mask set in the upcoming winter mini .

With another piece of embossed foil card I cut some snowflakes using the So Many Snowflakes dies and added a sentient this time just stamped with the two shades of blue.  

Tell me which you prefer of the two cards. 

Keep safe and keep stamping

Zoe x


patterned designer paper sale at stampin up shop with zoe tant uk

SHOP Paper sale 


SHOP ALL PRODUCTS