My STAMPING PAPERCRAFT blog - Stamping Scene

Hello and welcome to my blog. I'm a paper craft addict and love sharing my passion for paper crafting . I run online and face to face card making, memory keeping and all sorts of 3D projects. I also sell many of the products I use. If you'd like more information do drop me an email. Thank you for visiting I hope to see you again soon. Zoe x
Showing posts with label card making ideas. Show all posts

Wednesday, 10 June 2026

Try this eclipse card technique with your favourite stamps


simply beautiful stamp set to show the eclipse technique

I recently created this Eclipse technique card and had several people ask me how to create this effect.  I decided to make a tutorial using a different stamp set and have also shared below a sympathy card I made using the same technique.  For the card above I used the last chance list stamp set called Simply Beautiful and added a sentiment from the Sincerely Noted mix and match ephemera pack.  A sentiment from the same pack was used on the card below which features the Layers of Beauty stamp set.  Both sets are on the last chance list at low prices if you like a bargain and want options for creating this technique. 

You can use different colours, stampes and card layouts in terms of portrait or landscape and so the options are varied and numerous.  Great way to use matting layers that you may not usually try.  

Above I've team white with Secret Sea - my new Old Olive type colour that goes with just about anything - and Darling Duckling which is not always my go to colour as I'm not a fan of mucky yellows, but this one actually works for me.  

Below I've used Crumb Cake for the stamping and added a new In Color called Barely Blush and it really is barely pink, but it is just enough for a card like this and for the message it sends.  

layers of beauty sympathy card


So have I tempted you to try this technique? Here's my short video of another colour way and stamp for you to find out the how to and tips.  


There are so many ways you could create different versions of this technique.  I hope you have fun having a go with your favourite stamps.  
Happy stamping

Zoe x

Supplies used can be currently found in the Last Chance List with some amazing prices and for the next three days 11 to 13th June you can enjoy free shipping for orders of £60 or more and if you spend £70 or more be sure to look at the Product of the month which you can buy for £5.  


Friday, 24 April 2026

Faux Metallic Embossing Technique - how to do it and lots of ideas for using it


Hello crafty friends

This month for the Totally Techniques blog hop we are sharing tips and ideas for the Faux Metallic Embossing Technique.  

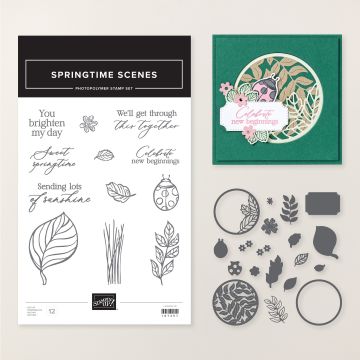
I've used a fabulous bundle called Springtime Scenes and celebrated Ladybirds which have been out in their hundreds recently in our sash windows and in the garden, but that's good because they eat the bugs you don't want usually.  

Here's my tutorial


I hope you find the tips useful and like the somewhat different way I have used this technique.   

I'm sure you'll find lots of inspiration from my Totally Techniques friends and I hope you'll try this fun technique.  You can find another ladybird card with the Springtime Scenes bundle coming over the weekend or on my facebook page at www.facebook.com/zoetant. 

Thanks for dropping by.

Keep crafting

Zoe x

You are invited to the Inlinkz link party!

Click here to enter


Shop Supplies

springtime scenes stamp and die bundle


Springtime Scenes stamp and die bundle

Save 10% when you buy the bundle instead of individual items


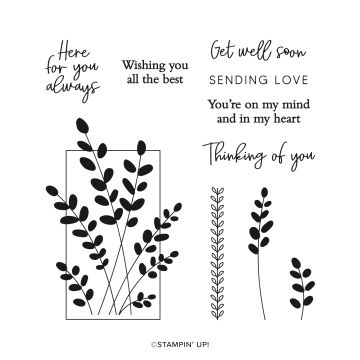
friendly foliage stamp set


Friendly Foliage stamp set


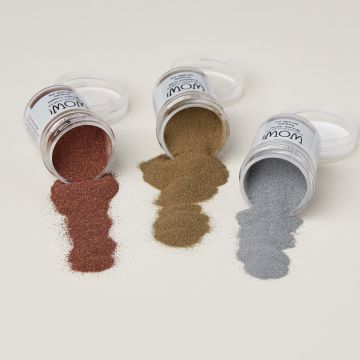
metallic wow embossing powder bundle

metallic embossing powder bundle


versamark ink pad for embossing


Versamark ink pad 


rhinestone embellishments


basic rhinestones


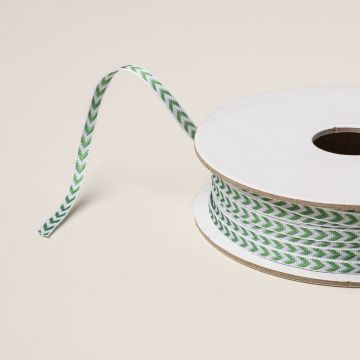
green chevron ribbon

Garden Green Chevron ribbon


SHOP WITH ME


Friday, 25 April 2025

Collage Stamping


handmade card with collage stamping technique
Hi friends join our Totally Techniques blog hop for lots of ideas about collage stamping.  We have a fabulous selection of different ways to incorporate this technique into your paper crafting.  

Today though I don't have a video as I managed to somehow delete it after filming my make so I'll explain a few ideas for you.  

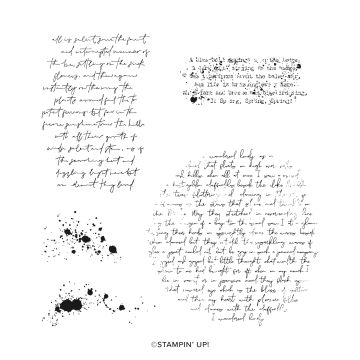
Start by creating a watercolour wash background and let it dry thoroughly.  You can then stamp onto it using your chosen stamps.  Mine are from the Cheers and Sips set along with the  splatter stamps from Elements of Text.  Both sets are online exclusives with the Cheers and Sips launching on 6 May.  You can create different effects by stamping with full ink or stamping some off first on scratch paper and then using second generation ink.  Once stamped I created my own stencil using the lemon and olive dies from the Cheers and Sips dies to create it using a piece of acetate that comes in with your stamp set. It's thinner than window sheet and so not a problem for dies to cut.  Using the stencil you can add embossing paste to enhance your project with texture.  
create a stencil using dies

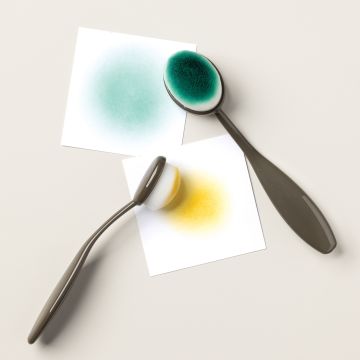
I also used blending brushes to add colour to white card to create the glass, umbrella and strawberry.  Be sure if you then emboss your image that you allow the ink to dry before stamping and use an embossing buddy to avoid excess powder on your image that is difficult to remove.  


ink blending on card to use for diecutting

You can also use glue dots once all your elements are completely dry to add gold leafing dots.  Stamp a simple sentiment in Secret Sea ink onto white card for an effective but easy option and a matt layer dry embossed using your favourite embossing folder.  Mine is Forever Plaid .  

Thanks for stopping by.  See you again soon and check out my youtube channel to learn more techniques.  I will do another video for this technique soon.  

Keep stamping

Zoe x

You are invited to the Inlinkz link party!

Click here to enter


 Supplies Used
elements of text rubber stamp set


Tuesday, 28 February 2023

Say thank you with Seaside Bay

seaside bay handmade card neutral tones for seaside look

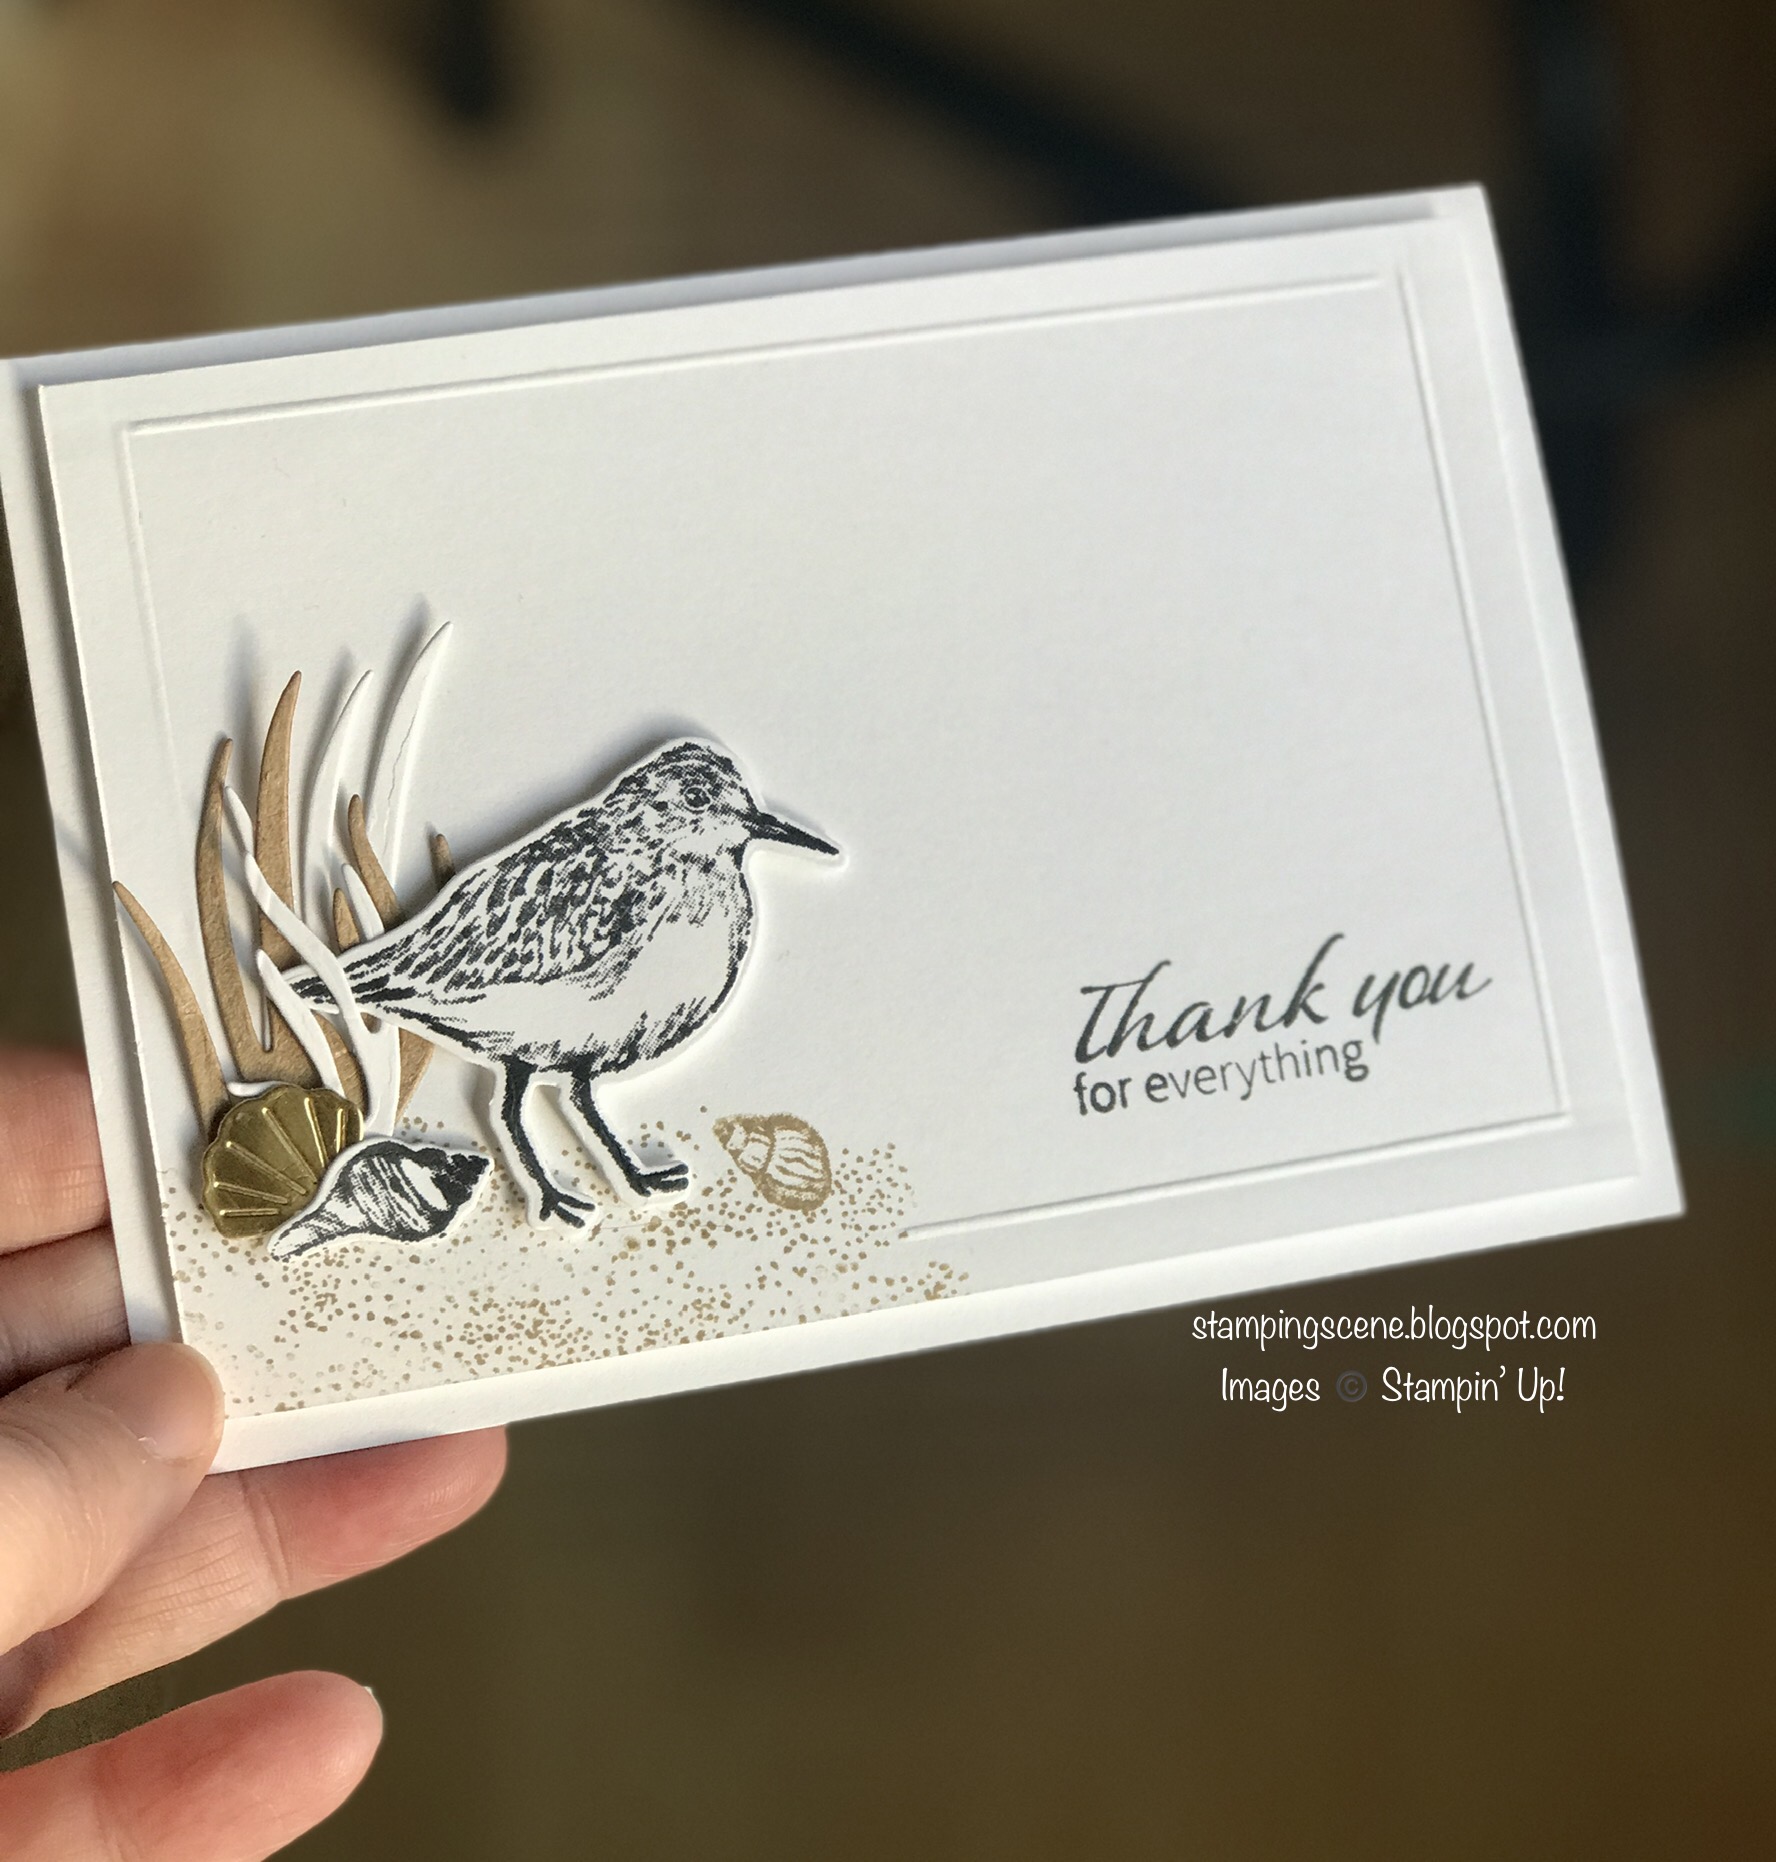
 Here is the last of my Seaside Bay trio of cards.  Today I've gone for a very neutral palette creating a scene with simple stamping and die cutting.  

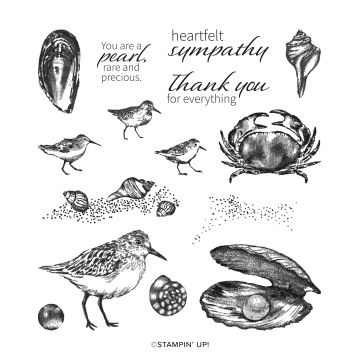
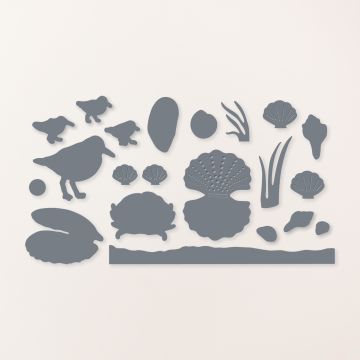
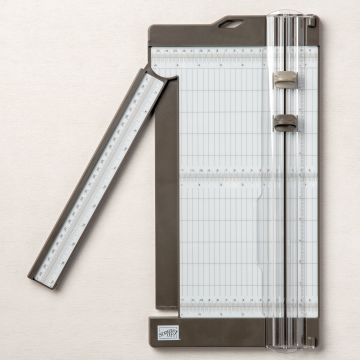
I stamped the sand first and this stamp includes some seashells, that as a group didn't stand out as much as I wanted for this particular design so I left one and then stamped one to die cut and add after I'd created a border using my trusty Stampin' Up! trimmer with a scoring blade in it to on the reverse scored around the design layer and just off the stamping.  It really makes the actual images stand out even more than the scored card.  I added  other  die cut from gold foil card and stamped images and  I added kraft and white die cut reeds.  

Before adding the design to a base card with stampin' dimensionals I stamped my sentiment and added the bird also on sticky pads.  This is the perfect stamp set for #simplestamping as the stamps are so finely detailed that they look amazing just simply stamped. 

You can see alternative ideas with the By The Bay Suite by visiting my masking techniques post from last Friday or Monday's post showcasing the Seaside Bay stamps and dies teamed with the By the Bay DSP.  

I hope you've enjoyed my ideas for using this fabulous bundle of products.  Check the suite out via the links below.

Happy crafting
Zoe x

LAST DAY TO JOIN with bonuses
£125 
free shipping
white or boho blue mini cut and emboss machine
choose up to £170 of stampin' goodies


Supply List
Seaside bay stamp set from stampin up uk with zoe tant


seaside bay stampin up dies


paper trimmer with scoring and cutting blade stampin up


gold foil card for papercraft

Wednesday, 15 February 2023

New at SU blog hop - Decorative Borders meet Kind and Sincere


stepper card using stampin up decorative borders stamp set and alcohol blends


Hello and welcome to my blog and the New at SU blog hop. I've been away for quite a while now with things going on in family life that have made me take a step back for some months from crafting, but hopefully back and building up speed again now with this fun hop sharing cards using no white card and a bundle from our new spring catalogue. Many of the bundles were already chosen by the time I got my act together and so I've created a bundle using the Decorative Borders and Kind and Sincere stamp sets to create this simple stepper card and also add some #simplestamping.  

You can find lots of stepper cards to follow and I've gone with EU measurements.  

  1. card base 21 cm x 14.8 cm
  2. Score on the long side for 3cm at 3cm, 6cm and 13.4cm on both sides. 
  3. cut from the inside 3cm point of the 3cm score line right up to the 3cm inside point of the 13.4 cm line on both sides. 
  4. Score between the two cut lines at 10.5cm on the long side. 
  5. Fold the score lines to form mountain - valley  - mountain from the 3 cm score lines.
You can then decorate your card base how you wish. I've added a rectangle of card for the centre section which I have stamped on. This piece is 10cm x 8.2cm.  I've stamped on it with Tuxedo Black Memento ink so that I could then add some extra colour with my Stampin' Blends, alcohol markers.  I've also stamped part of the sentiment from the Kind and Sincere set on this piece and added a fussy cut 'Thanks' from the same set which I heat embossed using Versamark ink and white embossing powder.  

A sprinkling of pearls and some white ribbon finished this section which I adhered having once stamped some tone on tone ie yellow ink on yellow card designs from the Decorative Borders set.  

These cards always look more difficult than they are and can be very effective.  

I hope you enjoy the hop. 

thanks for stopping by and enjoy the hop.

Hugs Zoe x

Blog Hop Index


Supply List

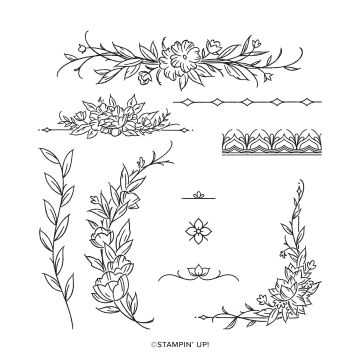
decorative borders stamp set

Decorative Borders


Kind and Sincere stamp set text

Kind and Sincere


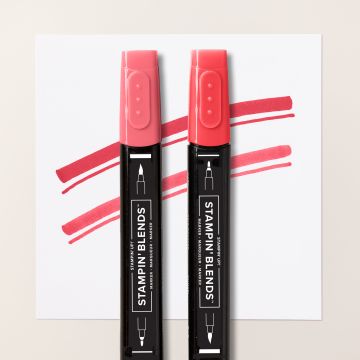
alcohol blends markers for colouring cardmaking

Alcohol markers

Stampin' Blends

Friday, 25 February 2022

Split Front Card Tutorial - Totally Techniques International Stampin' Up! Demo Blog Hop

easter card split front technique totally techniques blog hop stampin up uk
 
totally techniques blog hop with international stampin up demonstrators zoe tant uk
Welcome to our February blog hop.  Our theme from international Stampin' Up! demonstrators is the Split Front Technique.  It is a fun, but easy technique to do and you can use all sorts of different materials to make some great designs.  

It is a good idea to make a template for the cutting which you can save for future cards. Here are the measurements I used, but I know along the hop you'll find different ideas and some will be in metric and some imperial so go through and see which suits you best. 

Here's my template for making the top layer of the design.  I started with a piece of cardstock 9.7cm wide by 14cm high.  I marked the measurements shown to then be able to cut the template below. 

Split front card making tutorial cutting mat zoe tant

Once you have the marks made with small dots you can then cut across the card from each dot to another. 
Split front card making tutorial cutting mat zoe tant

For my cards today I used the Saleabration papers Daffodil Afternoon for my design layer. The papers are bold but so pretty.  From an offcuts I fussy cut a daffodil and added it with a stamped daisy from Daisy Lane stamp set to the top of the split.  I also die cut some greenery using the Forever Flourishing dies. 

I've simply stuck the cut paper onto a base card for the first example leaving an eye-balled even border around the edge.  

split front card making tutorial using stampin up stamps daisy lane

This beautiful paper is perfect for Easter or Spring cards to brighten someone's day and this is also a great way to use the papers we all hoard.  My sentiment is from a retired set stamped onto a die cut stitched rectangle.
None of us like to waste any of our supplies and with this cutting process you can use all the pretty paper.  Using the centre part ie the split taken from the first card's paper I've firmly glued it onto a piece of white card cut at the same 9.7 cm x 14cm.  I then embossed the whole piece with the Painted Texture embossing folder.  It makes the paper mould into the white and of course gives more detail. 

split front technique card making idea tutorial
This time I also added a matt layer of Mossy Meadow card with just a couple of millimetres border.  The same Forever Flourishing die was used to die cut some gold metallic specialty paper.  A sentiment from the Saleabration set Special Moments which is only now available as a free gift with £90 spend until the end of the month.  

Enjoy the hop and take a look at the Saleabration offers before they disappear.  If you have a long wishlist there is better value in joining my team to benefit from discounts and the chance to make lots of new friends in a friendly craft community.  

Keep safe and keep stamping
Hugs Zoe x

You are invited to the Inlinkz link party!

Click here to enter


Saleabration ending soon don't miss out
Love a lot of Stampin' Up! products join for discount and community
Choose £130 of product plus a bonus 2 stamp sets in February for just £99
Amazing value. JOIN HERE


Shopping List

forever flourishing stampin up dies


daisy lane stamp set stampin up uk


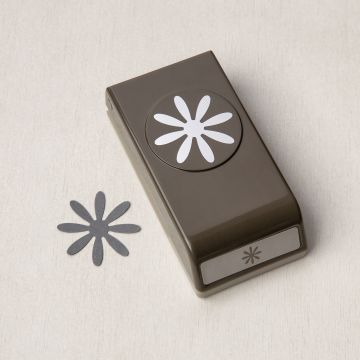
medium daisy punch for card making


daffodil afternoon papers for craft

Daffodil Afternoon DSP
Free with £45 order (excl. P&P)

Wednesday, 16 February 2022

New at SU blog hop - Stampin Up Awesome Silhouettes

new at su blog hop by stampin up demonstrators


embossing and blending card with zoe tant and stampin up amazing silhouettes
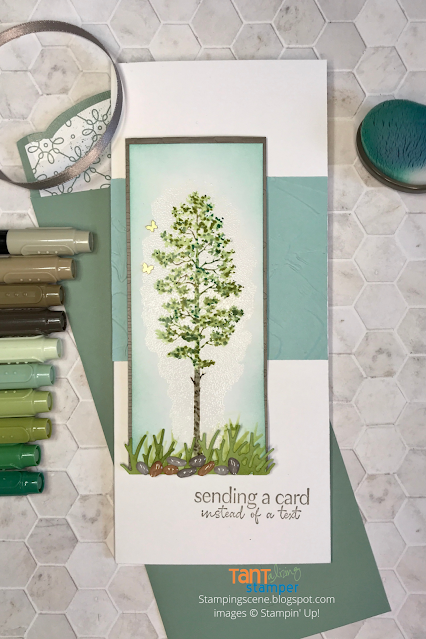
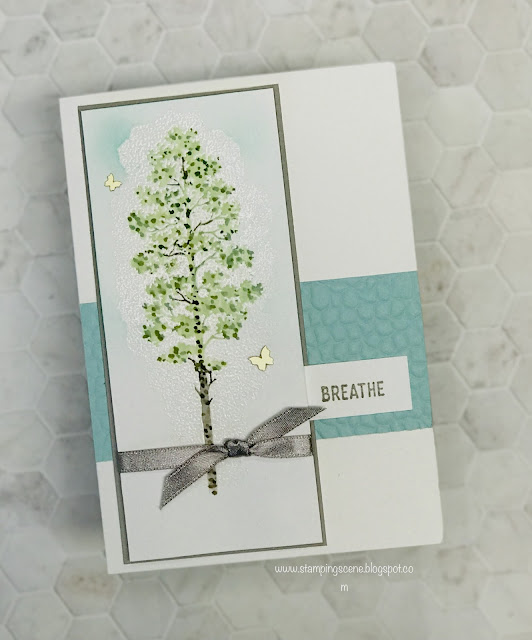
Welcome to our February New at SU blog hop. We're sharing card making ideas using products from the Stampin' Up! Spring mini catalogue. I've chosen to share a make using the Amazing Silhouettes stamp set.  Inspired by Chelsey Christensen who embossed this image I took a slightly different tack and came up with this design. 

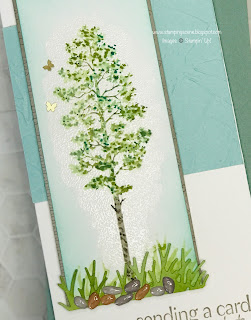
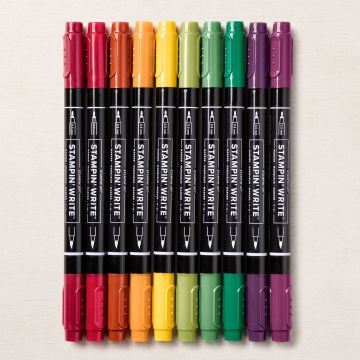
To create this card I clear heat embossed the tree stamp.  Then using Stampin' Write markers I added fine dots using different shades of green to the foliage and browns to the branches and trunk keeping the lightest green, Soft Sea Foam and brown Sahara Sand to just gently colour over the respective areas and fill in the white space.  

heat and dry embossed card with tree from Awesome Silhouettes rubber stamp set


I blended on some grass using the negative from the die cut grass and then added the die cut over the top.  I love the pebbles do you?  These have been ever so popular and if you find them out of stock do come back and look again as they will return.  

You can add more texture with an embossed band, here I used Pool Party with the Painted Texture folder.  I also added a fun modern sentiment from Flowing Flowers. 

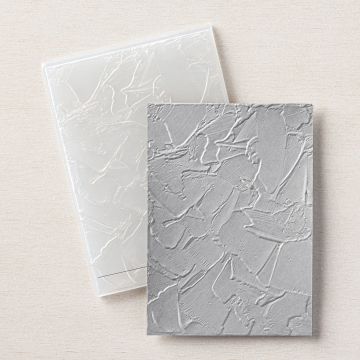
You can make a simpler version using the same techniques and here I used an embossing folder called Hammered Metal.  The brass butterflies are perfect for a touch of lux. 
handmade card with embossing and stamping using Awesome Silhouttes stamp set

Before you go and head to see  Ginger's fab creation using In the Moment please leave a comment and let me know if you love Awesome Silhouettes.  
 Keep safe and keep stamping 
hugs Zoe x


Blog List 

You are here Stampingscene 

Gifted Hands, Ink! - Let's Set Sail

Carterie Plus - New Horizons Designer Series Paper  

Stamping Scene - Amazing Silhouettes and Flowering Flowers

Stamping the Cape - In the Moment

Moore Fun Stamping - Soaring Swallows

Stampin’ Scrapper - Hello Ladybug

Stamping Flair - Paradise Palms

Playing with Papercrafting - Grassy Grove

De Kijkkast - Flowering Tulips

Tricia’s Stamping Creations - Seas the Day

24/7 Inspiration - Cactus Cuties

Creative Juice by Loni - Daffodil Daydream

The Flying Stamper - Hello Ladybug

Joni in the Spotlight Stamping - Oceanfront


Get extra value and join in February only £99 for your choice of £130 of product plus an extra two stamp sets 
Join the Tantalizing Stampers to get this extra value along with new friendships, a fun team friendly group, team meetings and retreats and lots of crafting tips and ideas.

Shopping List for this design 


Stampin Write Markers choose your favourite colour families

Stampin' Write Markers


stampin up embossing folders

Embossing Folders


brushed brass butterfly embellishments


Brushed Brass Butterfly Embellishments


pebble embellishments

Pebble Enamel Shapes