My STAMPING PAPERCRAFT blog - Stamping Scene

Hello and welcome to my blog. I'm a paper craft addict and love sharing my passion for paper crafting . I run online and face to face card making, memory keeping and all sorts of 3D projects. I also sell many of the products I use. If you'd like more information do drop me an email. Thank you for visiting I hope to see you again soon. Zoe x
Showing posts with label easy handmade card ideas. Show all posts

Wednesday, 10 June 2026

Try this eclipse card technique with your favourite stamps


simply beautiful stamp set to show the eclipse technique

I recently created this Eclipse technique card and had several people ask me how to create this effect.  I decided to make a tutorial using a different stamp set and have also shared below a sympathy card I made using the same technique.  For the card above I used the last chance list stamp set called Simply Beautiful and added a sentiment from the Sincerely Noted mix and match ephemera pack.  A sentiment from the same pack was used on the card below which features the Layers of Beauty stamp set.  Both sets are on the last chance list at low prices if you like a bargain and want options for creating this technique. 

You can use different colours, stampes and card layouts in terms of portrait or landscape and so the options are varied and numerous.  Great way to use matting layers that you may not usually try.  

Above I've team white with Secret Sea - my new Old Olive type colour that goes with just about anything - and Darling Duckling which is not always my go to colour as I'm not a fan of mucky yellows, but this one actually works for me.  

Below I've used Crumb Cake for the stamping and added a new In Color called Barely Blush and it really is barely pink, but it is just enough for a card like this and for the message it sends.  

layers of beauty sympathy card


So have I tempted you to try this technique? Here's my short video of another colour way and stamp for you to find out the how to and tips.  


There are so many ways you could create different versions of this technique.  I hope you have fun having a go with your favourite stamps.  

Happy stamping

Zoe x

Supplies used can be currently found in the Last Chance List with some amazing prices and for the next three days 11 to 13th June you can enjoy free shipping for orders of £60 or more and if you spend £70 or more be sure to look at the Product of the month which you can buy for £5.  


Friday, 27 March 2026

How to use layering stencils for simple stamping


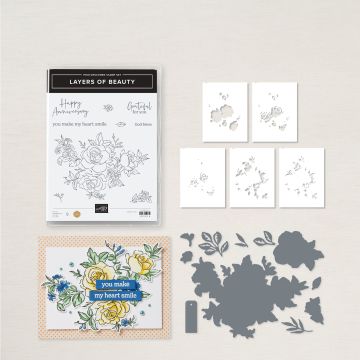
Welcome to the March Totally Techniques blog hop.  We are sharing ideas for using layering stencils which could be homemade using die cuts or using bundles like this Layers of Beauty version that I have created.  There are 5 stencils.  Start with #1 and work your way through all 5. 

After stamping your image gently attach it to a piece of copier paper or grid paper with some low tack tape.  Position stencil #1 over the image in the correct place lining it up with the image outlines.  You can then mark the position of the stencil starting at the top left with the notch in the stencil.  I've added pen marks for the corners of the stencil. 
 
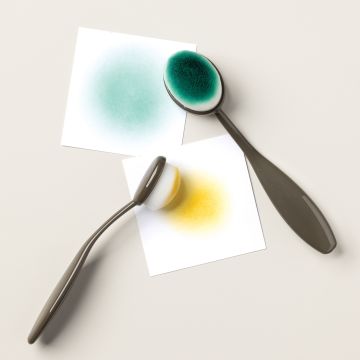
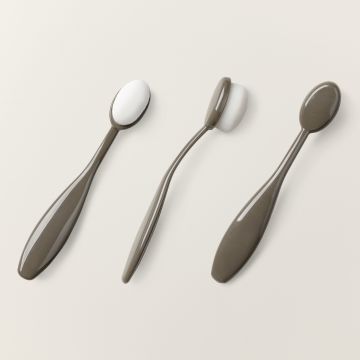
Use blending brushes or sponge daubers to add colour to the revealed sections of the image. 


Once completed carefully remove stencil #1 and work through each stencil lining it up with the notch and corner marks.  Use the colours that suit your design. 

Once completed you can die cut the image or you can use the whole sheet on which it is stamped, however make sure you remove any tape carefully at a 45degree angle to reduce the risk of tearing the card. 

As you can see I die cut my image and added some extra die cuts using other dies from the set.  Again I added colour using a blending brush and added these extra leaves to my main image.  I use a little glue on the front of each stem to then adhere them to the back of the image.  


I also added a sneak peek sentiment from a new stamp set coming in May in the new Summer catalogue.  It's called A Family Celebration and has mainly the script font and a number of the words in capitals.  A great size and fresh looking.  I stamped in black ink and cut each word to add to my background of Wood Grain Wonder DSP.  


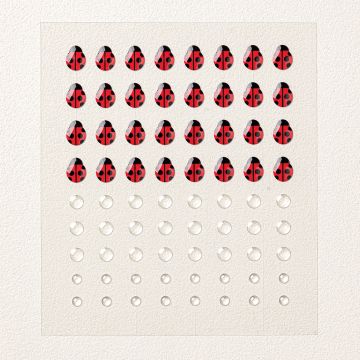
I added Wink of Stella to some of the petals for some shimmer along with a ladybird and clear epoxy dots to the Daisy flower centres.  I love a little #simplestamping and colouring in for an easy, effective and relaxing craft session.  

Enjoy the hop and gather the tips to create your own versions.

Thanks for popping by.

Happy stamping Zoe x

You are invited to the Inlinkz link party!

Click here to enter


PAPER PUMPKIN SUBSCRIPTION KITS
COMING 1 APRIL 2026 
REGISTER YOUR INTEREST WITH ME NOW

paper pumpkin kit boxes


Supplies
large blending brushes


Layers of Beauty Bundle

Please contact me. 

Friday, 27 December 2024

How to create a watercolour wash for papercraft

watercolour wash technique for card making and diy handmade cards


 Hello there and welcome to the final Totally Techniques Blog Hop for 2024.  Our blog hop is here for you to visit several blogs sharing a similar technique to give you lots of tips and ideas for your card making.  This technique will also serve you well as a memory keeper journalling events in your life or scrapbooking.  You don't need many supplies for my version just waterbased markers, card, a stamp block and a water spritzer.  You can find the items and colours I used detailed in the video and below on my supply list.  

I love how simply you can start with this technique and how you can adapt it with layers or embellishiments and stamping to suit your personal design.  It's quick to create although sometimes you may want to allow time for your watercolour wash to dry before using it.  You can use a heat tool to speed up this process also if you can't wait.  

If you love the Stampin' Write Markers you might want to look at a speical offer coming on 7 January 2025 where you can take up option one to earn 2 free sets of 10 marker pens.  Please contact me for more details using the subscribe button above for more information. 

Here is a short video tutorial of how to do the simple technique I have used on the background on the circle on this card. 


I hope the festive season if you celebrate has been happy and full of fun and I wish everyone who reads this a happy, healthy and successful 2025.  See you again soon.

Thanks for visiting 

Hugs Zoe x

You are invited to the Inlinkz link party!

Click here to enter


Supply List

Kiss of Texture Stamp Set 164759  available from 7 January 2025

sweetly scripted stamp set stampin up

Sweetly Scripted 


colouring pens water based stampin write markers
Stampin' Write Markers
Different colour packs available

Monday, 8 July 2024

Ink smooshing with Encircled in Nature


ink smooshing handmade card with stampin up encircled in nature bundle

Did you see my last post sharing the easy, but fun technique of ink smooshing?  It is a great technique for original backgrounds that you can then die cut or use to stamp on and lots more.  There are a few ways to do it so check out my video to see the ways I did it. 


For this particular card I created a background using the technique onto watercolour paper fluid 100 and then die cut the part I wanted and positioned it in the aperture created using the same die on a piece of white card. I'd already stamped the wreath image on the white card.  I stamped and die cut some of the trees from the Encircled in Nature bundle to add more depth and detail and also stamped the moon and stars onto my die cut ink smooshed piece.  I raised the white layer on Stampin' dimensionals. 

I added a sentiment from the same stamp set, but this could be quickly adapted to be a super Christmas card for anyone creating cards for Christmas in July.  

This month Stampin' Up! has a fabulous offer available to you.  For every £45 you spend on product from my shop you'll earn a BONUS COUPON worth £4.50 which you'll be able to use against a future purchase the following month.  

Have a great week.

Hugs Zoe x


Monday, 20 November 2023

Handmade Card Idea using circles

use die cut circles to create a handmade floral card
Have you tried this technique?  It's my first go and I'm delighted how it turned out.  The pretty papers enhance it of course, but by just cutting circles with a punch or die in different sizes you can create this swirl effect pattern with any overlaps or mis cuts hidden under the sentiment strip. 

Yes just cut 3 circles of different sizes and cut them in half. To make it easy fold them gently and pinch the ends of the fold to give you a cutting line.  Then all you need to do is layer them and connect the patterns a little with the joins then being covered with your sentiment.  

I added some stamped and punched flowers using the Petal Park stamp set.  Although you can't tell in the picture I used Cajun Craze ink to stamp the flowers and sentiment and then to add a matt layer. It's not a colour I reach for often, but with a small amount on the DSP used it hightighted the designs and enhanced the pretty pink.  

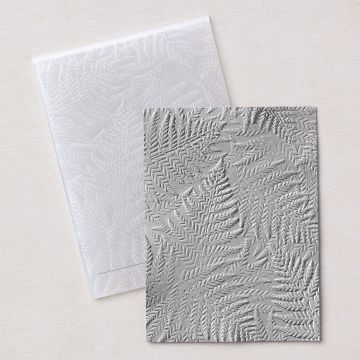
Using some flat backed pearls add a touch of luxe and the irridescent nature of the them added subtle shimmer.  I also love the fern 3D embossing folder. 

As a final touch I used a couple of markers to add some dots to carry the colour theme through the design, you can just spot them in the bottom right of my picture. 

I hope you give this easy technique a try which looks great with patterned papers, plain card stock in different colours or something sparkly too. 

Have a great week.

Happy stamping hugs Zoe x


Supplies Used

Delightfully Eclectic papers DSP for crafting card making


Delightfully Eclectic DSP 


fern 3D embossing folder

Fern Embossing Folder


Petal Park stamp set for flower stamping

Petal Park stamp set


flat adhesive backed pearls

Flat adhesive-backed pearls


Last chance list winter mini 2023

SHOP