My STAMPING PAPERCRAFT blog - Stamping Scene

Hello and welcome to my blog. I'm a paper craft addict and love sharing my passion for paper crafting . I run online and face to face card making, memory keeping and all sorts of 3D projects. I also sell many of the products I use. If you'd like more information do drop me an email. Thank you for visiting I hope to see you again soon. Zoe x
Showing posts with label blending brushes. Show all posts

Friday, 27 March 2026

How to use layering stencils for simple stamping


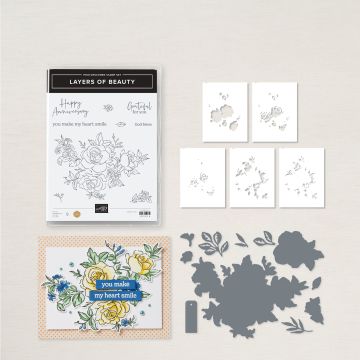
Welcome to the March Totally Techniques blog hop.  We are sharing ideas for using layering stencils which could be homemade using die cuts or using bundles like this Layers of Beauty version that I have created.  There are 5 stencils.  Start with #1 and work your way through all 5. 

After stamping your image gently attach it to a piece of copier paper or grid paper with some low tack tape.  Position stencil #1 over the image in the correct place lining it up with the image outlines.  You can then mark the position of the stencil starting at the top left with the notch in the stencil.  I've added pen marks for the corners of the stencil. 
 
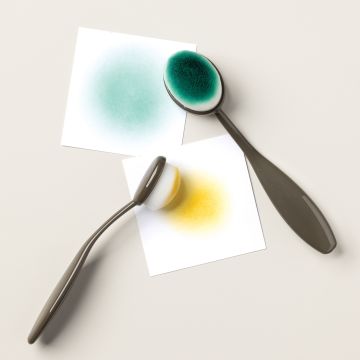
Use blending brushes or sponge daubers to add colour to the revealed sections of the image. 


Once completed carefully remove stencil #1 and work through each stencil lining it up with the notch and corner marks.  Use the colours that suit your design. 

Once completed you can die cut the image or you can use the whole sheet on which it is stamped, however make sure you remove any tape carefully at a 45degree angle to reduce the risk of tearing the card. 

As you can see I die cut my image and added some extra die cuts using other dies from the set.  Again I added colour using a blending brush and added these extra leaves to my main image.  I use a little glue on the front of each stem to then adhere them to the back of the image.  


I also added a sneak peek sentiment from a new stamp set coming in May in the new Summer catalogue.  It's called A Family Celebration and has mainly the script font and a number of the words in capitals.  A great size and fresh looking.  I stamped in black ink and cut each word to add to my background of Wood Grain Wonder DSP.  


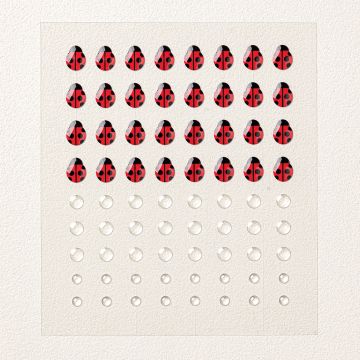
I added Wink of Stella to some of the petals for some shimmer along with a ladybird and clear epoxy dots to the Daisy flower centres.  I love a little #simplestamping and colouring in for an easy, effective and relaxing craft session.  

Enjoy the hop and gather the tips to create your own versions.

Thanks for popping by.

Happy stamping Zoe x

You are invited to the Inlinkz link party!

Click here to enter


PAPER PUMPKIN SUBSCRIPTION KITS
COMING 1 APRIL 2026 
REGISTER YOUR INTEREST WITH ME NOW

paper pumpkin kit boxes


Supplies
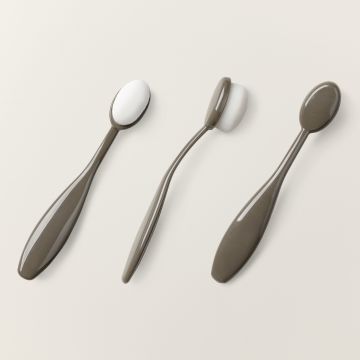
large blending brushes


Layers of Beauty Bundle

Please contact me. 

Monday, 28 July 2025

Long Time No See fun handmade cards for all the family


handmade dog Dacshund birthday card idea

Are you a dog or a cat person?  Or maybe you adore both.  It's fair to say I'm an animal fan, but my first choice would be a dog, and hence why I love this stamp set which has a small, but eclectic group of animals.  I think the Dachshund is uber cute and the llama or alpacha whichever you want it to be is just fun.  If you missed my post using the dog visiting the Eiffel Tower you can see it on my earlier Stampingscene post. 


I've enjoyed using them so much and I think you will too!  Today I'm sharing this fun 'sausage dog' ,'as we called them when I was a child, dog card or is it a bee!

 Tips to Create

  • stamp the dog on masking paper and cut out
  • stamp dog on matt layer and cover with mask
  • stamp flowers, grass , wings and antennae
  • stamp the dog onto an offcut of card and colour with alcohol markers. Fussy cut out. Adhere with glue dots
  • colour flowers
  • use wink of stella with ink from smoky slate pad or a watercolour pencil to create sparkly subtle wings
  • use a blending brush over diecut clouds to add soft sky.
  • pop stamped sentiment of choice in the sky and add tiny bee trinkets with multipurpose adhesive. 
  • add matt layer if desired to coordinate with flowers


Check back soon to meet more friends of Pierre and Bea.

Thanks for visiting and if you can't live without any of the products used please do visit my online stampin' shop. Opt in to the rewards when you create an account to earn product credit for future orders when you spend £20 or more. 

Happy stamping

Zoe x


Supply List
long time no see stamp set images © Stampin' Up!


Long Time No See stamp set

#166189


tiny bee trinkets

Tiny Bee Trinkets

#164714


wink of stella to add sparkle
Wink of Stella 

#141897


Bee my valentine stamp set anniversary wedding valentine card stamps

Bee my Valentine

#162547


blending brushes

Blending Brushes

#153611 large

#160518 small  


masking paper

masking paper

#155480