My STAMPING PAPERCRAFT blog - Stamping Scene

Hello and welcome to my blog. I'm a paper craft addict and love sharing my passion for paper crafting . I run online and face to face card making, memory keeping and all sorts of 3D projects. I also sell many of the products I use. If you'd like more information do drop me an email. Thank you for visiting I hope to see you again soon. Zoe x
Showing posts with label ink blending. Show all posts

Friday, 27 March 2026

How to use layering stencils for simple stamping


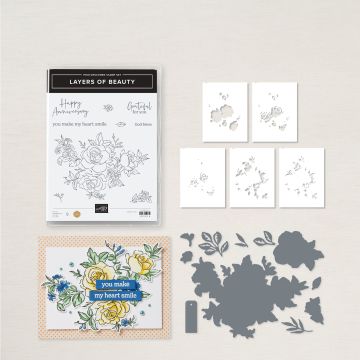
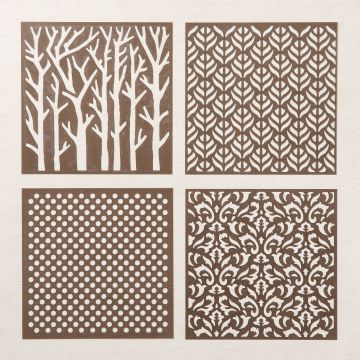
Welcome to the March Totally Techniques blog hop.  We are sharing ideas for using layering stencils which could be homemade using die cuts or using bundles like this Layers of Beauty version that I have created.  There are 5 stencils.  Start with #1 and work your way through all 5. 

After stamping your image gently attach it to a piece of copier paper or grid paper with some low tack tape.  Position stencil #1 over the image in the correct place lining it up with the image outlines.  You can then mark the position of the stencil starting at the top left with the notch in the stencil.  I've added pen marks for the corners of the stencil. 
 
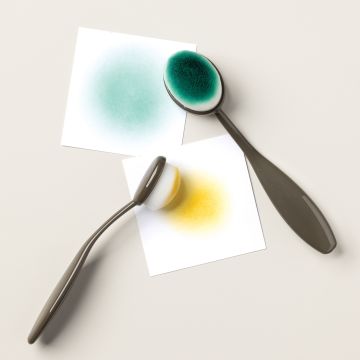
Use blending brushes or sponge daubers to add colour to the revealed sections of the image. 


Once completed carefully remove stencil #1 and work through each stencil lining it up with the notch and corner marks.  Use the colours that suit your design. 

Once completed you can die cut the image or you can use the whole sheet on which it is stamped, however make sure you remove any tape carefully at a 45degree angle to reduce the risk of tearing the card. 

As you can see I die cut my image and added some extra die cuts using other dies from the set.  Again I added colour using a blending brush and added these extra leaves to my main image.  I use a little glue on the front of each stem to then adhere them to the back of the image.  


I also added a sneak peek sentiment from a new stamp set coming in May in the new Summer catalogue.  It's called A Family Celebration and has mainly the script font and a number of the words in capitals.  A great size and fresh looking.  I stamped in black ink and cut each word to add to my background of Wood Grain Wonder DSP.  


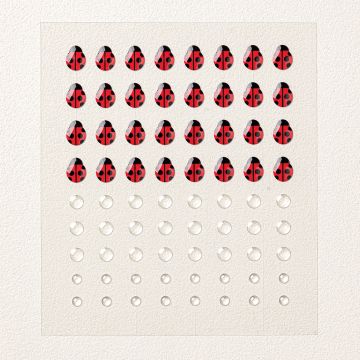
I added Wink of Stella to some of the petals for some shimmer along with a ladybird and clear epoxy dots to the Daisy flower centres.  I love a little #simplestamping and colouring in for an easy, effective and relaxing craft session.  

Enjoy the hop and gather the tips to create your own versions.

Thanks for popping by.

Happy stamping Zoe x

You are invited to the Inlinkz link party!

Click here to enter


PAPER PUMPKIN SUBSCRIPTION KITS
COMING 1 APRIL 2026 
REGISTER YOUR INTEREST WITH ME NOW

paper pumpkin kit boxes


Supplies
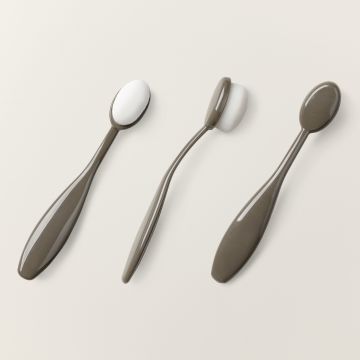
large blending brushes


Layers of Beauty Bundle

Please contact me. 

Monday, 9 November 2020

How to use Stencilling and Ink Blending for cardmaking

handmade christmas card using stencils and ink blending

 Happy Monday all I'm here today with my card for the Christmas Card Club challenge set by Rachel.  Use a stencil is the theme and you can see here I used a tree stencil.

First of all I created my sky using blending brushes and ink colours Balmy Blue, Misty Moonlight and Night of Navy.  The brushes help to blend the ink smoothly and help with creating a sky like this.  Half way through creating it I masked a moon using a sticky note and 1 1/2" circle punch.  Once I'd got the sky I wanted I removed the sticky note and adhered my design to a piece of boarding using some Stampin' Seal that I then 'fluffed' up on my jeans  before adding to the back and placing it face up on the board.  This makes it easier to remove from the board but also holds it in place for the next step. 

Now I placed the stencil over the card and taped it into place off the artwork and onto the board.  I used painters masking tape to do this again so that it is easy to peel off.  

I then used another blending brush to firmly but carefully add Early Espresso ink to create the tree shadows on the sky.  Once done I heat set the whole piece before adding touches of snow with a gel pen and some Frost White shimmer paint splatters to create the effect of falling snow.  To do this I added a little water to one of my stamping blocks and then using a paint brush dropped a little shimmer paint into it and stirred with the brush to water it down. This helps with drying time.  You can also use rubbing alcohol for a quicker dry.  

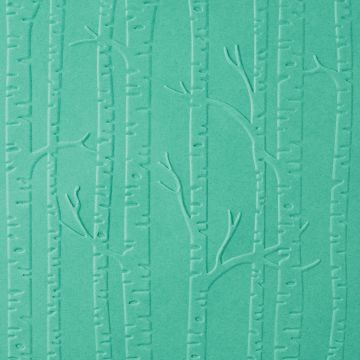
Whilst it was drying I embossed a piece of Misty Moonlight card with the Woodland embossing folder and added that as a matt layer.  I also added a stamped sentiment and some berries stamped and die cut using Poinsettia Petals bundle.  The white punched label seemed too stark so I just added some second generation stamping of the berry outlines.   

A little different to the traditional Christmas card themes, but I'm pleased with how it turned out.  

Keep safe lovely readers.  We are in lockdown again here in the UK so more online classes are coming.  If you'd like to join my mailing list please do email at zoetant@live.co.uk to be added.  

Hugs Zoe x

SHOP HERE


stampin up basic pattern masks stencils for papercraft

Basic Pattern Masks 


shimmer paint frost white stampin up uk

Frost White Shimmer Paint


Poinsettia Petals stamps and dies

Poinsettia Petals Bundle


woodland embossing folder for papercraft

Woodland Embossing Folder