My STAMPING PAPERCRAFT blog - Stamping Scene

Hello and welcome to my blog. I'm a paper craft addict and love sharing my passion for paper crafting . I run online and face to face card making, memory keeping and all sorts of 3D projects. I also sell many of the products I use. If you'd like more information do drop me an email. Thank you for visiting I hope to see you again soon. Zoe x
Showing posts with label christmas card ideas. Show all posts

Sunday, 28 May 2023

Handmade Christmas Card Club


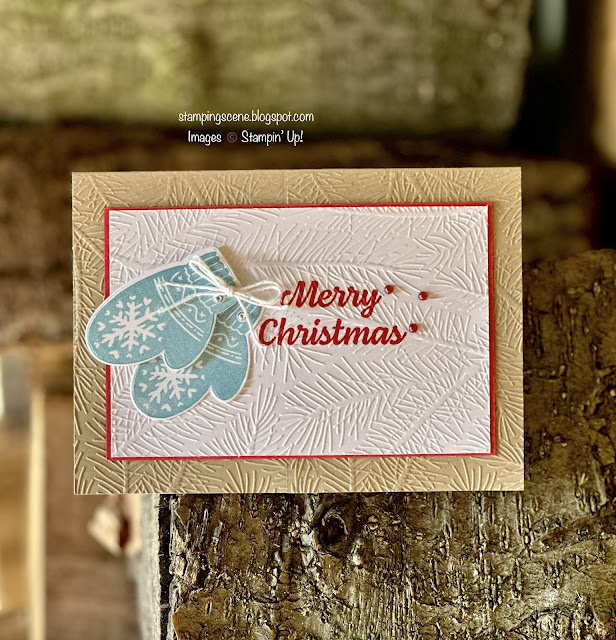
handmade christmas card clean and simple

It's been a long time since life has allowed me the luxury of joining in with my lovely friends at the Christmas Card Club.  I've made it today with a steady start as the theme is Clean and Simple!  I'm hoping be joining them for the rest of the year.

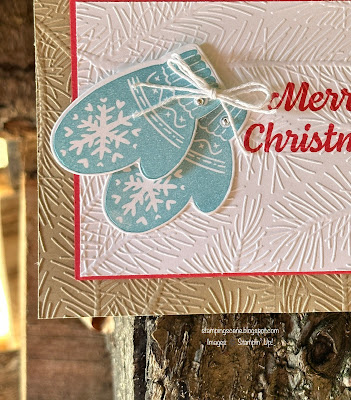
I embossed the base card and design layer using one of the retired Wintry narrow folders and these give that winter feel of pine and snow.  I stamped the sentiment from the Celebrate with Tags set prior to embossing and have added mittens to enhance that seasonal feel.  

 
close up of celebrate with tags handmade christmas card

Adding simple trim like white Baker's Twine and Festive Pearls is all you need to connect the narrow matt layer of Sweet Sorbet with the rest of the design.  

We are part of the CCC to make Christmas cards on a fortnightly basis with the goal of having enough when the festive postal season arrives.  We'd love a few more folk to join, but please note whilst you don't need to participate every fortnight it is customary to comment on the other members cards.   Contact me if you'd like to join in.  

Thanks for stopping by and check out my fellow team members super cards by clicking on the Christmas CC tab at the top of my blog.

Hugs Zoe x

Supplies 
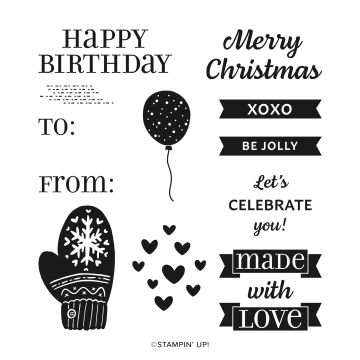
stampin up celebrate with tags stamp set


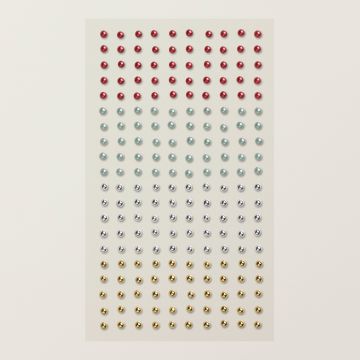
festive pearls for handmade christmas cards


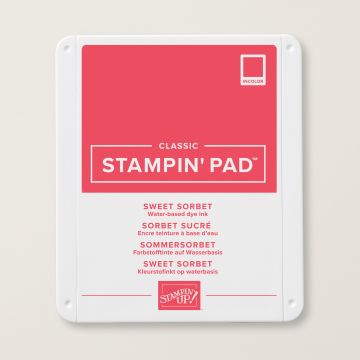
sweet sorbet ink pad red ink pad


patterned paper sale announcement


Sunday, 6 March 2022

Christmas Robin layered card.

happy-holly days stamp set robin stamp christmas card

 I've been busy this past week preparing and having a stand at a Papercraft Show which was a fun day yesterday.  It means I've had little time to make cards for blog posts and not only that, I don't have any bell stamps which is our theme for Christmas Card Club today.  However we have a let out of anything goes when you don't have the stamps and therefore I'm sharing a card a made a little while ago. It was inspired by the lovely Martine Smith if you know her. She used a different Robin and scaled it all slightly differently, but I've done my take on her original.  

On a piece of white card I stamped the Robin in memento ink and then added some grey using Stampin' Blends (alcohol markers) to the bird and also Poppy Parade to the holly berries and the simple combo has worked well with the flashes of colour.  Additional colour can be added using a stamp similar to the dotty one I've used and of course a bit of silver heat embossing coordinates and adds Christmas shine.   Once coloured I used my trusty Stitched Shape dies, sadly retired from Stampin' Up! to cut two squares from the image.  Now if you have a go be sure to position the dies so that you don't cut through a vital piece of the image like the eye for example as it could distort your image too much.  

I added a black matt layer to the white card base and then positioned all the stamped pieces adding stampin' dimensional to the squares.  To create the pyramid effect I added double layered dimensional to the smaller square.  Carefully match up your image as you replace the squares.  

Robins are so popular for Christmas and I love this one.  

PS if you missed out on the Stitched Shape dies I have a brand new spare set for sale. Please contact me if you would like them.  

Happy stamping all and keep safe.

Hugs Zoe x


stampin up savings in bloom march 2022 discount on selected bundles
20% off selected die and stamp bundles and the mini Stampin' Cut and Emboss Machine in March 2022.
Visit my stampin' up! shop to see them all. 10% discount on all other die and stamp bundles and punch and stamp bundles. 
stampin up savings in bloom march 2022 only


Saturday, 4 September 2021

Stampin' Up! Have a Robin - Stampin' for Christmas Blog hop

christmas robin card using stampin up happy holly-days stamp set

 
stampin for christmas blog hop with zoe tant uk papercraft class tutor

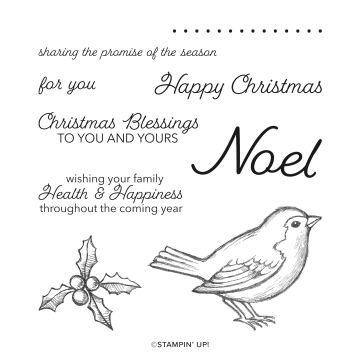
Stampin' Up! have been asked for many years to have a Robin stamp by UK demonstrators and not least me.  At last this year they have a fabulous stamp set called Happy Holly-days and it features this fab fellow.  I couldn't resist it and have used it very simply for this month's Stampin' for Christmas blog hop.  

Welcome to everyone visiting me today and particularly if this is your first visit to my blog.  I hope it's not the last and that you find lots of inspiration for festive cards on this international hop. 

demonstrating masking technique for rubber stamping
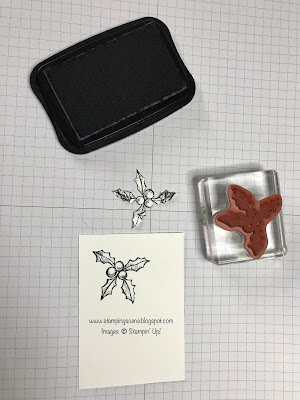
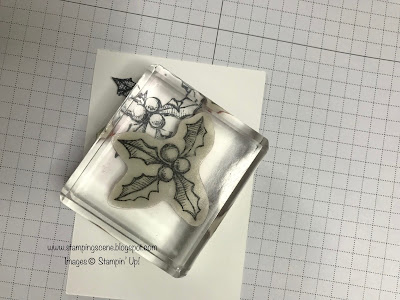
For my card I created a mask for the holly by stamping it onto copier paper and cutting it out just on the inside of the outline of the image.  I then used this to mask some of the holly as I stamped it across the card to give the impression of layers of holly. Below you can see the overlap stamping with the mask in place to protect the original stamped image. 

image masking for stamping and card makers
Here the mask has been removed and you can see the double image looking like one holly sprig is behind the other. 

masking technique for rubber stamping card making and scrapbooking


The Robin was originally stamped on the card and then again on another piece of card. It was easier to have the image in place to add the holly and then with the second image fussy cut it out and add onto the stamped Robin.  
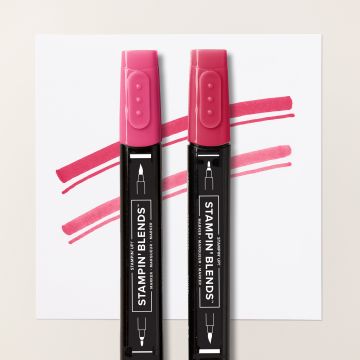
I kept the card really simple by stamping in Black Memento ink and just adding Real Red using alcohol marker Stampin' Blends to make the iconic red breast and berries 'pop'. 

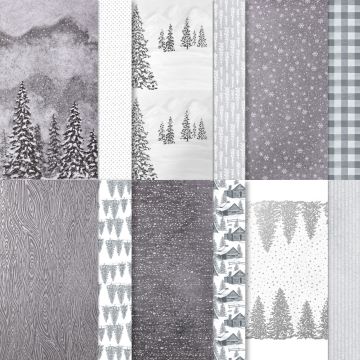
I layered the design piece onto a piece of DSP from the new winter catalogue pack called Peaceful Place.  This is a black, grey and silver design pack of papers that you can add any colour to for dramatic effect or just touches like this to frame your focal point.  

Also I'm sure like me you don't like waste anything and so an off cut of ribbon folded and tucked underneath the edge of layers just adds a simple finishing flourish.  

A simple, but eye-catching card for mantlepieces this Christmas. 

Carry on with the hop to see more Christmas card inspiration by clicking on the NEXT button. 

Thanks for popping by and come back soon. Now you're off to see the Crafty Medic. 

Keep safe and keep stamping
Zoe x

stampin for christmas blog hop with zoe tant uk stampin up demo


Be part of something special and enjoy all your Stampin' Up! favourites earlier, cheaper and discover a new fun community.  JOIN MY STAMPIN' UP! TEAM.


stampin up peaceful place patterned papers DSP

stampin up happy holly-days stamp set


Alcohol markers stampin blends real red and more


Sunday, 15 August 2021

Christmas Card Club - Christmas Card Ideas

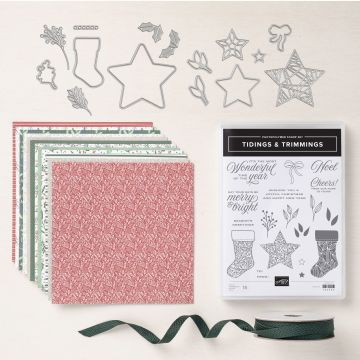
christmas stocking card using stampin up tidings and trimmings

 Happy Sunday all. Mrs A aka Valery Ann has chosen Candles for our theme today, but I'm out of candles today, so I'm going for our alternative option of Anything Goes.  

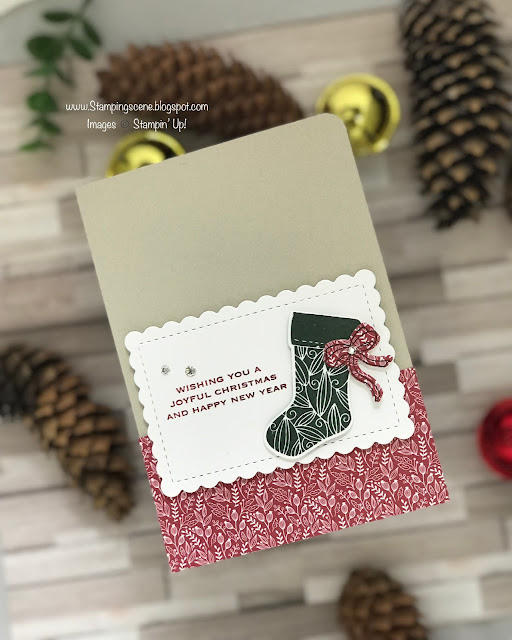
I love the simplicity of this layout, letting the patterns of the DSP (Designer Series Paper) and the stocking detail do the work.  

I used a 2" stripe of DSP along the base of my C6 tent fold card base.  I've added a die cut scalloped edge/stitched rectangle ( Scallop Contours die set) in white and then die cut a stamps stocking. The bow is also die cut having been stamped on the off cut of DSP as the sheets of paper are 6 X 6 inches and so there is just enough scrap to use for the bow.  

I like the elegant font of the sentiment which says just enough for a Christmas wish.  I've used the new in colour Evening Evergreen and Cherry Cobbler inks so very traditional.  You could however use more on trend colours like pale pinks and blues for a fun look too. 

This will be one of the cards for my Christmas Card Buffet that will be happening next month and each month through to November if you'd like to join either a postal class or in person and would like more details please do contact me. 

In the meantime do visit the rest of the CC Club ladies to check out their candle or AG cards. 

Enjoy your Sunday

Keep safe and keep stamping

Zoe x

Tidings of christmas suite


Scallop contour dies for card making scrapbooking


join our fun stampin up team to enjoy discount shopping


Become a discount shopper choosing £130 of stamping goodies plus a winter mini stamp die/punch bundle as an extra bonus and free shipping. 

Sunday, 28 March 2021

Ice cream Tree for Christmas - What do you think?


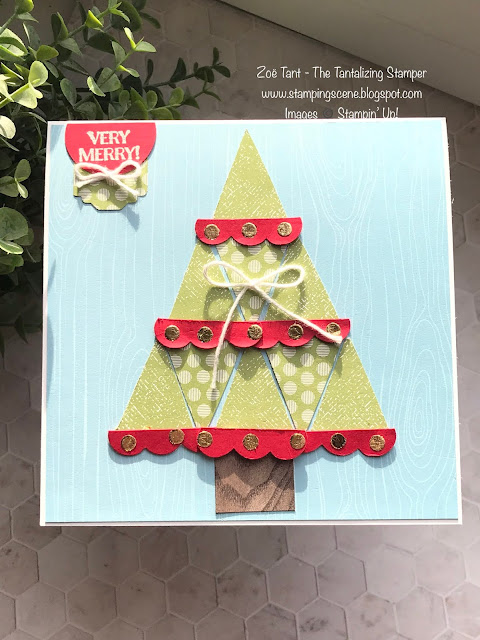
christmas tree card made with ice cream paper punch

Hello Christmas Card Club fans and the team.  Our challenge this Sunday is to share cards with Christmas trees on them and I've gone for a fun, cheery punch art card and believe it or not I've used an ice cream punch to create most of the tree and the decoration. 

ice cream cone builder punch
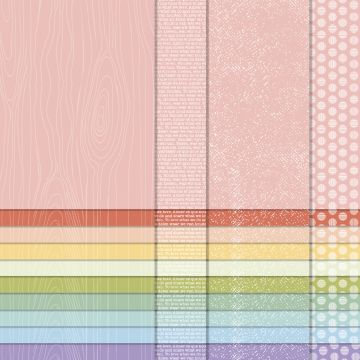
I used the cone for the tree itself and the bottom of the ice cream part to create a garland which I've decorated with glue dots and gilded leafing.  I used both sides of my subtle dsp paper stack to create some more interest and added a simply white embossed sentiment from Itty Bitty Christmas stamp set along with a couple of bakers twine bows. It's simple and fun and a great one for children to receive or make. 

This weekend we're in the garden while it is nice and doing chores indoors.  Hubby is vaccinating doing his bit today I'm so proud of him and Charlie. C will volunteer again once his exams are over.  


Enjoy your Sunday and see you again soon. 

Hugs Zoe x


Sunday, 28 February 2021

Can you name that tune?

christmas card made using Stampin Up Poinsettia Petals

What a beautiful day with the sun shining and spring flowers popping up. Once again it seems a little wrong to be making Christmas cards, but there's nothing like the fun of sharing with my Christmas Card Club friends.  Today our challenge is to create a card based on a Christmas Carol.  Rita chose our fun theme, but can you guess the carol I have chosen. 

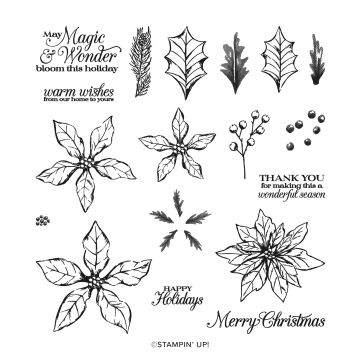
I used the holly stamps from the Poinsettia Petals stamping on watercolour paper and then using my water painters I've dragged colour from the stamped lines onto the images as well as add some from ink lids.  I  used the Poinsettia dies to die cut the leaves and gold foil sprigs.  


 I added the die cuts to a background stamped in 2nd generation Grey Granite ink using a script stamp from Very Versailles stamp set.  I also used Versamark, heat and stick powder and some gilded leafing to add a sentiment.  Finally I used the Grey Granite stampin marker to add some splatters.

Best wishes for a good week all.  We continue to live with dust from the builder, but have had a fab walk in the sunshine today.  Ready for a cosy evening in now.  

Keep safe, well and crafting 
Hugs Zoe x

PS My carol is Deck the halls with boughs of holly. 

gilded leafing for card making use with heat and stick powder


heat and stick powdered adhesive


Poinsettia Petals stamp set shop with Zoe Tant


For all products SHOP HERE

Monday, 9 November 2020

How to use Stencilling and Ink Blending for cardmaking

handmade christmas card using stencils and ink blending

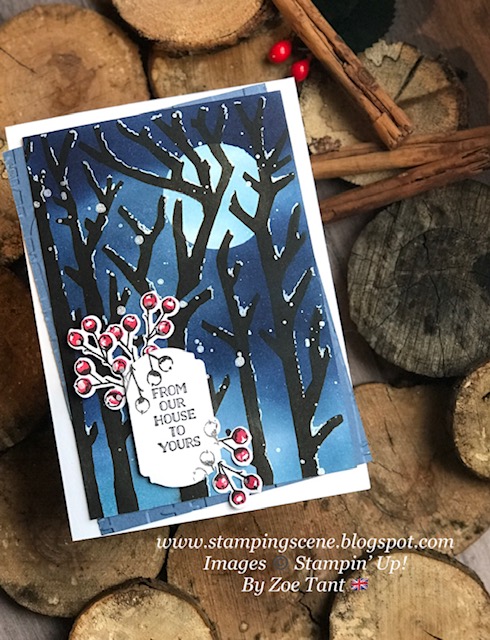
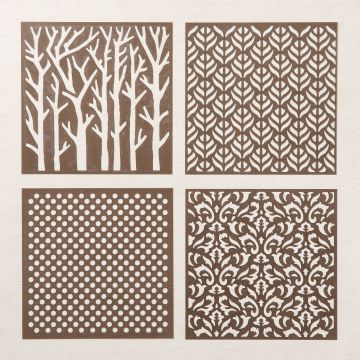
 Happy Monday all I'm here today with my card for the Christmas Card Club challenge set by Rachel.  Use a stencil is the theme and you can see here I used a tree stencil.

First of all I created my sky using blending brushes and ink colours Balmy Blue, Misty Moonlight and Night of Navy.  The brushes help to blend the ink smoothly and help with creating a sky like this.  Half way through creating it I masked a moon using a sticky note and 1 1/2" circle punch.  Once I'd got the sky I wanted I removed the sticky note and adhered my design to a piece of boarding using some Stampin' Seal that I then 'fluffed' up on my jeans  before adding to the back and placing it face up on the board.  This makes it easier to remove from the board but also holds it in place for the next step. 

Now I placed the stencil over the card and taped it into place off the artwork and onto the board.  I used painters masking tape to do this again so that it is easy to peel off.  

I then used another blending brush to firmly but carefully add Early Espresso ink to create the tree shadows on the sky.  Once done I heat set the whole piece before adding touches of snow with a gel pen and some Frost White shimmer paint splatters to create the effect of falling snow.  To do this I added a little water to one of my stamping blocks and then using a paint brush dropped a little shimmer paint into it and stirred with the brush to water it down. This helps with drying time.  You can also use rubbing alcohol for a quicker dry.  

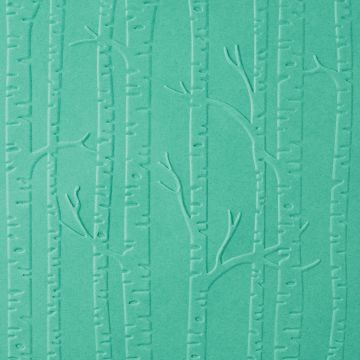
Whilst it was drying I embossed a piece of Misty Moonlight card with the Woodland embossing folder and added that as a matt layer.  I also added a stamped sentiment and some berries stamped and die cut using Poinsettia Petals bundle.  The white punched label seemed too stark so I just added some second generation stamping of the berry outlines.   

A little different to the traditional Christmas card themes, but I'm pleased with how it turned out.  

Keep safe lovely readers.  We are in lockdown again here in the UK so more online classes are coming.  If you'd like to join my mailing list please do email at zoetant@live.co.uk to be added.  

Hugs Zoe x

SHOP HERE


stampin up basic pattern masks stencils for papercraft

Basic Pattern Masks 


shimmer paint frost white stampin up uk

Frost White Shimmer Paint


Poinsettia Petals stamps and dies

Poinsettia Petals Bundle


woodland embossing folder for papercraft

Woodland Embossing Folder