My STAMPING PAPERCRAFT blog - Stamping Scene

Hello and welcome to my blog. I'm a paper craft addict and love sharing my passion for paper crafting . I run online and face to face card making, memory keeping and all sorts of 3D projects. I also sell many of the products I use. If you'd like more information do drop me an email. Thank you for visiting I hope to see you again soon. Zoe x
Showing posts with label lincolnshire craft shop. Show all posts

Monday, 27 February 2023

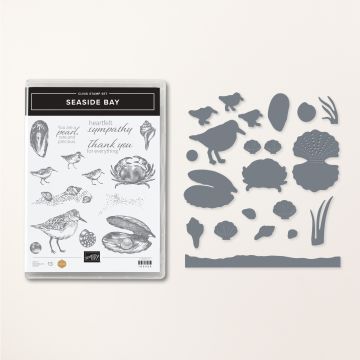
Seaside Bay Delivers Pearls

seaside bay stamps and dies card with pearl embellishment
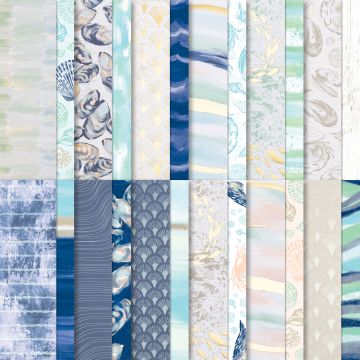
Hands up who would be happy with a pearl arriving with their birthday card?  Of course this isn't real, but it adds a touch of lux to your birthday card makes especially when used with the beautiful By The Bay designer series papers from the By The Bay Suite in the spring mini Stampin' Up! catalogue.  

When papers have this lovely shimmery gloss you need little else to create a card that pops.  I've stamped the shell with second generation ink as my navy pad is very juicy and I wanted to show off all the beautiful detail the stamp has.  You'll need to judge the inkiness of your ink pad.  A trial on scratch card is always a good start.  

I used the reverse of another sheet of paper to create a matt layer for my die cut and then embossed square to showcase the shell and pearl. Touches of twine and diets and simple sentiments add the finishing touches to a simple but impacting design.  You can make the shell pop more by using stampin' dimensional to make the up part rise up a little.  

You can see a very different design using the Seaside Bay bundle by visiting my previous post about masking techniques

Thanks for popping by and come back soon for another example using the Seaside Bay soon. 

Happy Monday 

Zoe x


Supply List

seaside bay stamp and die bundle from stampin up


6" x6" designer series paper By the Bay from stampin up


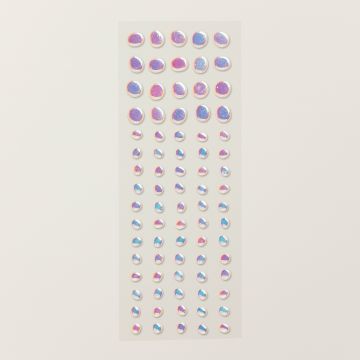
flat adhesive-backed pearls for craft projects


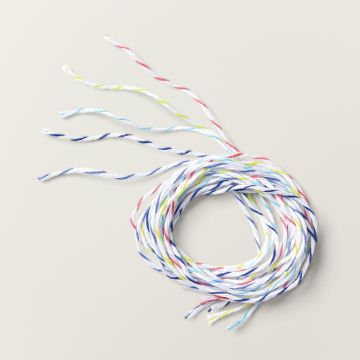
in color bakers twine pack use to enhance your craft projects


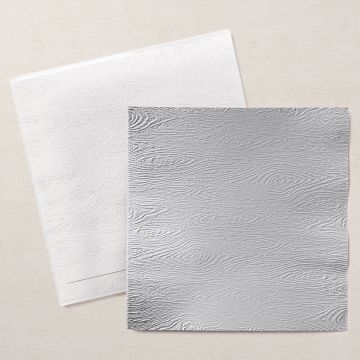
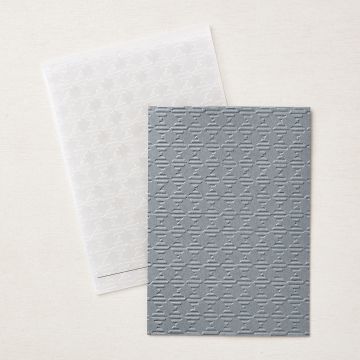
timber dry embossing folder

Monday, 25 July 2022

Graduation Cards


Graduation for our gorgeous girl was a long wait.  Covid meant it was postponed for two years including two cancellations. However we got there and it was such a special day.  We are like all parents so proud of Liv and her achievements.  She has now flown the nest of home and is loving her job.  Naturally as a card maker I couldn't let the day go without a special handmade graduation card which I can now share.  I cased and adapted a card I spotted in a demonstrator email from Stampin' Up!


Proud mum and of course Dad couldn't resist a try of the hat as he was already working by the time his graduation happened and so missed out.  He even admitted he was sad now not to have been able to go all those years ago. So make sure you go to yours if you have a great achievement like this to celebrate.


The card itself has tone on tone stamping on the background paper and then a fussy cut flower from the same paper pack  is adhered to a Stylish Shapes circle die.  The fussy cutting with these gorgeous printed flowers isn't difficult and you can of course choose how far you want to go with cutting out every little piece. Adding to a white background disguises some of the not so easy to cut out parts and saves you the time.  Finishing touches include some basic pearls and a double bow of white bakers twine.  


When you join Stampin' Up! the door is open to lots of inspiration and ideas from the company and its designers as well as others who benefit from being a member.  There are lots of people to help you with technique tips and gorgeous makes of all kinds.  You can enjoy discount shopping of top quality stamps and papercraft products all coordinating to make it easy.  If you would like to find out more about joining a great community of papercrafters please do get in touch.  You can get a fab logo'd planner along with your starter kit if you join in July or August as a bonus free gift. 

Happy days and now to create happy scrapbook memories of our day too. 

Keep safe and keep stamping

Zoe x


join stampin up in july or august to get bonus

For more info look click on the link at the top of the blog. 


saleabration gifts link summer 2022
Saleabration Gifts 

Tuesday, 1 February 2022

Sending Love for Moving Along with the Times Challenge

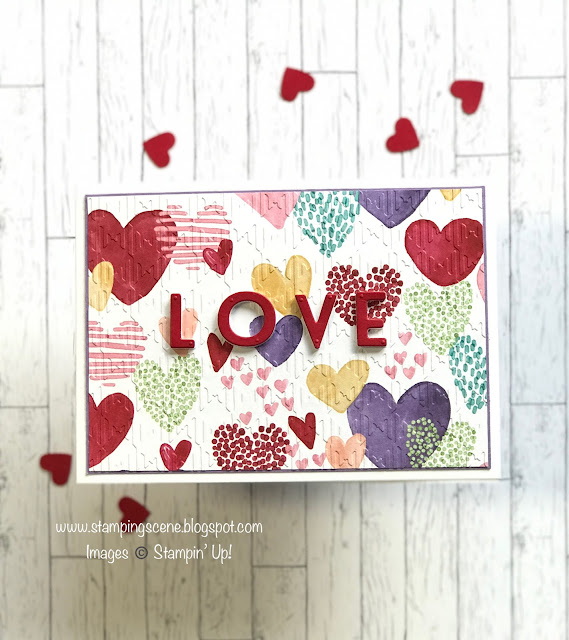
valentine anniversary card with playful alphabet dies stampin up with zoe tant uk

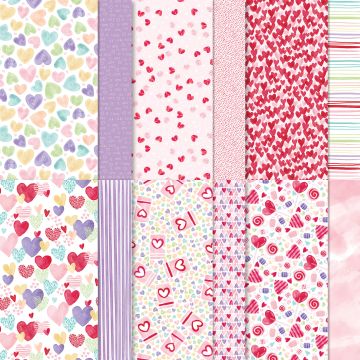
 It's a new month and of course it's the month of love with Valentine's Day fast approaching.  Over at Moving Along With The Times we are sharing cards for love and/or anniversaries.  I've created a really simple card, but the message packs a punch with both letters and lots of lurverly hearts from the Sweet Talk Designer Series Paper (DSP) from the Stampin' Up! Spring mini catalogue.  I cut a piece of the DSP that is 9.5cm x 13.8cm.  I embossed this using the Gingham folder and added a matt layer of Highland Heather card stock that is 9.7cm x 14 cm.   

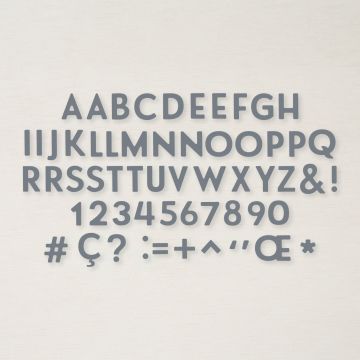
I added the word LOVE using the Playful Alphabet dies and put Real Red card onto a piece of foam adhesive sheet to give some dimension ie raise the letters.  

#simplestamping for sending a little love to one and all. 

Join the challenge HERE .

Happy Valentine's Month

Keep safe and keep stamping

Zoe x


Shopping List

Sweet Talk patterned papers for craft


Sweet Talk Patterned Papers


Playful Alphabet Dies for card making scrapbooking


Playful Alphabet Dies


gingham embossing folder

Gingham Embossing Folder

foam adhesive sheets for craft

Foam Adhesive Sheets


Shop and choose a free gift with every £45 spent (excl. P&P)

or join and choose a bonus 2 extra sets in your kit


Saturday, 1 January 2022

Subtles for Eden's Garden and Shaded Summer

birthday card using stampin up Eden's Garden and Shaded Summer stamps dies

 Happy New Year everyone.  I hope it is a much better year for everyone in all respects. It would be so good if we get to see more of our family and friends and travel freely. 

Today for the Moving Along With The Times challenge and for the month of January our lovely team leader Diane has set the challenge for everyone to share cards for ladies and girls so a very easy challenge and we look forward to seeing all your designs.  

For my card I combined the Eden's Garden Suite with the Shaded Summer stamp set and whilst you may have fallen in love with Eden's Garden prior to Christmas using it for festive cards it is also a gorgeous choice for subtle colours and cards for the ladies and girls in ours lives.  

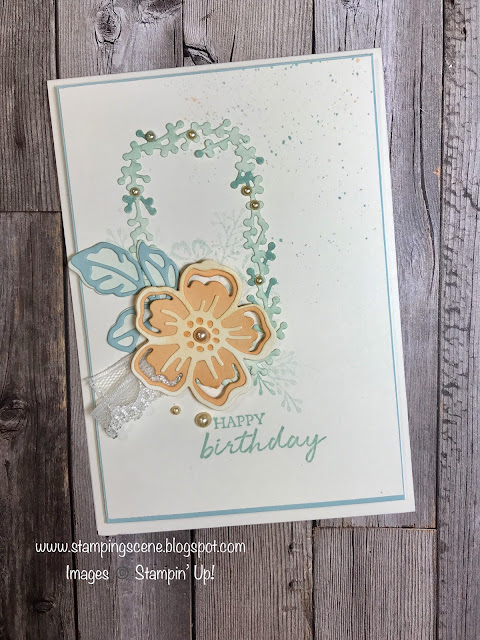
I chose the colour palette of Pool Party, Pale Papaya and Very Vanilla using my blending brushes to add very subtle colour to some parts of my design.  I also used alcohol markers, Stampin' Blends, to colour some basic pearls to tone in with my design.  By using second and third generation ink I added some soft background stamping to add depth and more interest to the die cuts.  

Don't forget to join our challenge over on the challenge blog throughout January and enjoy the last few days of the new year bank holidays.  

Keep safe all and keep stamping

Hugs Zoe x

Friday, 17 December 2021

Shaving Foam with Stencil Technique - inky but fun


Welcome to our final Totally Techniques International Stampin' Up! demonstrator blog hop. We are sharing the shaving foam with stencils technique which I have to say I hadn't done as a joint technique before and although it can get a little messy it was a lot of fun experimenting and finally settling on this design to share.  


To start you need a shallow tray, something like an open stamp case is perfect and you add some shaving foam not gel.  It can be the cheapest you can find in the supermarket and if you like fragrance that's fine, but if you don't try to choose a fragrance free tin.  
Use something like a small ruler or old gift card to smooth out the foam in your tray to create a layer that you can add drops of ink onto.  I used Stampin' Up! re inkers Misty Moonlight and Magenta Madness.  Choose your colours carefully as they will mix and you could get brown or an overpowering single colour which if you prefer is fine, but you may like the two tone effect that I created also. 

Drop several dots of ink onto the foam and then gently 'stretch' out the ink using a coffee stick or orange nail stick.  You can then use a spatula or I used one of my embossing paste tools to lift some foam and ink to put onto a stencil placed and possibly secured with Washi tape over a piece of white or coordinating coloured card.  I used Fresh Freesia card and the Adorning Designs Decorative masks from the Stampin' Up! winter mini, in particular the snowflake design, but any stencil will work and if you don't have one you could make your own with dies and something like vellum card.  You only need to paste a thin layer of the inky foam over the stencil to try to keep the images you create nice and crisp.  Once you've covered as much of the stencil as you want to you can lift the stencil and either allow the piece to dry before wiping off excess foam or wipe straight away to add some smearing.  Experiment to see which you prefer. There won't be too much if you've kept to a thin layer to begin with. Have some scrap or kitchen paper in place to put your inky stencil and tools on.  


This is after I have collected some of the foam so you can see the inks start to mix.  Once you have stencilled as much as you want you can then pop a piece of card onto the inky foam to create a basic shaving foam background too.  This just needs to be lifted off the foam and the excess shaving foam wiped off with kitchen paper.  Let it dry and you can then use as a background matt layer or die cut shapes from it.  

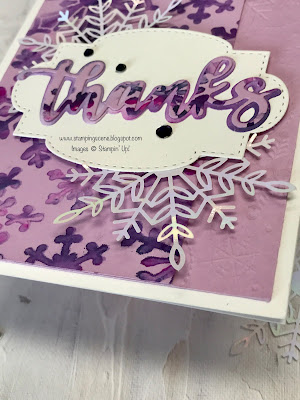
Once dry I cropped my snowflake artwork to the size I wanted and added to a snowflake embossed layer on a white card base.  I used off cuts to die cut the thanks (spring catalogue die sneak peek!!!) and added it to a die cut layer which I matted a couple of the winter mini Wonderful Snowflakes onto and also added some Holiday Rhinestones in Night of Navy.    

Such thank you cards will make perfect cards for gifts received at Christmas. 


Please do visit the other Stampin' Up! demonstrators posts as I have no doubt that there will be some very varied versions of this technique to give you lots of inspiration. 

Thanks for stopping by and we'll see you next year with more Totally Techniques Blog Hops.

Keep safe and keep stamping
Hugs Zoe x

You are invited to the Inlinkz link party!

Click here to enter
Shopping List Below

Friday, 29 October 2021

Spritz and Splatter techniques using Eden's Garden from Stampin' Up!

birthday card using stampin up Eden's Garden stamps and dies for card making


totally techniques stampin up demo blog hop sharing spritzing techniques

Welcome lovely crafters to our Totally Techniques blog hop from Stampin' Up! demonstrators all around the Stampin' Up! world sharing spritz and splatter techniques for you to use in your card making and scrapbooking.  

I've used a brand new stamp set with coordinating dies to share the Eden's Garden Suite with you. It launches on 2 November and includes beautiful papers, gems and cotton paper along with this gorgeous bundle.  NB the patterned papers, cotton paper and gems are only available whilst supplies last and will not be in the Spring catalogue. 
eden's garden card making thumbnail

Here's how I made my card. 
1. Use a blending brush to add Soft Seafoam Ink to one side of white card 9.5cm x 14.3cm.
2. Add the same colour ink to a text stamp, I used the one from Very Versailles, and smudge off some of the ink with your finger or a piece of kitchen towel then partially stamp it onto the card.
3. Use a stampin' write marker and flick the nib inside the pen top to create splattering across your design. I also used a drop of re inker bottle ink on a stamping block mixed with a drop or two of water from my large water painter and then dipped the water painter brush into the inky solution and tapped the brush with my finger over the blended area to add extra splatters. 
4.  Stamp a sentiment onto a die cut white card from the Eden dies and remove one decorative end to be able to tuck it under a clear heat embossed die cut wreath of Evening Evergreen card. Before sticking this sentiment strip gently blend ink onto the piece.  I used the other decorative end to add heat and stick powder and gilded leafing to tuck behind this layer. 
5. Add a gold die cut and a die cut butterfly stamped in black with a black baker's twine bow. 


To finish the card I stamped the text in the corner of the base card before rolling the top left hand corner of my design layer.  I stuck all of this piece then onto the card base and added some Eden gems coming next month.  

Detailed, but CAS (clean and simple) all at the same time!

I can't wait to share the new Eden's Garden Suite with my class attendees as it is so beautiful.  I hope you think so too.  Enjoy the hop.

Keep safe and keep stamping
Hugs Zoe x

You are invited to the Inlinkz link party!

Click here to enter


Eden's Garden Suite stampin up with zoe tant uk


Butterly Brilliance Bundle stampin up with zoe tant


Very versailles stamp set stampin up


Friday, 30 July 2021

What do you get if you cross a sheep with pretty paper?


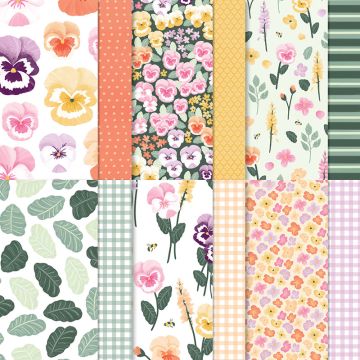
Welcome to the July Totally Techniques International Stampin' Up! demonstrator blog hop.  We are sharing tips and inspiration for using the very simple paper piecing technique.  I have connected the technique using papers from the annual catalogue, Pansy Petals, (btw you only have until 2 August to benefit from 15% off these papers) with the soon to arrive Counting Sheep stamp set and Sheep dies which can both be obtained individually when you spend £45, or £90 if you want both,  from 3 August in my Stampin' Up! shop or contact me to place an order.  Be aware that the dies are limited stock so it's first come first served.  

Of course the answer to the question is a Woolly Jumper/Sweater! The old ones are the best don't you think.  I love how my sheep have turned out and wouldn't the fields look prettier if all sheep were patterned and colourful.  Paper Piecing is such an easy thing to do with an open image stamp that you can add pieces of DSP to.  All you need to do is stamp the image twice once on white/vanilla card and then onto DSP.  Cut out the pieces you want from the DSP and add colour to your black and white image by adding pieces of the fussy cut DSP.  To see the actual process here's a very short video I created.


I also used the In Good Taste DSP to create the gate.  The die itself embosses as it cuts to create a woodgrain effect but when cut from wood print looks great. Also prior to cutting i gently pushed the die onto my Early Espresso ink pad to add more depth to the woodgrain embossing.  


 The grass is a mini stamp in the Counting Sheep set and I used a mixture of Soft Succulent and Soft Seafoam ink.  I've added more detail by using Stampin' Blends on the ears and hooves and the sentiment I pieced by cutting up a sentiment from the same set and creating my own.  I've added the design to an on trend slim card. You might find you need to create your own envelopes for this if you score and cut your own card base, but of course it is could follow the theme of the sheep and be created out of the same DSP pack. 

You can get lots more inspiration for this fun technique from my fellow international demonstrators by clicking through the thumbnails below. 

Have a great weekend all. 

Keep safe and keep stamping!

Hugs Zoe x

You are invited to the Inlinkz link party!

Click here to enter


pansy petals patterned papers from Stampin Up with zoe tant uk

Pansy Petals DSP


In good taste papers from stampin up with zoe tant uk demo

In Good Taste DSP 


papers sale to 2 august 2021


Selected DSP 15 % Off ends soon


Join stampin up

Join Stampin' Up! now to benefit from pre order and get advanced access to the winter catalogue or from 3 August for a Saleabration treat in your new kit. 

JOIN MY TEAM

Sunday, 28 March 2021

Ice cream Tree for Christmas - What do you think?


christmas tree card made with ice cream paper punch

Hello Christmas Card Club fans and the team.  Our challenge this Sunday is to share cards with Christmas trees on them and I've gone for a fun, cheery punch art card and believe it or not I've used an ice cream punch to create most of the tree and the decoration. 

ice cream cone builder punch
I used the cone for the tree itself and the bottom of the ice cream part to create a garland which I've decorated with glue dots and gilded leafing.  I used both sides of my subtle dsp paper stack to create some more interest and added a simply white embossed sentiment from Itty Bitty Christmas stamp set along with a couple of bakers twine bows. It's simple and fun and a great one for children to receive or make. 

This weekend we're in the garden while it is nice and doing chores indoors.  Hubby is vaccinating doing his bit today I'm so proud of him and Charlie. C will volunteer again once his exams are over.  


Enjoy your Sunday and see you again soon. 

Hugs Zoe x