My STAMPING PAPERCRAFT blog - Stamping Scene

Hello and welcome to my blog. I'm a paper craft addict and love sharing my passion for paper crafting . I run online and face to face card making, memory keeping and all sorts of 3D projects. I also sell many of the products I use. If you'd like more information do drop me an email. Thank you for visiting I hope to see you again soon. Zoe x
Showing posts with label rubber stamping. Show all posts

Friday, 27 September 2024

How to do Ghost Stamping for card-making


It's been a very wet week here and I'm now glad that for a short while there is no wind or rain and the sun is shining.  I believe it is due to last a couple of days and so let's enjoy it.  However you've found the right place for some crafting inspiration if you are stuck indoors with wet windy weather.  Our Totally Techniques team are sharing one form of Ghost Stamping.  

It's something I had never done before and I enjoyed getting inky to create some fun simple cards with a different texture.  I also used a selection of background stamps that I love to use but often forget to pull off my shelf.  

All you really need is a pigment white ink pad,  white card, a background or line image stamp and then a solid image or background stamp.  You'll also want some different colour inkpads  which can be all different colours or the same colour in different shades.  You don't need much else other than a base card and any embellishments or sentiments you may wish to add.  This is really simple with subtle results, but enhancing results and I think  you will enjoy having a go.  

For the above card you'll want colours similar to Garden Green, Lemon Lime twist, Azure Afternoon, Misty Moonlight and white pigment ink. 

You can find out how to create the ghost stamping effect in the video below.  


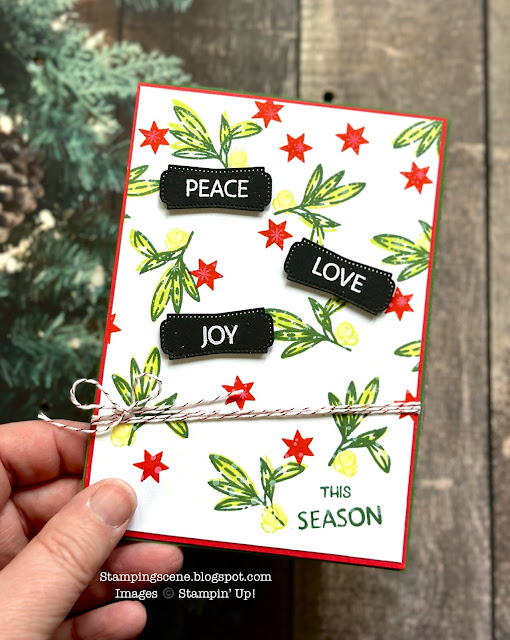
From background stamps to add the colour you can also move to using smaller stamps like these from the Iconic Imagery Stampin' Up! bundle.   Use all the different elements to create a seasonal background of your own and then just add sentiments to share your festive message. 

For this you'll need colours similar to Poppy Parade, Garden Green, Lemon Lime Twist, Lemon Lolly, white pigment ink and black card. 


christmas cards handmade using background and seasonal images and ink pads


ghost stamping when a paler pigment ink shows through a coloured ink


Give this technique a try because you'll definitely enjoy trying it out with different colours and stamps.  Also take a look at my global Stampin' Up! friends on our blog hop by clicking on the icons below to look at their makes with this technique.  

Thanks for popping by and did I mention that next month we'll have a Kit sale.  30% off all kits in the Kits Collection.  Look under Online exclusives to find them.  

See you soon.
Zoe x

You are invited to the Inlinkz link party!

Click here to enter


Supplies Used

Iconic Imagery stamp and die set bundle
Iconic Imagery 


Leaf Collection stamp set stampin up


Plaid stamp for rubber stamping with ink pads
 Sketched Plaid 


Uninked Craft white pigment ink pad for embossing ghost stampin
Un-inked stampin pad with craft white pigment ink with refill


Deckle edge layering rectangle dies for papercraft
Deckle Edge Rectangle Dies

Friday, 23 February 2024

Cardmaking Babywipe tutorial for Totally Techniques Blog Hop


handmade card using the baby wipe technique with Hooray for surprises stamp set and dies


Oh my it's been a long while since I blogged. Sadly we had a very close family member pass away just before Christmas and it has taken time to come to terms with and move forward.  Thanks for your patience. 

However I'm back and now joining the Totally Techniques Global Stampin' Up! demonstrator blog hop. We are sharing tips and ideas for using the baby wipe technique in different ways.  I created the back ground of the card above, the flowers and the leaves by using a baby wipe.  


Once you have created your scrunched baby wipe backgrounds you can die cut the sheets or cut to suit your needs for your card background.  If you make your own ink pad you can then stamp and die cut lots of images and save them for other cards.  The ink pad you create will last for several stamps! Be aware that the ink will continue to bleed across the wipe and will eventually not be a nice colour so you'll need to dispense with it then responsibly.  Wash out your stamp case and keep for another technique or to repeat this one another day.  

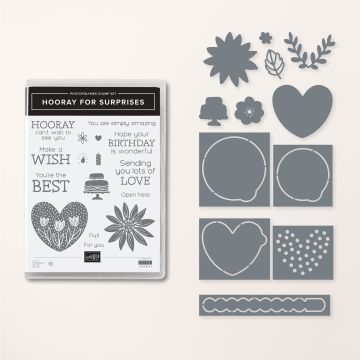
This is my second card which as you will see in the video I stamped the background and then added flowers and foliage along with gems and sentiment.  I used the Hooray for Surprises stamps and dies to stamp pretty flowers and then die cut them and also the leaves.  


handmade card created using the baby wipe technique


I hope you have fun having a go at this technique and that you will also continue on the blog hop for more ideas.  

thanks for popping by and come back soon.

Hugs Zoe x

You are invited to the Inlinkz link party!

Click here to enter


Supplies used
Click to Shop

hooray for surprises stamp and die bundle available from Stampin' Up!

Hooray for Surprises stamps and dies

watercolour paper


ink pads from stampin' up!


Friday, 29 September 2023

Reverse Masking for simple but effective handmade card design

handmade christmas card showing reverse masking technique with stampin up rubber stamps uk zoe tant demo


Hi everyone hope you are all keeping well and welcome to the monthly Totally techniques Blog Hop.  This month we are sharing ideas and tips for the reverse masking technique.    

It's an easy one to do and you don't need many supplies.  This is how I created mine. 
handmade christmas card showing the reverse masking technique with zoe tant stampin up uk demo

I die cut a deckle edged rectangle and then used a decorative mask and blending brush to create a back drop for my design.  I added ink over the exposed area of card.  Leaving the mask in place I stamped the holly from Sending Cheer stamp set.  

I've added a sentiment which is stamped in red and gold embossing and then attached it to the debossed side of a dry embossed piece of green card.  It's an easy technique that you can add to or make even simpler with no bling or embossing.  

Have fun on the hop and we'll see you again soon. 

Zoe x

You are invited to the Inlinkz link party!

Click here to enter


Monday, 19 June 2023

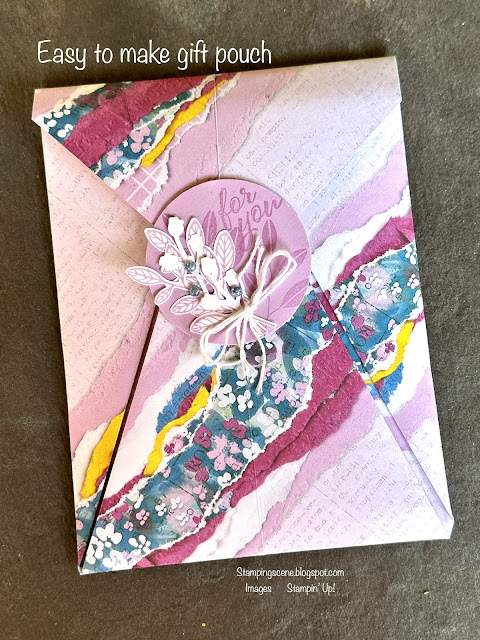
Easy to make pouch tutorial

easy to make gift pouch

Since sharing my one sheet wonder post I've had lots of requests for a tutorial for making the pouch that held the cards made as a result of using the OSW.  Therefore I've made a short youtube video to show how easy it really is.  I hope you find it useful.  

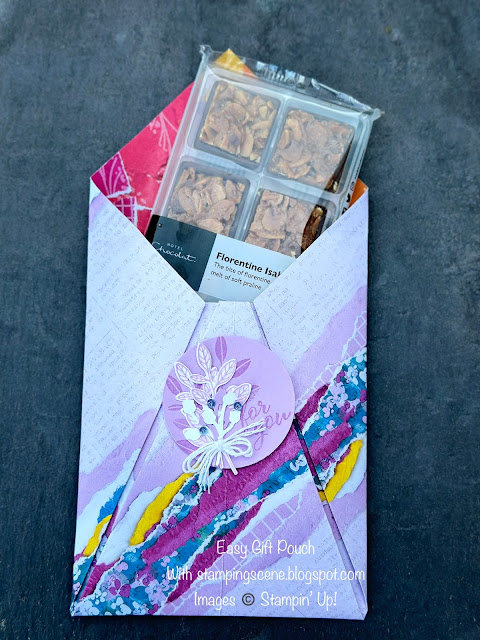
The pouch will take at least 3 handmade cards and envelopes and also tasty chocolates like Hotel Chocolat selector packs.  


If you like the video please do subscribe to my Youtube channel for more tutorials.  
easy to make gift wrap for chocolates


Happy stamping
Zoe x

DSP sale


If your wishlist is long consider joining Stampin' Up! as a shopper. This month you can choose £154 of product with free shipping, community, new friends and lots of ideas for just £99. 

join stampin up
 

Friday, 9 June 2023

One Sheet Wonder with 6" x6" Designer Series paper


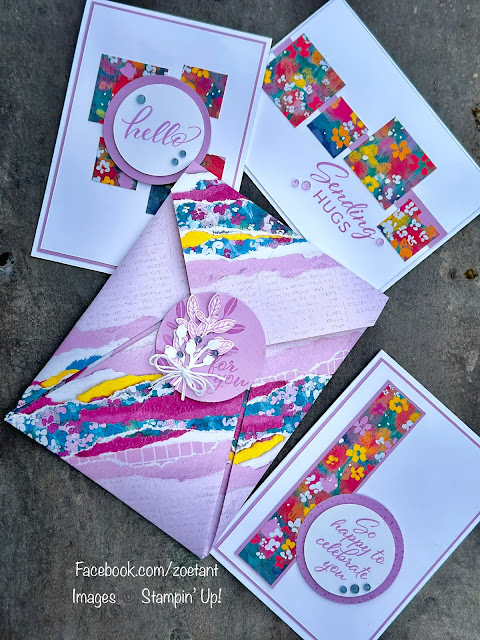
one sheet wonder cards and gift envelope using Masterfully Made Designer series Paper

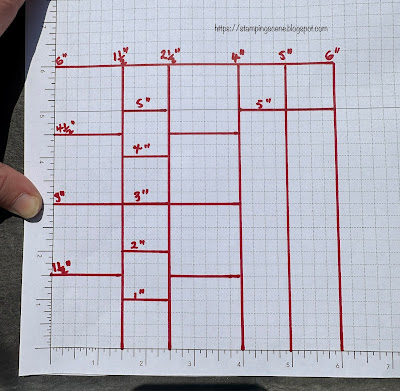
Welcome to my blog on a sunny Friday in June in Lincolnshire, UK. I'm sharing a One Sheet Wonder idea that is really simple for any card maker and you could upscale from a 6" x 6" cutting plan to a 12" x 12" sheet of paper and use for scrapbooking layouts.  Below is the cutting plan for a piece of 6" x 6" designer series paper, DSP.  

OSW one sheet wonder 6" x 6" cutting plan

If you cut all the pieces you can make the six cards shown and of course with most Stampin' Up! DSP packs you have double sided papers so can make 3 with one side of the paper and 3 with the other.  
With an additional 12"x 12" piece of DSP from the same pack I have created a gift pack that will comfortably fit 3 cards and envelopes inside to make a fun teacher gift or a thank you for someone who has helped you or just a treat for a neighbour.  

cards and envelope made with OSW paper from Stampin' Up! with zoe tant uk demo

Some folk say you should never send a naked envelope so you can see that I've stamped the envelope flaps using the Layering Leaves stamp set from the new Stampin' Up! annual catalogue and I've used it and the coordinating punch to create a topper for the envelope which is attached with stampin' dimensional and allows you to tuck the flap of the packaging neatly underneath the topper without then having to tear the package to open it. 

I've kept the stamping very simple using just one ink, Fresh Freesia and have also added some sparkle with the Tinsel Gems Three Pack. 

On the bottom trio I have also used a score board to add some detailing behind the DSP squares. All of the sentiments and stamping are from the Layering Leaves stamp set.  

I hope you'll have a try at a OSW soon and to make it easier to decide don't forget that in June many of Stampin' Up!'s DSP packs are on sale with a 15% discount.  Buy any 4 packs of DSP on sale,  from me in June using host/demo code T9D47SFB to receive a free pack of Stampin' Dimensionals. Please note these will be posted to you separately by me and this offer is only available from me and is not offered by Stampin' Up!.  SHOP DSP

In the meantime enjoy the sunshine and happy stamping. 

Zoe x

Join Stampin Up with Zoe Tant UK demo
In June you can save on your shopping by joining Stampin' Up!
Choose £154 worth of products and pay £99 + free shipping
 

Supplies Used

Masterfully Made Designer Series Paper DSP


Tinsel Gems Three Pack


Fresh Freesia yardstick


layering leaves photopolymer stamp set for stamping


Monday, 27 February 2023

Seaside Bay Delivers Pearls

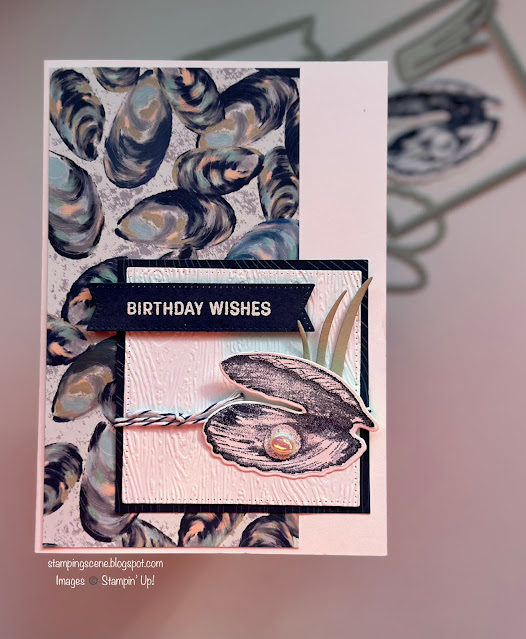
seaside bay stamps and dies card with pearl embellishment
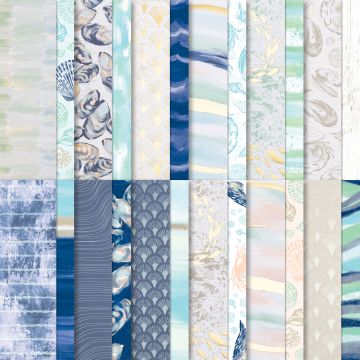
Hands up who would be happy with a pearl arriving with their birthday card?  Of course this isn't real, but it adds a touch of lux to your birthday card makes especially when used with the beautiful By The Bay designer series papers from the By The Bay Suite in the spring mini Stampin' Up! catalogue.  

When papers have this lovely shimmery gloss you need little else to create a card that pops.  I've stamped the shell with second generation ink as my navy pad is very juicy and I wanted to show off all the beautiful detail the stamp has.  You'll need to judge the inkiness of your ink pad.  A trial on scratch card is always a good start.  

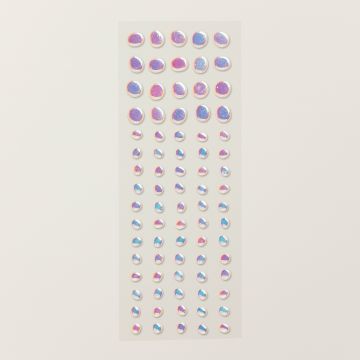
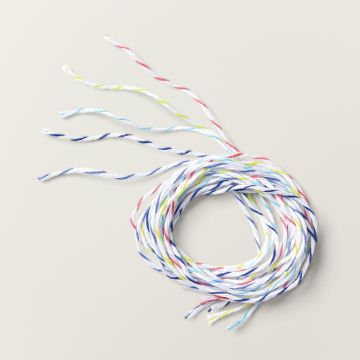
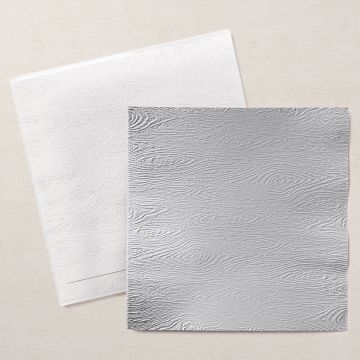
I used the reverse of another sheet of paper to create a matt layer for my die cut and then embossed square to showcase the shell and pearl. Touches of twine and diets and simple sentiments add the finishing touches to a simple but impacting design.  You can make the shell pop more by using stampin' dimensional to make the up part rise up a little.  

You can see a very different design using the Seaside Bay bundle by visiting my previous post about masking techniques

Thanks for popping by and come back soon for another example using the Seaside Bay soon. 

Happy Monday 

Zoe x


Supply List

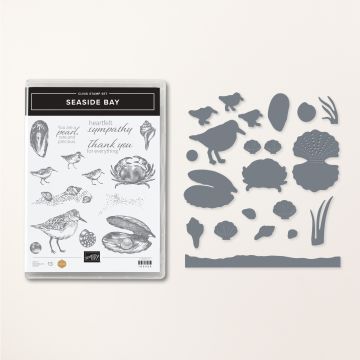
seaside bay stamp and die bundle from stampin up


6" x6" designer series paper By the Bay from stampin up


flat adhesive-backed pearls for craft projects


in color bakers twine pack use to enhance your craft projects


timber dry embossing folder

Friday, 28 October 2022

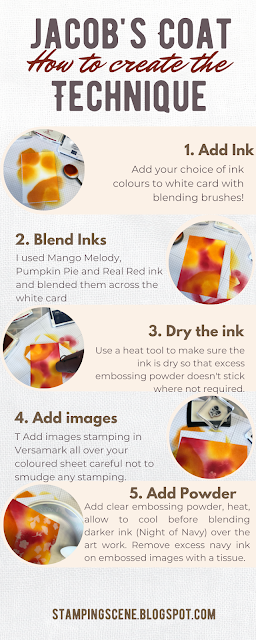
Joseph's Coat Technique for cardmaking


example of Joseph's Coat technique with stampin up

Welcome everyone and sorry I've been somewhat preoccupied with family issues recently so have missed a couple of our lovely Totally Techniques Team blog hops, but back tonight with the team sharing Joseph's  Coat Technique.  This is a fun way to play with ink.  It's not difficult, but can get a little messy when you add some of the ink, but it has wow results and you can use lots of different colour combinations.  There are also different ways you can approach this technique, but here is my take on it.

tutorial card for jacobs coat technique for card making

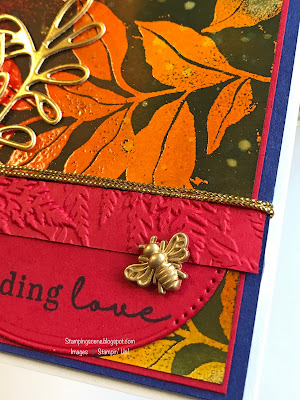
Once you have created your Jacob's Coat you can use the whole design to make it a decorative layer for a card and add sentiments, dry embossed strips, ribbon and die cuts along with embellishments like the bee. 
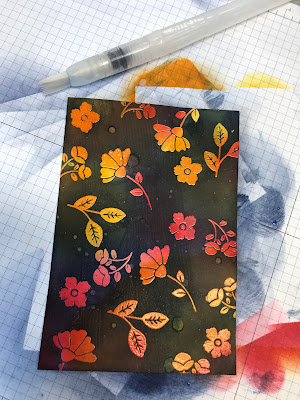
inking technique for card making and scrapbooking jacob's coat


On this version of the technique I also used water droplets to create bleach spots and also added some Wink of Stella for some added interest and sparkle.  I've also added some gold foil card die cuts and an embossed strip of real red card and a die cut sentiment using the Stylish Stems stamp set and dies.  

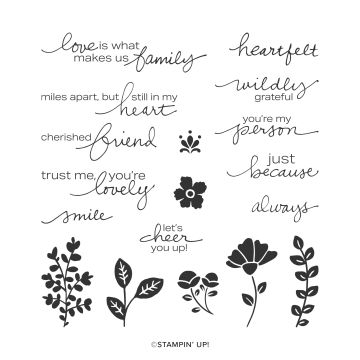
I created a very simple version also using the Lovely You stamp set and the same colours as above. 

a version of the Jacob's Coat ink technique for card making
I added a very simple silver embossed sentiment to this version and some sparkly silver Festive Pearls. 

Simple bold jacob's coat technique card with Lovely You stamp set stampin up


I hope you will give this fun technique a try and don't forget to visit the other members of the Totally Techniques Team to find more inspiration.  If you are interested in any of the products I have used please do visit my shop via the links below to find out more or contact me via the shop for more information.  

Happy stamping, keep safe

Zoe x

You are invited to the Inlinkz link party!

Click here to enter


Supplies 
botanical layers stamp set stampin up 2022


Stylish Stems dies for card making quilting


Lovely You stamp set


festive pearls self adhesive embellishments for papercraft


wink of stella for adding shimmer to papercraft projects