Hello and welcome to my blog. I'm a paper craft addict and love sharing my passion for paper crafting . I run online and face to face card making, memory keeping and all sorts of 3D projects. I also sell many of the products I use.
If you'd like more information do drop me an email. Thank you for visiting I hope to see you again soon. Zoe x
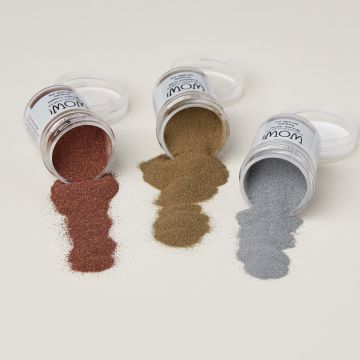
This month for the Totally Techniques blog hop we are sharing tips and ideas for the Faux Metallic Embossing Technique.
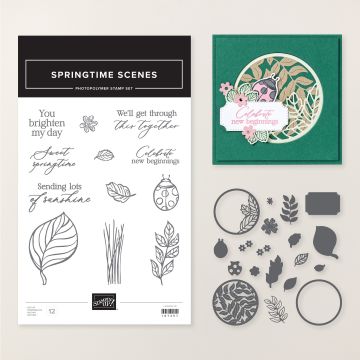
I've used a fabulous bundle called Springtime Scenes and celebrated Ladybirds which have been out in their hundreds recently in our sash windows and in the garden, but that's good because they eat the bugs you don't want usually.
Here's my tutorial
I hope you find the tips useful and like the somewhat different way I have used this technique.
I'm sure you'll find lots of inspiration from my Totally Techniques friends and I hope you'll try this fun technique. You can find another ladybird card with the Springtime Scenes bundle coming over the weekend or on my facebook page at www.facebook.com/zoetant.
Hi friends how's your week been? Here I've been busy enjoying time out with friends, walking dogs and enjoying son being home for a few days. I've also been busy creating and really enjoyed tinkering with ink and water to create this month's Totally Technique card. Annette my lovely dutch friend set the task for us to share watercolour stamping and it is fun.
I really like the differing looks that just using these mediums can create and add in embossing folders and dies and there's lots you can do.
The measurements are as follows
Fluid 100 watercolour paper whole sheet
Lost Lagoon card base 29.8 x 10.5 cm scored at 14.85 cm
Lost Lagoon matt layer embossed 9.7cm x 14cm
Lost Lagoon die cut rectangle start with 10.5cm x 14.8cm
All the extra details are included in the video. If you enjoy watching please do subscribe to my channel and share with friends.
You can use ribbon, rhinestones and die cut card to embellish or add some tiny bee trinkets and hand torn stamped two-tone cardstock. Which do you prefer?
Welcome on this very sunny, hot Sunday afternoon. I love the sunshine, but keeping cool is best at the peak of the day and so what better to fill my time than creating a sentiment focused Christmas card!!!! Lol crazy or what?*?*!
I've used the Alphabet A La Mode alphabet dies for this simple message card. It takes a little time though as I've cut three of each letter to layer them using double sided adhesive sheets to add depth and make the letters pop even more.
I've used Real Red, Garden Green and Gold foil card and the retired Christmas Banners stamp set to add some #simplestamping holly.
A sprinkle of golden pearls and you have a sentiment focused card.
I'm part of a great group of crafters across the globe who share Christmas card makes every fortnight. If you'd like to join us then pop one of us a message. Do go see the others cards to inspire you for your festive makes.
Thanks for stopping in and enjoy the sunshine if you have it or the excitement of snow potentially elsewhere, at least more of a festive scene tee hee.
I'm finally back on track and able to join my first in a while New at SU blog hop. We are sharing handmade cards for kids. Mine is created using the fun Supremely Awesome stamp set from the Stampin' Up! annual catalogue on page 80. If you like my daughter 'LOVE PIZZA!' this is the stamp set for you.
This is the perfect stamp set to create party invitations with too. I stamped mini pizza sliced tone on tone onto the red background and then die cut two lots of yellow DSP so that I could mix and match the paper designs. The Patchwork Pieces dies make this easy to do and to make it easy to secure them a little spaced out I glued the tip of each piece onto a punched circle for ease of adding to my card.
I used the Alpabest stamp set to create the 'party' part of my sentiment and pizza is part of the Supremely Awesome set and just needs some masking to get the part you want.
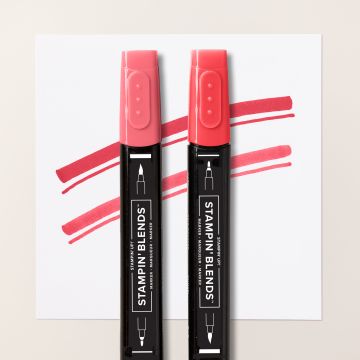
I stamped and coloured the pizza man using alcohol markers aka Stampin' Blends and used Lost Lagoon, Daffodil Delight, Bronze, Cherry Cobbler, Pebbled Path, Copper Clay and Sweet Sorbet. It's easy to fussy cut this fun image and pop him onto the starburst. This would be such a fun way to invite kids to a birthday party.
Enjoy the hop and lots of ideas for kids handmade cards.
Hugs Zoe x
Offers this month
£99 this month gives you £154 of your choice products, fun, friendship and free shipping
Since sharing my one sheet wonder post I've had lots of requests for a tutorial for making the pouch that held the cards made as a result of using the OSW. Therefore I've made a short youtube video to show how easy it really is. I hope you find it useful.
The pouch will take at least 3 handmade cards and envelopes and also tasty chocolates like Hotel Chocolat selector packs.
If you like the video please do subscribe to my Youtube channel for more tutorials.
If your wishlist is long consider joining Stampin' Up! as a shopper. This month you can choose £154 of product with free shipping, community, new friends and lots of ideas for just £99.
Hello and welcome to my share for the Totally Techniques Stampin' Up! demonstrator blog hop sharing lots of tips and tutorials for the Faux Watercoloring Technique.
I wasn't at all sure what to do for this challenge, but I hope I've covered the brief and that you can follow my video and have a go yourself. It's not rocket science and is actually a very forgiving technique that could lend itself to lots of different stamp images and creates fun cards using as few or as many ink colours as you wish.
I used the stamp set Wild and Sweet which includes a Racoon, Koala and a Panda. I've made a card using each of the images and a couple of additonal stamps or embellishments to just add more texture.
For once I've even made a video that I hope you'll take a look at and be kind, I'm no top performer, but it's honest and covers the brief I think.
The handmade card above showcases the lovely Koala which I framed very simply with Deckle Edged Rectangles and a sentiment from Botanical Layers.
The video to create the watercolour scene is here:-
My second card uses the Racoon and again is very simple letting the image do the talking. I matted my image onto retiring Evening Evergreen card and then onto Mossy Meadow. Just like the card above I stamped tone on tone with Grey Granite ink and card to create a subtle base.
My final card and the final stamp in this nature lover's stamp set shares the Panda image. This image is matted onto a Mossy Meadow border and then onto the returning colour Pretty Peacock which can be green or blue depending upon which colours you team it with and makes it very flexible and a popular returning colour to our main colour offering. I stamped a simple Happy Birthday in copper embossing and added some copper brushed metal dots onto dry embossed card base. I used the 'stripes' folder from a double pack of folders.
I hope you love my take on the challenge, but don't forget to visit the rest of the hop and also remember that the Last Chance List will be gone forever by the end of 1 May in readiness for the new annual catalogue launching on 2 May. If you wish to have a copy please do contact me soon to find out how to get your hands on one.
Have a great bank holiday weekend for all my UK readers.
Hello and welcome to my blog and the New at SU blog hop. I've been away for quite a while now with things going on in family life that have made me take a step back for some months from crafting, but hopefully back and building up speed again now with this fun hop sharing cards using no white card and a bundle from our new spring catalogue. Many of the bundles were already chosen by the time I got my act together and so I've created a bundle using the Decorative Borders and Kind and Sincere stamp sets to create this simple stepper card and also add some #simplestamping.
You can find lots of stepper cards to follow and I've gone with EU measurements.
card base 21 cm x 14.8 cm
Score on the long side for 3cm at 3cm, 6cm and 13.4cm on both sides.
cut from the inside 3cm point of the 3cm score line right up to the 3cm inside point of the 13.4 cm line on both sides.
Score between the two cut lines at 10.5cm on the long side.
Fold the score lines to form mountain - valley - mountain from the 3 cm score lines.
You can then decorate your card base how you wish. I've added a rectangle of card for the centre section which I have stamped on. This piece is 10cm x 8.2cm. I've stamped on it with Tuxedo Black Memento ink so that I could then add some extra colour with my Stampin' Blends, alcohol markers. I've also stamped part of the sentiment from the Kind and Sincere set on this piece and added a fussy cut 'Thanks' from the same set which I heat embossed using Versamark ink and white embossing powder.
A sprinkling of pearls and some white ribbon finished this section which I adhered having once stamped some tone on tone ie yellow ink on yellow card designs from the Decorative Borders set.
These cards always look more difficult than they are and can be very effective.
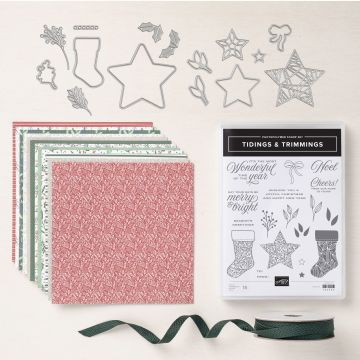
Welcome on World Card Making Day to my blog for the October Stampin' for Christmas hop. I've chosen a CAS card to share today. I used the very popular Tidings and Trimmings bundle with Tidings of Christmas DSP (pretty papers) along with Perfectly Plaid stamp set and Scalloped Contour dies.
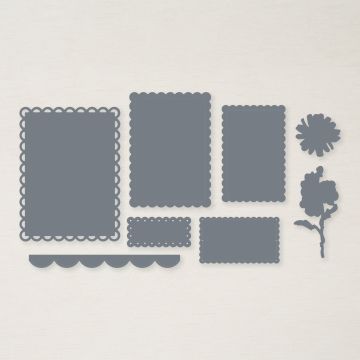
I've chosen a couple of CAS cards to share today. I used the very popular Tidings and Trimmings bundle with Tidings of Christmas DSP (pretty papers) along with Perfectly Plaid stamp set and Scalloped Contour dies. I used the scallop border die to die cut away about a third of the top layer of my card leaving a gap to showcase a stripe of the pretty papers underneath as well as space for the all important Christmas message to loved ones and friends.
I've die cut a star in Cherry Cobbler card to add a backdrop to the punched tree and create a small paper banner with an offcut. Love using every little piece of paper don't you?
I've added a gold heat embossed sentiment which I trimmed with a pair of scissors which I often find is the perfect die when you don't have anything else specific to suit your purpose.
I love CAS cards for the festive season so that it is easy to create a handful well and quickly.
Here I've used the Festive Foliage background stamp with the same scalloped edge and stamps from Tidings and Trimmings. You can see more about this card on my earlier Stampingscene post.
Thanks for checking in now you're off to the next stop via the next button.