My STAMPING PAPERCRAFT blog - Stamping Scene

Hello and welcome to my blog. I'm a paper craft addict and love sharing my passion for paper crafting . I run online and face to face card making, memory keeping and all sorts of 3D projects. I also sell many of the products I use. If you'd like more information do drop me an email. Thank you for visiting I hope to see you again soon. Zoe x
Showing posts with label baby wipe technique. Show all posts

Friday, 23 February 2024

Cardmaking Babywipe tutorial for Totally Techniques Blog Hop


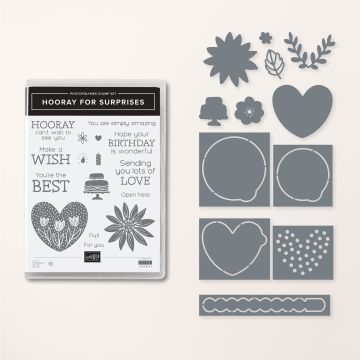
handmade card using the baby wipe technique with Hooray for surprises stamp set and dies


Oh my it's been a long while since I blogged. Sadly we had a very close family member pass away just before Christmas and it has taken time to come to terms with and move forward.  Thanks for your patience. 

However I'm back and now joining the Totally Techniques Global Stampin' Up! demonstrator blog hop. We are sharing tips and ideas for using the baby wipe technique in different ways.  I created the back ground of the card above, the flowers and the leaves by using a baby wipe.  


Once you have created your scrunched baby wipe backgrounds you can die cut the sheets or cut to suit your needs for your card background.  If you make your own ink pad you can then stamp and die cut lots of images and save them for other cards.  The ink pad you create will last for several stamps! Be aware that the ink will continue to bleed across the wipe and will eventually not be a nice colour so you'll need to dispense with it then responsibly.  Wash out your stamp case and keep for another technique or to repeat this one another day.  

This is my second card which as you will see in the video I stamped the background and then added flowers and foliage along with gems and sentiment.  I used the Hooray for Surprises stamps and dies to stamp pretty flowers and then die cut them and also the leaves.  


handmade card created using the baby wipe technique


I hope you have fun having a go at this technique and that you will also continue on the blog hop for more ideas.  

thanks for popping by and come back soon.

Hugs Zoe x

You are invited to the Inlinkz link party!

Click here to enter


Supplies used
Click to Shop

hooray for surprises stamp and die bundle available from Stampin' Up!

Hooray for Surprises stamps and dies

watercolour paper


ink pads from stampin' up!


Wednesday, 5 May 2021

More ideas with babywipe technique for paper crafters


 At the weekend I joined the Totally Techniques International blog team to share with you lots of ideas for the baby wipe technique.  I have an 'after' product for you today.  To recap you need to add drops of ink from a few re inkers onto a folded baby wipe which you place on a non porous surface. I find that a stamp case works well and i keep the occasional broken one, (usually the I've trodden on it or the dog might have  tasted a corner) especially for this technique and others like shaving foam etc.  

baby wipe technique ink on baby wipe zoe tant

Next step is to use it as a multicoloured ink pad. 

And stamp multicoloured images as you can see in my last Stampingscene post to create a beautiful background or stamped images that can be die cut and used as a focal point. 

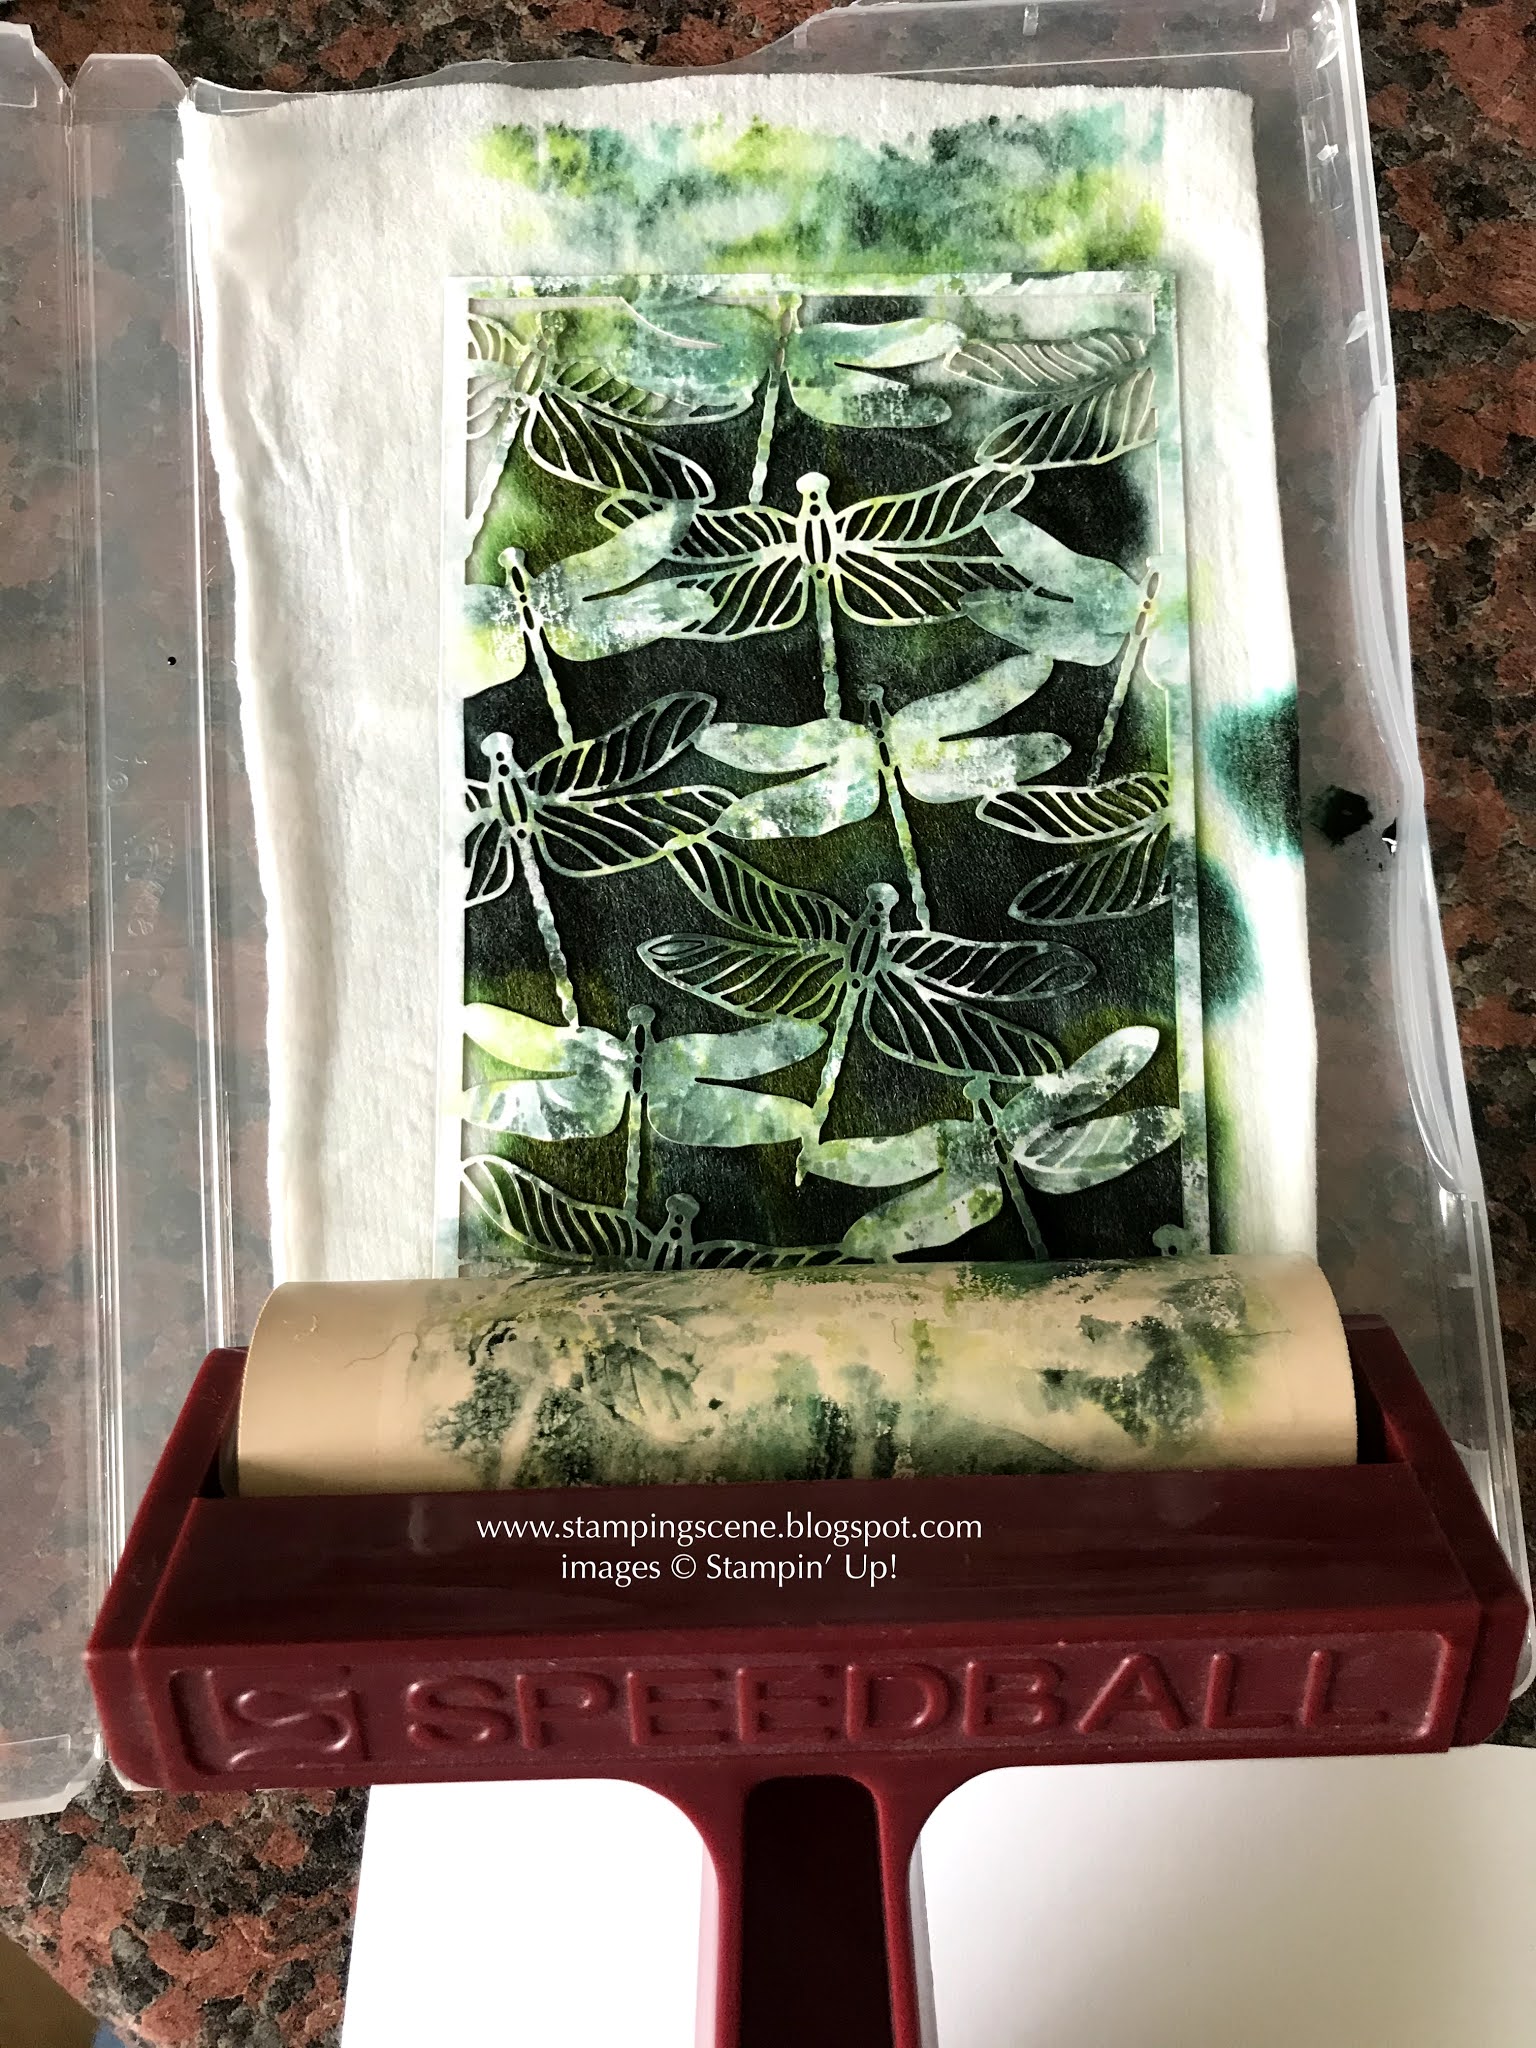
You will want to have plenty of card ready for this as you can create lots from one wipe and keep them for other projects.  However as the ink spreads through the wet wipe the colours merge and so you can get extra use from it depending a little upon the colours as it can end up not quite so pretty.  I firstly added a laser cut sheet from the Dandy Laser-cut paper to the homemade ink pad and then used an old brayer to run over the sheet.  It pushes the paper into the ink and creates a multi-coloured laser cut piece. 
dandy laser cut papers on homemade ink pad

As I type this one is currently drying on a window sill.  I will use this as a background for another card.  You can then also see that the brayer has some ink on it and has also silhouetted some of the dragonflies where the brayer didn't hit the inky wipe.  I've used this on another piece of white card and will again use for another card. 
Finally I have also once the dragonfly laser sheet was removed repeated this action a few times to create sheets that I can die cut images out of or use as a background.  I store these in plastic wallets and can use as and when and in the case of my card I'm sharing today.  I used the Quiet Meadow Bundle in the new Stampin' Up! annual catalogue to die cut some of the images to create such a card.  

Tip for the butterfly as it cuts it as though it is wings closed.  Cut one piece with your inked background uppermost and then cut with it on the un inked side to get an opened winged butterfly. 

The stamps from the bundle add some simple stamping and some retired enamel dots finish the piece along with the end of the label die in the bundle tucked underneath the layers.  This is a great way to use up off cuts or minor mistakes on a shifting die through your die cutting machine.  

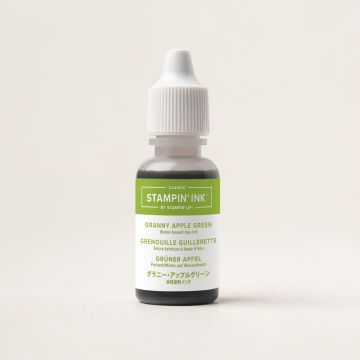
I used the colours Granny Apple Green, Just Jade, So Succulent and Evening Evergreen.  You can see all the colours and bundles in our new catalogue online on my website or contact me to arrange for your own paper copy to browse and enjoy full of lovely products but also lots of project inspiration.  

Thanks for dropping by, keep safe and keep stamping 

hugs Zoe x

stampin up quiet meadow bundle

Evening Evergreen Re-inker stampin up with zoe tant
Evening Evergreen Re-inker 


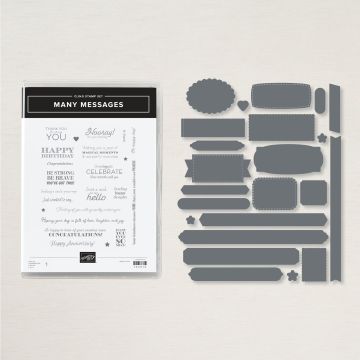
many messages bundle stampin up with zoe tant

Friday, 30 April 2021

Babywipe Technique for Card Making

tutorial for babywipe and ink technique using stampin up lots of leaves with zoe tant

 
Welcome to our monthly paper craft technique blog hop.  Lovely Barbara in Austria chose our theme this month and so we'll be sharing lots of ideas for using re inkers and baby wipes for the baby wipe technique. 

This is such an easy but effective technique to try. 
1. Place a wet babywipe folded in half twice into an empty stamp case.
2. Drop several droplets of ink in different colours over the folded wipe, they will start to merge quite quickly. 
3. Use the inked wipe as an inked to create fund stamped backgrounds or as the focal point of your design. 
4. Have lots of card available as your new ink pad will last for several pieces of card. 

Check back next week for more ideas for getting as much use out of your inky wipe. 

For my homemade ink pad I used Granny Apple Green, Just Jade and two new in colours Evening Evergreen and Soft Succulent.  I love the fresh but textured effect it has created with the Lots of Leaves stamp set. You can use any stamp on your ink pad but if you really want to show off the effect solid image stamps probably work best.  

There are also several sneak peeks on my card from the upcoming new annual catalogue that will go live next week.  What do you think of the tags and copper foil additions?

I've also added a layer of vellum to soften the stamping under the tags.  Enjoy the hop I know you are in for a treat.   Scroll down and click on each thumbnail to tour the other international Stampin' Up! demonstrator blogs.

Keep safe and keep stamping 

Zoe x
stampin up catalogue and zoe


The new catalogue is available in paper form now. If you'd like a copy please do contact me to arrange your copy by email at zoetant@live.co.uk 

lots of leaves stamp set stampin up with zoe tant uk demo


Just Jade re inker stampin up with zoe tant


You are invited to the Inlinkz link party!

Click here to enter

Tuesday, 21 February 2017

Stampin' Up! Nailed It with some nuts and bolts

Stampin' Up! Nailed It stamp set 
When I made my Hey Chick card for Totally Techniques baby wipe technique blog hop I was keen not to let the lovely self made ink pad go to waste so I also made this card using the same technique detailed in my Stampin' Up! Blog Hop post.  I used the fab set Nailed It which is in the Stampin' Up! UK spring catalogue and is a hit for male cards.  I used the Build It dies that coordinate too on the nuts and bolts and ruler using silver foil card to create a modern look.   I cut a separate screwdriver in silver foil and also stamped it first on whisper white card and then die cut it again to add a colourful handle which I coloured with Stampin' Up! markers.

An additional bit of texture was created with Stampin' Up! Timeless Textures by stamping and heat embossing the 'grid' stamp across my baby wipe ink pad background which was stamped with Gorgeous Grunge.

Quick Tip
If you use the Build It framelits to cut the hexagon nut you can keep the circles from the centre and add a score line to create screw heads.

Hugs Zx
SaveSave

Friday, 27 January 2017

Stampin' Up! Demonstrator Totally Techniques Blog Hop

Stampin' Up! Demonstrators Technique Blog Hop

Welcome if you've arrived from Nadine's blog. Her project is fabulous.  Isn't it fun to see so many different variations of the same technique.   If you've joined here with me welcome to our January Totally Techniques blog hop.  This month we're sharing some examples of the baby wipe technique.


So what do you need to do to create this effect.

1. Place a baby wipe on a plastic surface, I found the inside of a Stampin Up stamp case is just perfect.  
2. Stamp your image in black stazon onto the baby wipe.
3. Add drops of ink using your re inkers around the stamped image to effectively 'colour' it with ink.  
4. Your black image should show through depending upon the colours used on the baby wipe. Take your clean image stamp and place in the same position as the stamped image and use the baby wipe as a stamp pad with multicolour inks.
5. Stamp your image.  


So that is how simple this is.  You can then use the same home made ink pad to stamp a back ground on your card. I used Stampin Up Timeless Textures and Gorgeous Grunge.  I added some punched embellishments using Stampin' Up's Sprinkles punch.

Thanks for stopping by and enjoy the HOP!  Zx


Here's the blog list in case you get lost

You're here with Zoe Tant UK


SaveSave