My STAMPING PAPERCRAFT blog - Stamping Scene

Hello and welcome to my blog. I'm a paper craft addict and love sharing my passion for paper crafting . I run online and face to face card making, memory keeping and all sorts of 3D projects. I also sell many of the products I use. If you'd like more information do drop me an email. Thank you for visiting I hope to see you again soon. Zoe x
Showing posts with label masks from stampin up for stencilling. Show all posts

Friday, 27 March 2026

How to use layering stencils for simple stamping


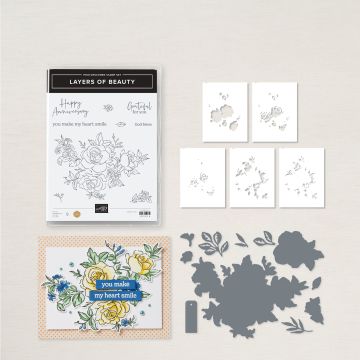
Welcome to the March Totally Techniques blog hop.  We are sharing ideas for using layering stencils which could be homemade using die cuts or using bundles like this Layers of Beauty version that I have created.  There are 5 stencils.  Start with #1 and work your way through all 5. 

After stamping your image gently attach it to a piece of copier paper or grid paper with some low tack tape.  Position stencil #1 over the image in the correct place lining it up with the image outlines.  You can then mark the position of the stencil starting at the top left with the notch in the stencil.  I've added pen marks for the corners of the stencil. 
 
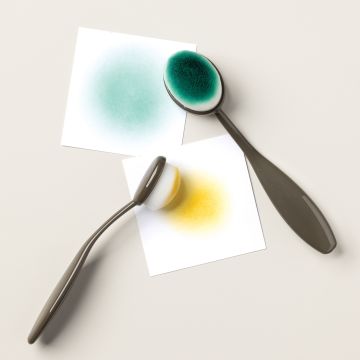
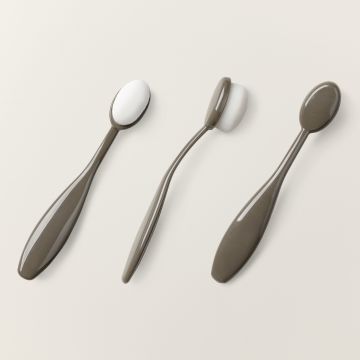
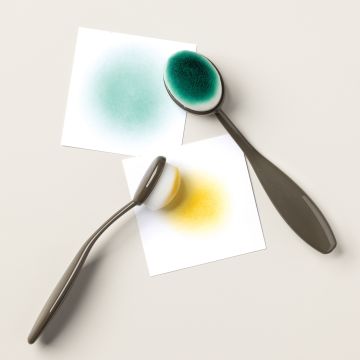
Use blending brushes or sponge daubers to add colour to the revealed sections of the image. 


Once completed carefully remove stencil #1 and work through each stencil lining it up with the notch and corner marks.  Use the colours that suit your design. 

Once completed you can die cut the image or you can use the whole sheet on which it is stamped, however make sure you remove any tape carefully at a 45degree angle to reduce the risk of tearing the card. 

As you can see I die cut my image and added some extra die cuts using other dies from the set.  Again I added colour using a blending brush and added these extra leaves to my main image.  I use a little glue on the front of each stem to then adhere them to the back of the image.  


I also added a sneak peek sentiment from a new stamp set coming in May in the new Summer catalogue.  It's called A Family Celebration and has mainly the script font and a number of the words in capitals.  A great size and fresh looking.  I stamped in black ink and cut each word to add to my background of Wood Grain Wonder DSP.  


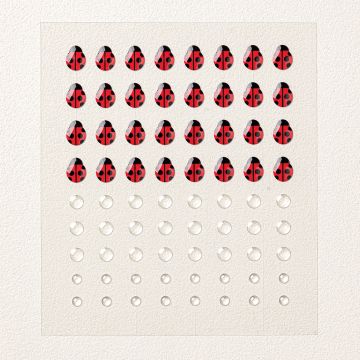
I added Wink of Stella to some of the petals for some shimmer along with a ladybird and clear epoxy dots to the Daisy flower centres.  I love a little #simplestamping and colouring in for an easy, effective and relaxing craft session.  

Enjoy the hop and gather the tips to create your own versions.

Thanks for popping by.

Happy stamping Zoe x

You are invited to the Inlinkz link party!

Click here to enter


PAPER PUMPKIN SUBSCRIPTION KITS
COMING 1 APRIL 2026 
REGISTER YOUR INTEREST WITH ME NOW

paper pumpkin kit boxes


Supplies
large blending brushes


Layers of Beauty Bundle

Please contact me. 

Friday, 25 April 2025

Collage Stamping


handmade card with collage stamping technique
Hi friends join our Totally Techniques blog hop for lots of ideas about collage stamping.  We have a fabulous selection of different ways to incorporate this technique into your paper crafting.  

Today though I don't have a video as I managed to somehow delete it after filming my make so I'll explain a few ideas for you.  

Start by creating a watercolour wash background and let it dry thoroughly.  You can then stamp onto it using your chosen stamps.  Mine are from the Cheers and Sips set along with the  splatter stamps from Elements of Text.  Both sets are online exclusives with the Cheers and Sips launching on 6 May.  You can create different effects by stamping with full ink or stamping some off first on scratch paper and then using second generation ink.  Once stamped I created my own stencil using the lemon and olive dies from the Cheers and Sips dies to create it using a piece of acetate that comes in with your stamp set. It's thinner than window sheet and so not a problem for dies to cut.  Using the stencil you can add embossing paste to enhance your project with texture.  

create a stencil using dies

I also used blending brushes to add colour to white card to create the glass, umbrella and strawberry.  Be sure if you then emboss your image that you allow the ink to dry before stamping and use an embossing buddy to avoid excess powder on your image that is difficult to remove.  


ink blending on card to use for diecutting

You can also use glue dots once all your elements are completely dry to add gold leafing dots.  Stamp a simple sentiment in Secret Sea ink onto white card for an effective but easy option and a matt layer dry embossed using your favourite embossing folder.  Mine is Forever Plaid .  

Thanks for stopping by.  See you again soon and check out my youtube channel to learn more techniques.  I will do another video for this technique soon.  

Keep stamping

Zoe x

You are invited to the Inlinkz link party!

Click here to enter


 Supplies Used
elements of text rubber stamp set


Friday, 17 December 2021

Shaving Foam with Stencil Technique - inky but fun


Welcome to our final Totally Techniques International Stampin' Up! demonstrator blog hop. We are sharing the shaving foam with stencils technique which I have to say I hadn't done as a joint technique before and although it can get a little messy it was a lot of fun experimenting and finally settling on this design to share.  


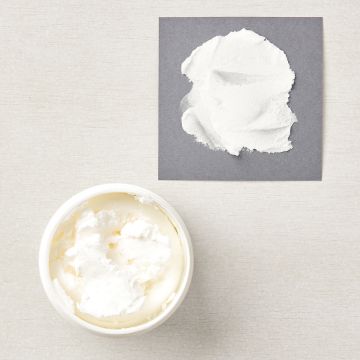
To start you need a shallow tray, something like an open stamp case is perfect and you add some shaving foam not gel.  It can be the cheapest you can find in the supermarket and if you like fragrance that's fine, but if you don't try to choose a fragrance free tin.  
Use something like a small ruler or old gift card to smooth out the foam in your tray to create a layer that you can add drops of ink onto.  I used Stampin' Up! re inkers Misty Moonlight and Magenta Madness.  Choose your colours carefully as they will mix and you could get brown or an overpowering single colour which if you prefer is fine, but you may like the two tone effect that I created also. 

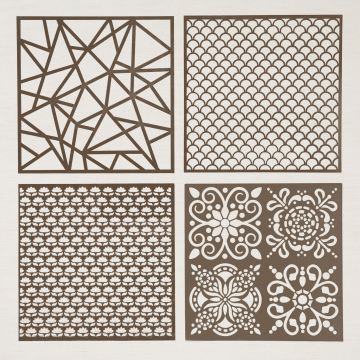
Drop several dots of ink onto the foam and then gently 'stretch' out the ink using a coffee stick or orange nail stick.  You can then use a spatula or I used one of my embossing paste tools to lift some foam and ink to put onto a stencil placed and possibly secured with Washi tape over a piece of white or coordinating coloured card.  I used Fresh Freesia card and the Adorning Designs Decorative masks from the Stampin' Up! winter mini, in particular the snowflake design, but any stencil will work and if you don't have one you could make your own with dies and something like vellum card.  You only need to paste a thin layer of the inky foam over the stencil to try to keep the images you create nice and crisp.  Once you've covered as much of the stencil as you want to you can lift the stencil and either allow the piece to dry before wiping off excess foam or wipe straight away to add some smearing.  Experiment to see which you prefer. There won't be too much if you've kept to a thin layer to begin with. Have some scrap or kitchen paper in place to put your inky stencil and tools on.  


This is after I have collected some of the foam so you can see the inks start to mix.  Once you have stencilled as much as you want you can then pop a piece of card onto the inky foam to create a basic shaving foam background too.  This just needs to be lifted off the foam and the excess shaving foam wiped off with kitchen paper.  Let it dry and you can then use as a background matt layer or die cut shapes from it.  

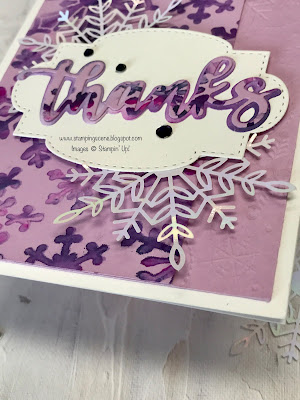
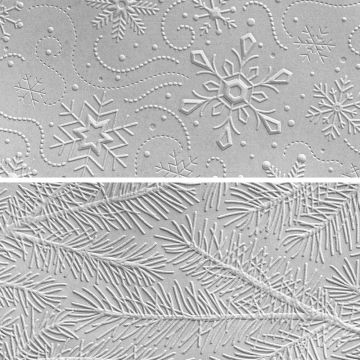
Once dry I cropped my snowflake artwork to the size I wanted and added to a snowflake embossed layer on a white card base.  I used off cuts to die cut the thanks (spring catalogue die sneak peek!!!) and added it to a die cut layer which I matted a couple of the winter mini Wonderful Snowflakes onto and also added some Holiday Rhinestones in Night of Navy.    

Such thank you cards will make perfect cards for gifts received at Christmas. 


Please do visit the other Stampin' Up! demonstrators posts as I have no doubt that there will be some very varied versions of this technique to give you lots of inspiration. 

Thanks for stopping by and we'll see you next year with more Totally Techniques Blog Hops.

Keep safe and keep stamping
Hugs Zoe x

You are invited to the Inlinkz link party!

Click here to enter
Shopping List Below

Wednesday, 9 June 2021

Using Stencils and Masks to create a frame with Stampin Up Flowers of Friendship stamps

using stencils mask with blending brushes and flowers of friendship from Stampin Up for pretty card making

I recently shared some stamping at a socially distanced and number counted Stampin' Up! party for one of my customers. It was such fun and the ladies all loved the idea of being OUT OUT!

It was a lovely day so we sat in the host's garden and then were socially distanced while I shared some fun but simple techniques with the ladies.  

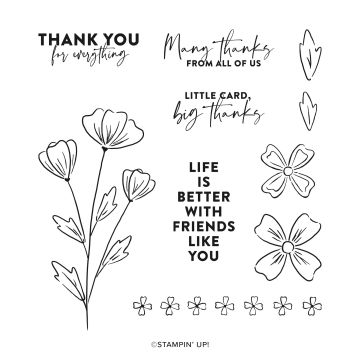
For this particular design I used the new Plenty of Patterns decorative masks and in particular this geometric pattern.  I stamped the pretty flowers from Flowers of Friendship Stampin Up stamp set and then coloured the image with Stampin' Blends aka alcohol markers.  I then placed the mask over the artwork and used a blending brush to add Pale Papaya ink and create a type of frame around the image.  It really makes the image stand out and adds to the wow factor of the card.  You can then add a sentiment, gems and bow and a matt layer or coordinating designer series paper (DSP) to finish the card. It needs few colours so is great for someone with limited supplies as well as more experienced crafters.  

Here is the same design this time using Fresh Freesia ink.  


using masks to stencil around an image for card making

 On this second example I also used some Wink of Stella to add sparkle to the petals.  It is possibly a little over sparkled as the pen chose to 'blob' just as i started but it smooth out ok. 

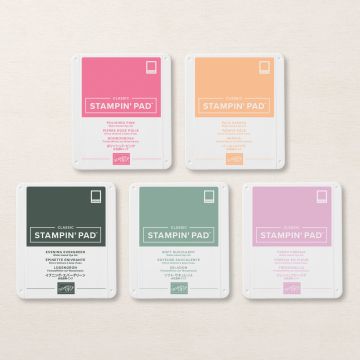
These colours are all part of the new In Colour selection and can be bought individually or as a bundle.  I also have a product share you can join for 5 months which will provide you with an ink pad, some ribbon, DSP, card, gems and Stampin' Write markers for £16.50 per month if you contact me for more details. 

The gems are really pretty as they are a little iridescent and really shine.  

Hope you have fun with this simple stencilling technique. 

Keep safe and keep stamping 

Zoe x

stampin up flowers of friendship stamp set

Flowers of Friendship


plenty of patterns decorative masks stencils stampin up

Plenty of Patterns

Decorative masks


blending brushes for card making from stampin up

Blending Brushes


in color ink pads for stamping stampin up

2021 - 2023 In Color Ink Pads


FREE DIGITAL DOWNLOAD - UNITED THROUGH CREATIVITY

LOOK HERE