My STAMPING PAPERCRAFT blog - Stamping Scene

Hello and welcome to my blog. I'm a paper craft addict and love sharing my passion for paper crafting . I run online and face to face card making, memory keeping and all sorts of 3D projects. I also sell many of the products I use. If you'd like more information do drop me an email. Thank you for visiting I hope to see you again soon. Zoe x
Showing posts with label mixed media card techniques. Show all posts

Friday, 25 April 2025

Collage Stamping


handmade card with collage stamping technique
Hi friends join our Totally Techniques blog hop for lots of ideas about collage stamping.  We have a fabulous selection of different ways to incorporate this technique into your paper crafting.  

Today though I don't have a video as I managed to somehow delete it after filming my make so I'll explain a few ideas for you.  

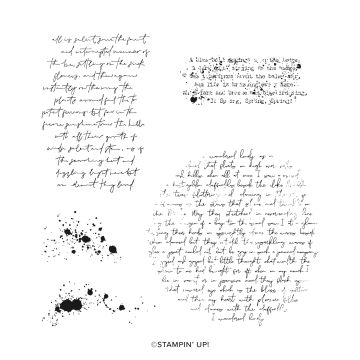
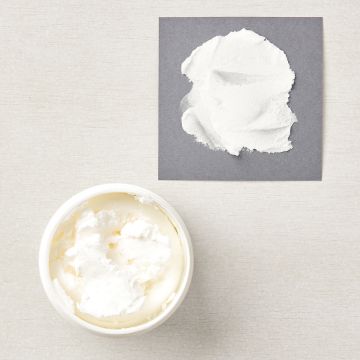
Start by creating a watercolour wash background and let it dry thoroughly.  You can then stamp onto it using your chosen stamps.  Mine are from the Cheers and Sips set along with the  splatter stamps from Elements of Text.  Both sets are online exclusives with the Cheers and Sips launching on 6 May.  You can create different effects by stamping with full ink or stamping some off first on scratch paper and then using second generation ink.  Once stamped I created my own stencil using the lemon and olive dies from the Cheers and Sips dies to create it using a piece of acetate that comes in with your stamp set. It's thinner than window sheet and so not a problem for dies to cut.  Using the stencil you can add embossing paste to enhance your project with texture.  

create a stencil using dies

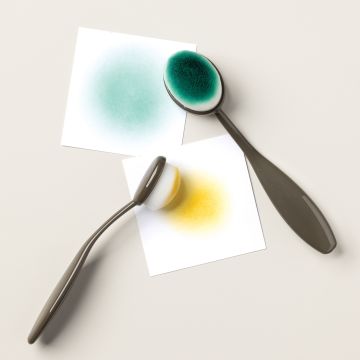
I also used blending brushes to add colour to white card to create the glass, umbrella and strawberry.  Be sure if you then emboss your image that you allow the ink to dry before stamping and use an embossing buddy to avoid excess powder on your image that is difficult to remove.  


ink blending on card to use for diecutting

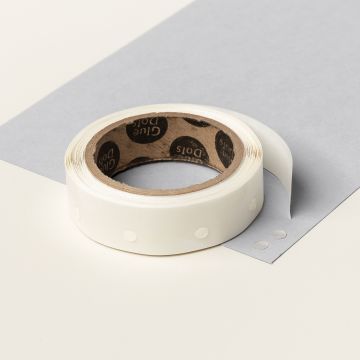
You can also use glue dots once all your elements are completely dry to add gold leafing dots.  Stamp a simple sentiment in Secret Sea ink onto white card for an effective but easy option and a matt layer dry embossed using your favourite embossing folder.  Mine is Forever Plaid .  

Thanks for stopping by.  See you again soon and check out my youtube channel to learn more techniques.  I will do another video for this technique soon.  

Keep stamping

Zoe x

You are invited to the Inlinkz link party!

Click here to enter


 Supplies Used
elements of text rubber stamp set


Friday, 24 September 2021

Nature's Harvest great Stampin' Up! set for torn edge technique


Welcome to our September Totally Techniques blog hop where we are sharing the simple technique of using a torn edge to add texture to your project. 


I only recently got the Stampin' Up! Nature's Harvest stamp set and so wish I had opted for it sooner.  The nicest thing is that I got the bundle free with an order using the stampin' rewards that had accrued on an order to buy supplies for my papercraft classes.  You too could choose the Nature's Harvest bundle as your bonus for joining my team this month in addition to your personally chosen kit for being part of a fun community.  

The bundle is so beautiful and I have seen lots of amazing projects made using it in so many colour ways that it will work for your personal colour choices too.  

  • For the card I first painted water onto water colour paper and randomly added drops of re inker in Old Olive, Cajun Craze, Cherry Cobbler and Pumpkin Pie. The water makes the ink spread and the colours blend.  I quickly soaked up excess water with kitchen towel and used my heat tool to dry it quickly.  You can also allow it to just dry on its own.
  • Once dry I stamped the flower image in black and die cut it along with the twig branch from the same die set using Beauty of the Earth DSP (papers)
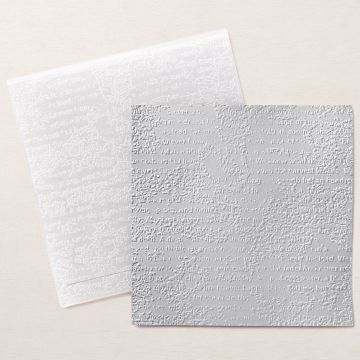
  • With the Timeworn Type 3D embossing folder I embossed strip of vellum and tore all around the edges.  If you tear the piece you are removing towards you this I find creates the best effect, but it is personal choice. 
  • On a matt white layer I used texture/embossing paste to add the spot design using a stencil and also added some splatter using a Cinnamon Cider alcohol blend marker.


embossing  texture paste for paper crafting to add detail to your scrapbook page or cards


  • I used a pair of scissors to rough the edges of this layer and gently brushed some Old Olive ink around the edges to make them blend into the Mossy Meadow card base and again a torn edged layer of the same colour which I also added second generation ink stamping to with the splatter stamp from Nature's Harvest. 
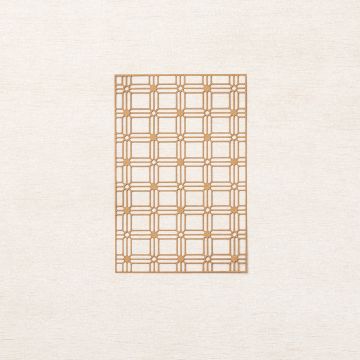
  • Having added a paper lattice layer to the white embossed layer,  I matted all the pieces together and added a linen thread bow. 
  • I've added a good luck embossed sentiment as the card was for a colleague of my daughter's who is leaving for a new job.
  • Finishing touch is a few brushed metallic dots which make it really lush and also a touch of Wink of Stella to the flower heads which you can just about spot in the photo below. 
I love a mixed media card for a change and enjoyed the inky fingers.  Embossing paste is great fun, just remember to wash off any excess on your tools and stencils before putting away.  


stampin up nature's harvest bundle mixed media card making

Don't forget to add a lighter layer inside darker colour card bases for writing.  You can add a simple decoration using the remainder of your watercolour piece and another die from Harvest dies. 

water colouring and die cutting images for handmade card making


mixed media card using stampin up nature's harvest

mixed media card with embossing texture paste stampin up nature's harvest stamp die bundle for totally techniques blog hop uk demo card making


Thank you for visiting and if you'd like to know more about using Stampin' Up! products for any type of project including mixed media please do follow me here or on Instagram @tantalizingstamper 

Enjoy the hop. 

Keep safe and keep stamping 
Zoe x

You are invited to the Inlinkz link party!

Click here to enter


choose a bundle if you join stampin up in September 2021
JOIN this month and enjoy discount shopping, crafting community and one of these bundle choices free in addition to your choice of £130 of crafting goodies for just £99 free shipping


Wednesday, 1 April 2020

Have you heard the BUZZ?


The buzz is new month, new challenge and a new card for the Moving Along With The Times monthly challenge.  Diamante is the theme and I love a bit of bling so I've added Noble Peacock rhinestones to my mixed media Honey Bee card.  

I started with watercolour paper and added different colours in a wash to create a background.  On top of this I sponged clouds using a mask and created my own mask with die cut vellum using the honeycomb die from the Detailed Bee dies which coordinate with the Stampin' Up! Honey Bee stamp set.

I added a gesso circle layer then also used the same home made stencil to add embossing paste and the leftover colour on the stencil/mask blended with the paste to give a shimmer of colour.

Using Stampin' markers I added flowers and ink splatter to the piece.  I white heat embossed the beehive onto watercolour paper then colour washed it to blend it with the background but deepened the colour to the edge to make it stand out too!  The bee is heated embossed with silver and then I carefully added colour with an alcohol marker.

I also added some clear Wink of Stella to the clouds, because every cloud has a silver lining, even though it's not so easy to see on my card or in real life right now.

Simple white embossing on black card for just as simple a sentiment.


Come and join us with the MAWTT challenge .  It's on all month so you have time to make a Diamante card.  You can also check out the new Ornate Garden Suite on the new Stampin' Up! UK website.  This suite includes it's own bling in the form of foiled papers and gilded gems. 

Thanks for stopping by. Zoe x


Friday, 30 August 2019

How to use embossing paste inspiration - Totally Technqiues Design Team Blog Hop


I've a mixed media card this month for the Totally Techniques blog hop with a few techniques, however our theme is to share ideas on using embossing paste as challenged by Satomi our Japanese demo.  

You may not be aware but we have two different embossing pastes. There is straight forward white and then shimmery white. You can find them on page 181 of the current annual catalogue. 
I used mine to add some texture to the seascape that I created by first using a soft sponge brayer to add Mint Macaron and Balmy Blue ink to create a back ground.  I also used the brayer over a fruit stringy bag from the supermarket to create even more depth to the watery scene.  I also stamped with second and third generation ink the subtle sentiment of 'Time for a new adventure' from Itty Bitty Greetings in different directions across the piece in Night of Navy and some Dandelion seeds from Dandelion Wishes and some bubbles from Sailing Home stamp set.  I also added silver heat embossed bubbles to the matt layer of Night of Navy cardstock.

Next I added the circles of embossing paste using a homemade stencil made with vellum and various circle punches.  I mixed some of the shimmery white paste with a little retired silver, but later added more circles with just shimmery white.  


Using the Smooth Sailing dies I created another stencil to sponge on seaweed in Pretty Peacock, and Shaded Spruce  at the base of the sea scene and also added some die cut vellum seaweed which I left 'clean' or coloured on the reverse with Pretty Peacock Stampin' Blend or added some clear wink of Stella.  Vellum was also used to create a further matt layer which was embossed with the Corrugated embossing folder.  Some pearls coloured with Stampin' Blends were added for a pebbly seabed. 
The fish was created using the Faux Metal technique and the stamp is from Best Catch stamp set which is just perfect for the fishermen in your life.  
To finish my design I added two ribbon loops to hang the design from a die cut strip of card using again the Smooth Sailing dies.  It gives the effect of a tapestry/picture being suspended from a hanging rail.


Lots going on but the simple addition of embossing paste as depth and texture and is so easily done. I hope you'll visit everyone else on the hop and have a go with these fun pots of paste.  
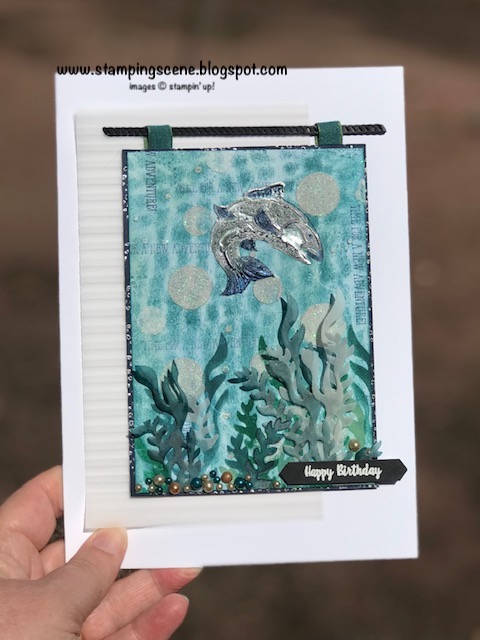
Play with ink to create a watery scene using Best Catch, Sailing Home and Well Said

Now please do visit the other talented ladies around the globe to enjoy all our embossing paste tips.  

Thanks for stopping by.

Happy crafting
Zoe x

You are invited to the Inlinkz link party!

Click here to enter