My STAMPING PAPERCRAFT blog - Stamping Scene

Hello and welcome to my blog. I'm a paper craft addict and love sharing my passion for paper crafting . I run online and face to face card making, memory keeping and all sorts of 3D projects. I also sell many of the products I use. If you'd like more information do drop me an email. Thank you for visiting I hope to see you again soon. Zoe x
Showing posts with label mixed media techniques. Show all posts

Monday, 19 June 2023

Masculine card idea - Night of Flight stamp set

fathers day / birthday card masculine design handmade
Yesterday was Father's Day and I hope you were able to celebrate how wonderful your Dad is or was.  I visited mine and gave him this card and gifts.  

I have to be honest the stamp set Night of Flight did not grab my attention at all in the catalogue as a stampin' reward, but I chose it recently with my order and have to confess I've changed my mind.  It's not difficult to fussy cut, colour or create masculine cards with.  

I started with some embossing paste to which I added one drop of ink from my Copper Clay refill and made sure it was well and truly mixed evenly through the paste.  I then added a thin layer through an Artistic Mix mask/stencil  adding additional texture to the DSP which had it's own texture already printed onto it in its design.  Once dry I added the antennae for the moths by using a stampin' write marker to just ink that part of the stamp.  

I stamped several of the same moth coloured them in with alcohol markers and fussy cut them out to add to my design.  I've matted the paper onto Copper Clay card and then onto the base card of Misty Moonlight one of my favourite returning colours to the Stampin' Up! colour palette this year.  

As a finishing touch I added some brushed metallic dots and a sentiment created using the Alphabest stamp set and Best Label punch.  

My Dad was chuffed with his card and the matching box I gave to him.  

Best wishes all for a great week ahead.

Happy stamping 
Optional Free gift choice with a purchase of £150
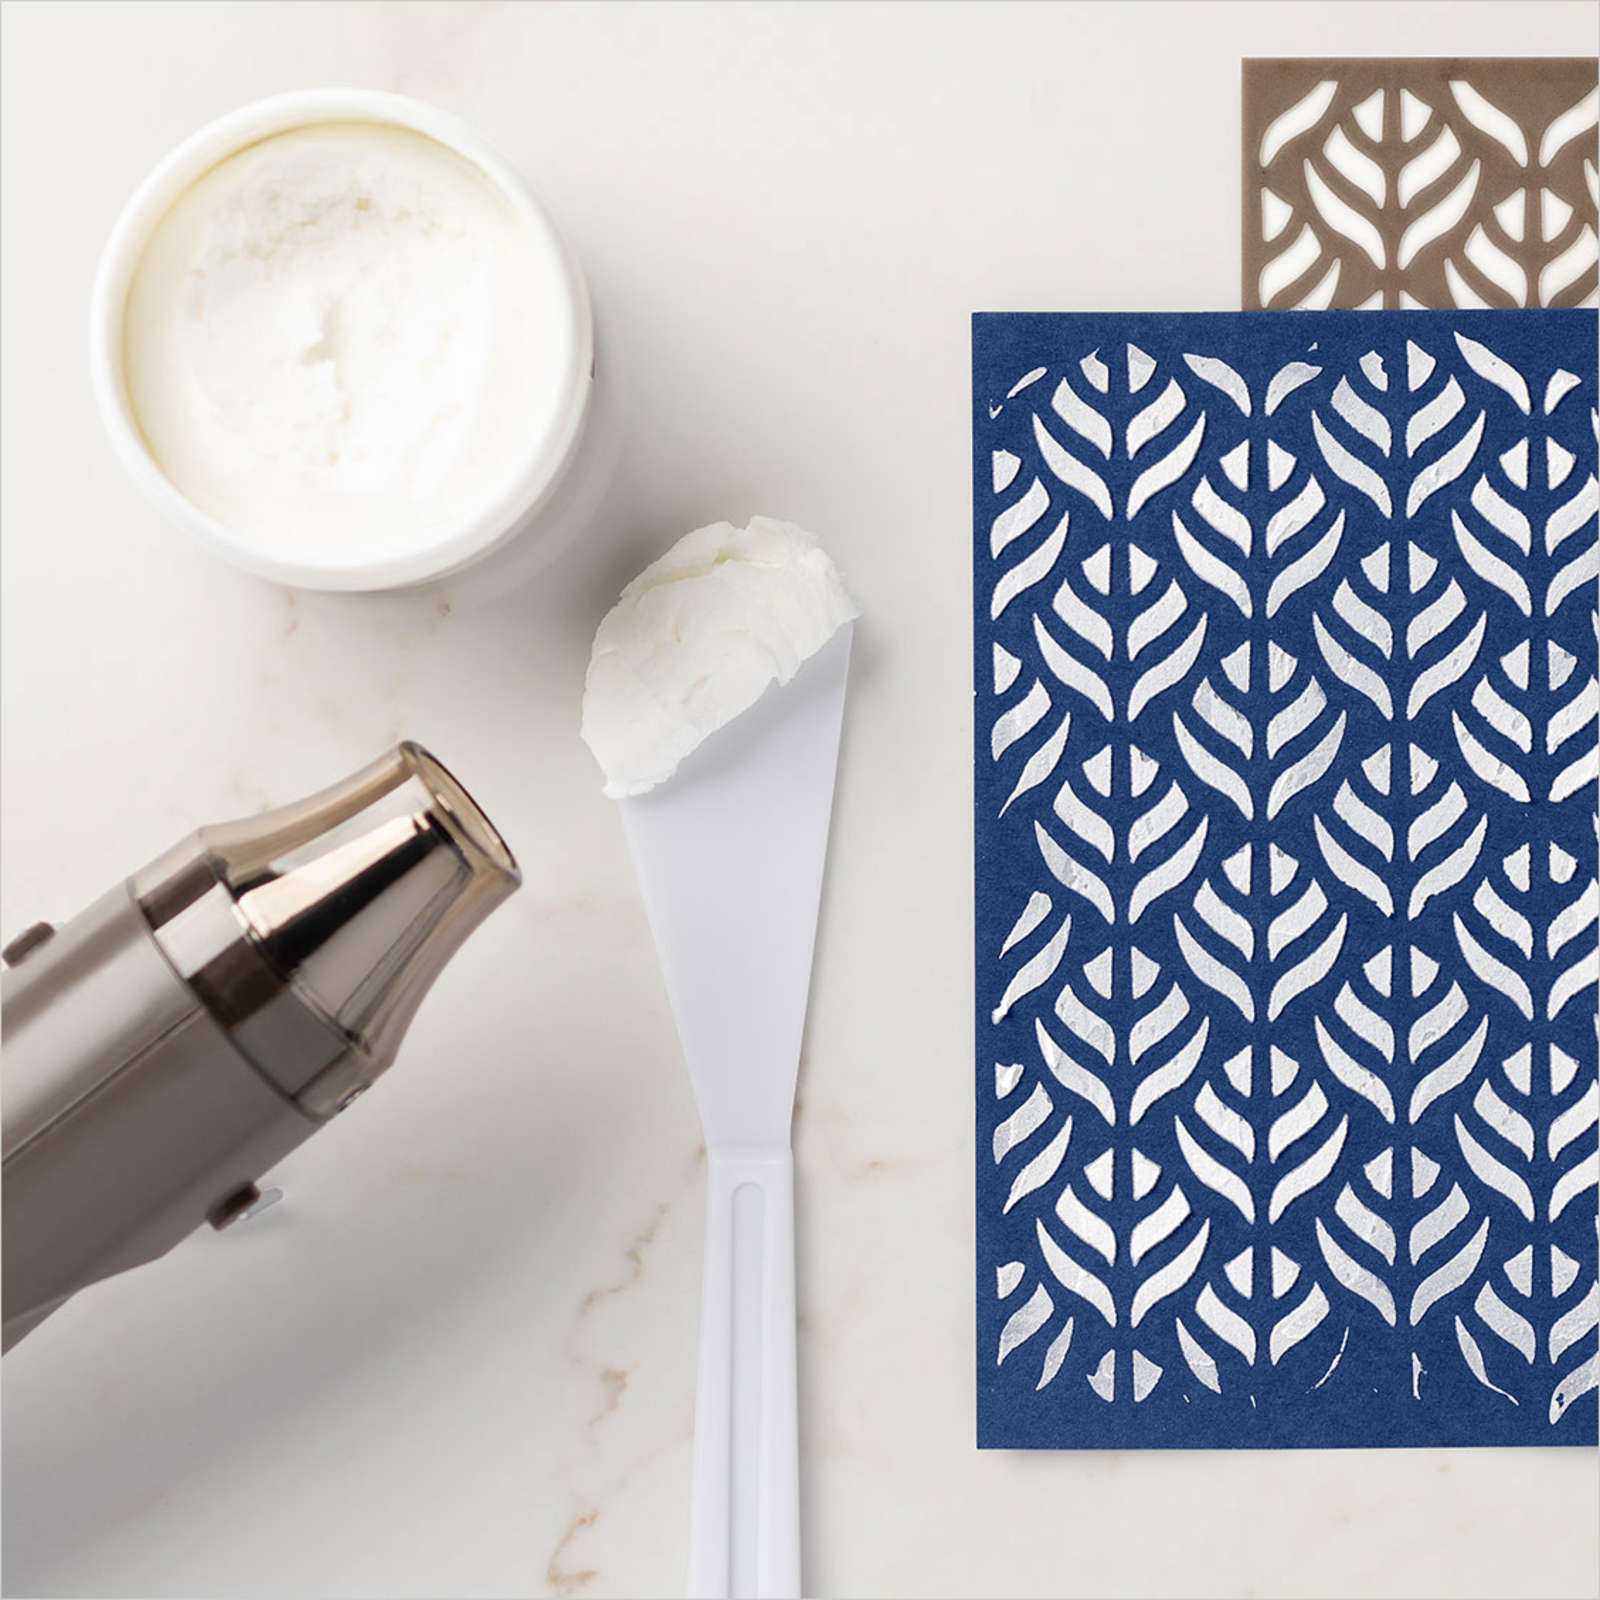


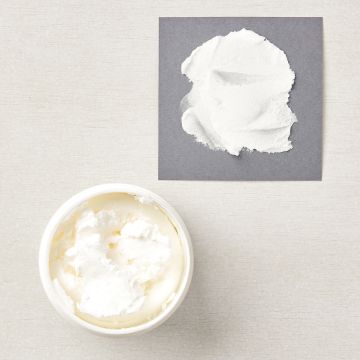
embossing paste - Apply freehand or over decorative masks, then let dry or heat set for easy texture.


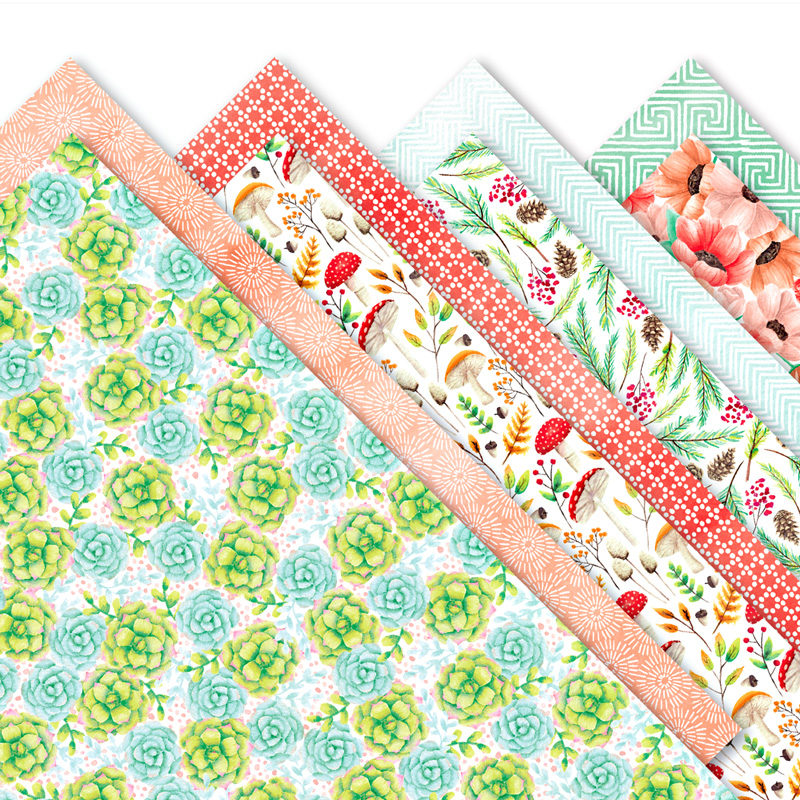
earthen elegance designer series paper dip


Designer series paper sale in june 2023 stampin up uk

Friday, 24 September 2021

Nature's Harvest great Stampin' Up! set for torn edge technique


Welcome to our September Totally Techniques blog hop where we are sharing the simple technique of using a torn edge to add texture to your project. 


I only recently got the Stampin' Up! Nature's Harvest stamp set and so wish I had opted for it sooner.  The nicest thing is that I got the bundle free with an order using the stampin' rewards that had accrued on an order to buy supplies for my papercraft classes.  You too could choose the Nature's Harvest bundle as your bonus for joining my team this month in addition to your personally chosen kit for being part of a fun community.  

The bundle is so beautiful and I have seen lots of amazing projects made using it in so many colour ways that it will work for your personal colour choices too.  

  • For the card I first painted water onto water colour paper and randomly added drops of re inker in Old Olive, Cajun Craze, Cherry Cobbler and Pumpkin Pie. The water makes the ink spread and the colours blend.  I quickly soaked up excess water with kitchen towel and used my heat tool to dry it quickly.  You can also allow it to just dry on its own.
  • Once dry I stamped the flower image in black and die cut it along with the twig branch from the same die set using Beauty of the Earth DSP (papers)
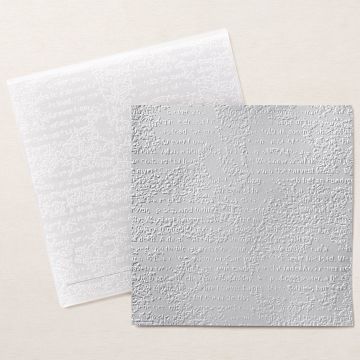
  • With the Timeworn Type 3D embossing folder I embossed strip of vellum and tore all around the edges.  If you tear the piece you are removing towards you this I find creates the best effect, but it is personal choice. 
  • On a matt white layer I used texture/embossing paste to add the spot design using a stencil and also added some splatter using a Cinnamon Cider alcohol blend marker.


embossing  texture paste for paper crafting to add detail to your scrapbook page or cards


  • I used a pair of scissors to rough the edges of this layer and gently brushed some Old Olive ink around the edges to make them blend into the Mossy Meadow card base and again a torn edged layer of the same colour which I also added second generation ink stamping to with the splatter stamp from Nature's Harvest. 
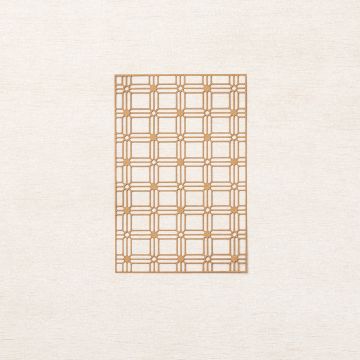
  • Having added a paper lattice layer to the white embossed layer,  I matted all the pieces together and added a linen thread bow. 
  • I've added a good luck embossed sentiment as the card was for a colleague of my daughter's who is leaving for a new job.
  • Finishing touch is a few brushed metallic dots which make it really lush and also a touch of Wink of Stella to the flower heads which you can just about spot in the photo below. 
I love a mixed media card for a change and enjoyed the inky fingers.  Embossing paste is great fun, just remember to wash off any excess on your tools and stencils before putting away.  


stampin up nature's harvest bundle mixed media card making

Don't forget to add a lighter layer inside darker colour card bases for writing.  You can add a simple decoration using the remainder of your watercolour piece and another die from Harvest dies. 

water colouring and die cutting images for handmade card making


mixed media card using stampin up nature's harvest

mixed media card with embossing texture paste stampin up nature's harvest stamp die bundle for totally techniques blog hop uk demo card making


Thank you for visiting and if you'd like to know more about using Stampin' Up! products for any type of project including mixed media please do follow me here or on Instagram @tantalizingstamper 

Enjoy the hop. 

Keep safe and keep stamping 
Zoe x

You are invited to the Inlinkz link party!

Click here to enter


choose a bundle if you join stampin up in September 2021
JOIN this month and enjoy discount shopping, crafting community and one of these bundle choices free in addition to your choice of £130 of crafting goodies for just £99 free shipping


Wednesday, 1 April 2020

Have you heard the BUZZ?


The buzz is new month, new challenge and a new card for the Moving Along With The Times monthly challenge.  Diamante is the theme and I love a bit of bling so I've added Noble Peacock rhinestones to my mixed media Honey Bee card.  

I started with watercolour paper and added different colours in a wash to create a background.  On top of this I sponged clouds using a mask and created my own mask with die cut vellum using the honeycomb die from the Detailed Bee dies which coordinate with the Stampin' Up! Honey Bee stamp set.

I added a gesso circle layer then also used the same home made stencil to add embossing paste and the leftover colour on the stencil/mask blended with the paste to give a shimmer of colour.

Using Stampin' markers I added flowers and ink splatter to the piece.  I white heat embossed the beehive onto watercolour paper then colour washed it to blend it with the background but deepened the colour to the edge to make it stand out too!  The bee is heated embossed with silver and then I carefully added colour with an alcohol marker.

I also added some clear Wink of Stella to the clouds, because every cloud has a silver lining, even though it's not so easy to see on my card or in real life right now.

Simple white embossing on black card for just as simple a sentiment.


Come and join us with the MAWTT challenge .  It's on all month so you have time to make a Diamante card.  You can also check out the new Ornate Garden Suite on the new Stampin' Up! UK website.  This suite includes it's own bling in the form of foiled papers and gilded gems. 

Thanks for stopping by. Zoe x


Monday, 11 March 2019

Stampin' Up! Painted Seasons Mixed Media Style


Stampin' Up! Painted Seasons - Mixed Media style

Today I'm sharing something a little different from the usual clean cut Stampin' Up! design and yet I'm still using Stampin' Up! products.  I've taken the Painted Seasons stamp set in another route to create a different look and I really enjoyed tinkering with inks, sponges and watercolour.  I'm also participating in a mini blog hop with my lovely friend and fellow Stampin' Up! demonstrator, Shannean Moncrieff in Australia.  She has some Home to Roost stamp set ideas to share with you to give you some inspiration for  two sets which  are part of the  super FREE gifts available this month from Stampin' Up! with a qualifying order. 

A different look for Painted Seasons

I started by stamping the images onto a piece of watercolour paper and then spritz gently with water to get the ink to run and blend.  I quickly dabbed off excess water with kitchen towel and heat set it all with my heat tool. I stamped the mini stars over the top and also added some gold embossed stars. With sponges I added extra colour to fill in the white space and also to define the edges of the watercolour paper.  I used Melon Mambo, Coastal Cabana and Granny Apple Green inks and lightly, free hand stamped the flowers again to add some detail back to them.  Torn edges of scraps sponged to deepen the tones create interest at the bottom of the card and allow for a touch of sponged Botanical Butterfly Designer Series Paper to be added along with a torn extract nearer to the top.

My matting layer is a piece of whisper white card which I sponged to get a 'softer' shade of Melon Mambo and having defined the edge of the watercolour paper with sponging I also flicked my Versamark ink pad along the edges to add random smudges of gold embossing to define it further before adding to the matt layer.  


The sentiment is partly die cut in gold foil card and the remainder stamped with Versamark and heat set with white embossing powder on black card stock.  The sentiment is from the awesome Stampin' Up! bundle Well Said which is so worth the investment!

I've entered my card into the Craft Stamper Magazine Take it Make it Challenge also. You can join the challenge HERE
The second half of the bundle is a pack of beautifully hand painted then printed designer series papers.  You can see the whole bundle in my Stampin' Up! Online Shop

Now check out Shannean's design for another take on this gorgeous stamp set bundle.  

Thanks for visiting Zoe x


You are invited to the Inlinkz link party!
Click here to enter