My STAMPING PAPERCRAFT blog - Stamping Scene

Hello and welcome to my blog. I'm a paper craft addict and love sharing my passion for paper crafting . I run online and face to face card making, memory keeping and all sorts of 3D projects. I also sell many of the products I use. If you'd like more information do drop me an email. Thank you for visiting I hope to see you again soon. Zoe x
Showing posts with label stampin up uk. Show all posts

Friday, 31 July 2020

Papercraft Bleaching Techniques - which do you prefer and here's how.


Stampin Up Poinsettia Petals


Hello and welcome to another Totally Techniques International Blog Hop.  Our technique this month was chosen by Barbara Meyer and it is the bleaching technique.  I have done two versions of the technique for you and you can choose which you like best.  The first is watercolour bleaching which involves lifting colour with water and kitchen towel and the second below uses household bleach.  

My card is also for the Christmas Card Club challenge that I take part in.  The chosen theme was Nativity or Anything goes and so I'm an AG card this fortnight. 

My card above started with white embossing onto vanilla card using the Poinsettia Petals stamps.  I then added three shades of red  blending them with sponge daubers onto the card.  I started with Poppy Parade followed by Real Red and finished with Cherry Cobbler.  I let the colour fade out the nearer I got to the bottom of the card. 

I then started to use a water painter to moisten the ink inside the embossed images and removed the water and ink by dabbing it with a piece of kitchen paper towel.  This slowly allowed me to add light and shade depending upon the amount of ink on the design and the amount of water added.  I repeated   the process until I was  happy with the result.   I also splattered a few drops of water across the non stamped area lift some spots of ink also. 


I then stamped and and gold embossed the poinsettia and holly leaves on Poppy Parade and Shaded Spruce card respectively.  Having die cut them I then used a bone folder to curl the petals and built the design with glue dots and stampin' dimensional. 

The sentiment is from the same set and is white heat embossed on black card and punched at one end with the useful Lovely Labels punch which gives you two end of tag choices and 3 widths to cut the tags in. 


My next card uses household bleach to remove colour from the card stock. This works particularly well with Stampin' Up! card as the card is coloured all the way through so you literally bleach the colour out. 


Stampin Up Poinsettia Petals

I poured some bleach into an old embellishment pot and then used a cottonwool ball to add ink onto my stamp in the same way I would add ink.  I then stamped the poinsettia and leaves onto the card.  I left the stamp on the card for a few seconds and then removed it.  I then used a heat tool to speed up the drying of the image which made the image appear quicker where the card colour was bleached.   

NB  The age of the bleach you use can reduce the success of this process and once you've stamped you need to carefully discard any remaining bleach in the pot you use to dip in your cotton wool.  Light damages bleach and it's strength. So buy a small inexpensive bottle and keep it in a cupboard for safety but also to keep it in the dark! 

I die cut the flower and leaves and added some tone on tone stamping onto the leaves for more detail using the fill-in stamp from the set for the Holly leaves.  I also die cut one of the berry stems from vellum before heat embossing with gold powder.  

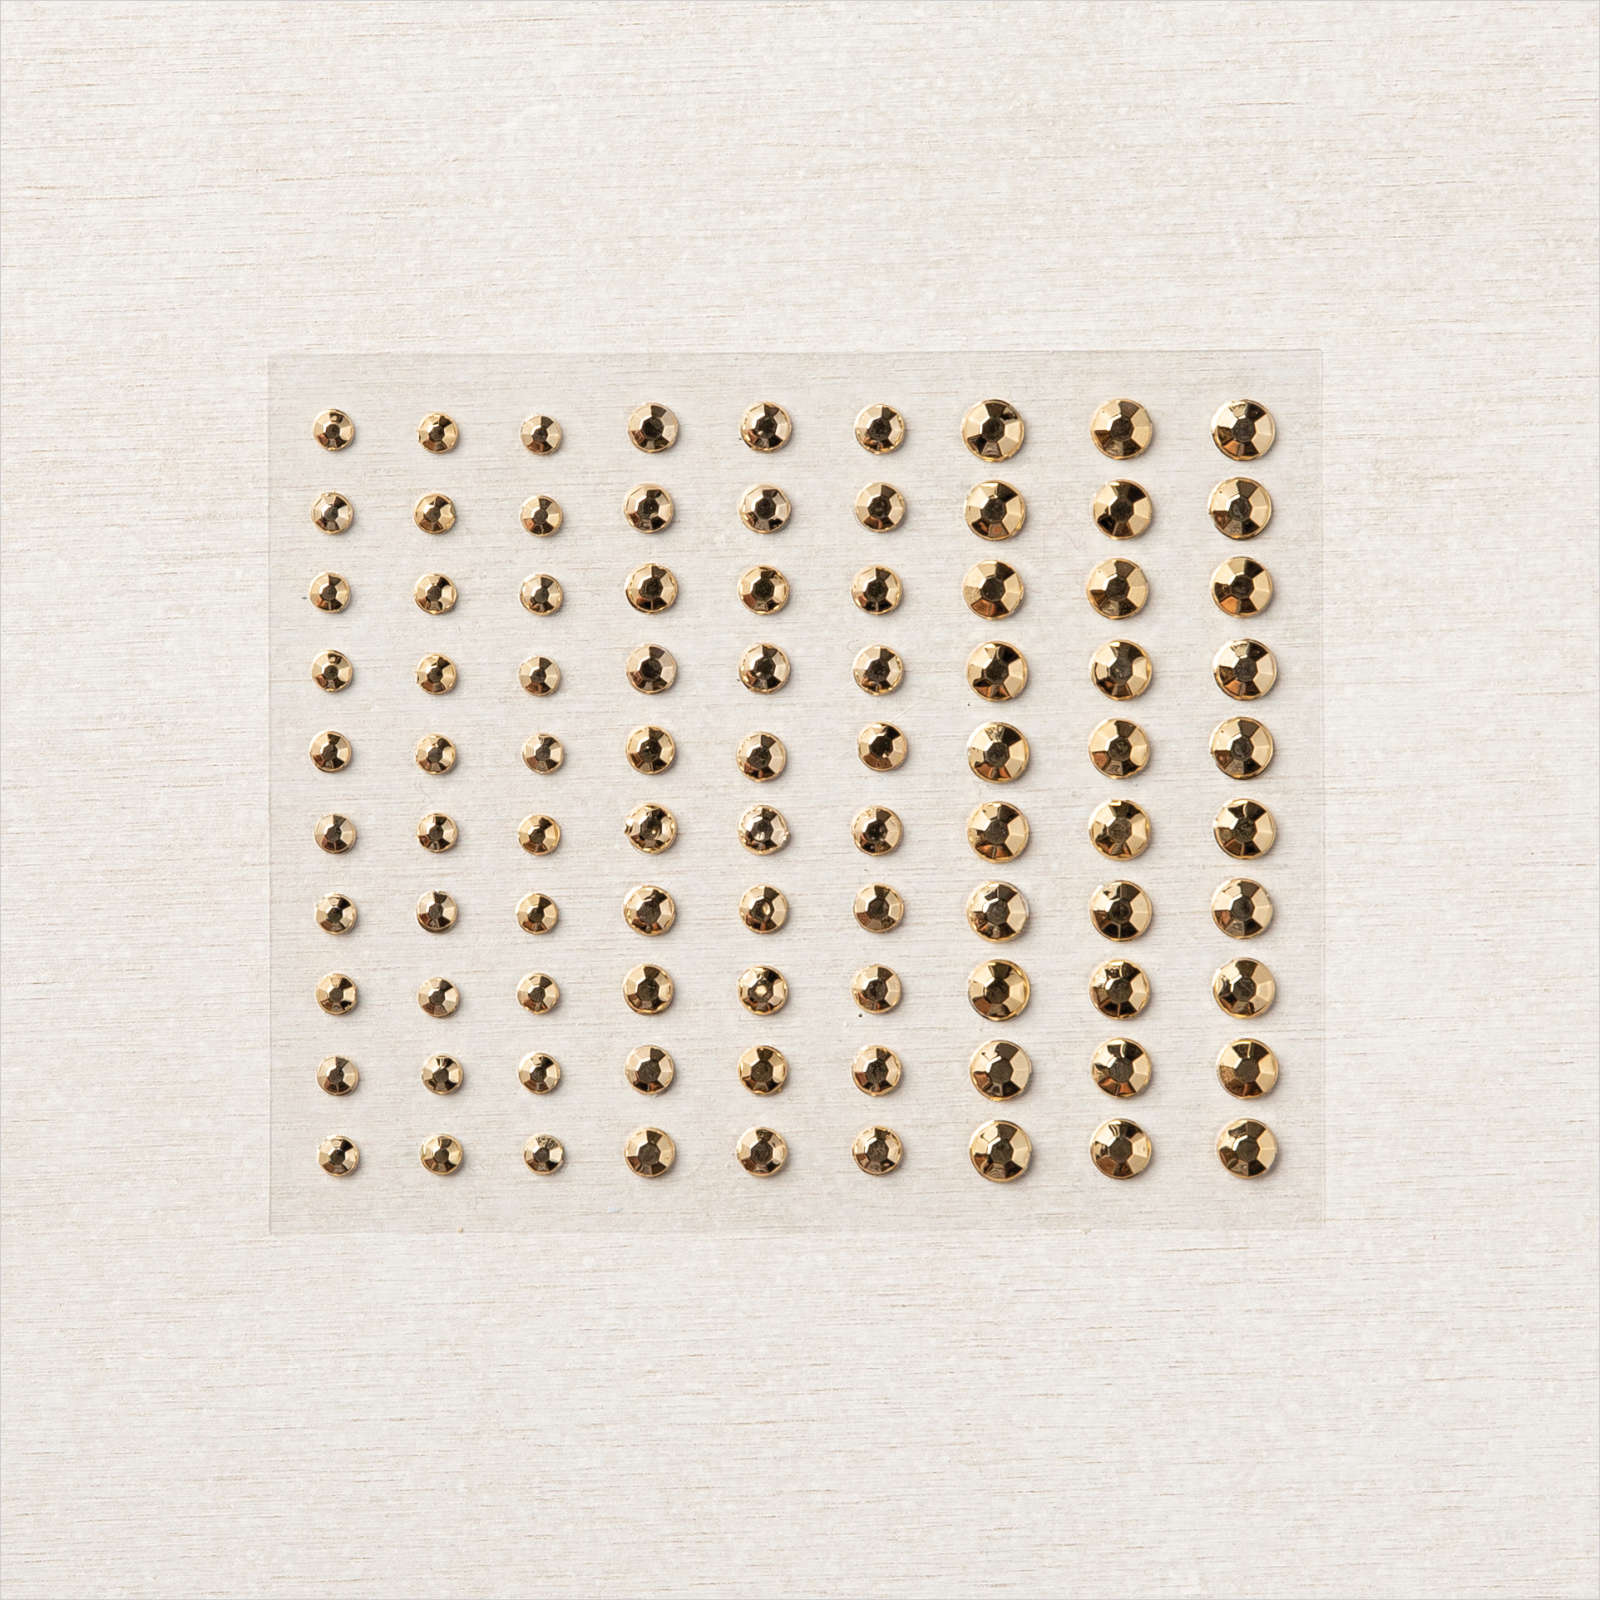
I gold heat embossed a frame on a matt vanilla layer before adding the flower, leaves, berries and sentiment.  To highlight the centre of the flower I also added some gilded gems. 

So which 'bleaching' effect do you prefer?

You can visit the other demonstrator blogs below and see their take on this fun technique.  

Thanks for popping by.

Keep safe and happy stamping
Zoe x
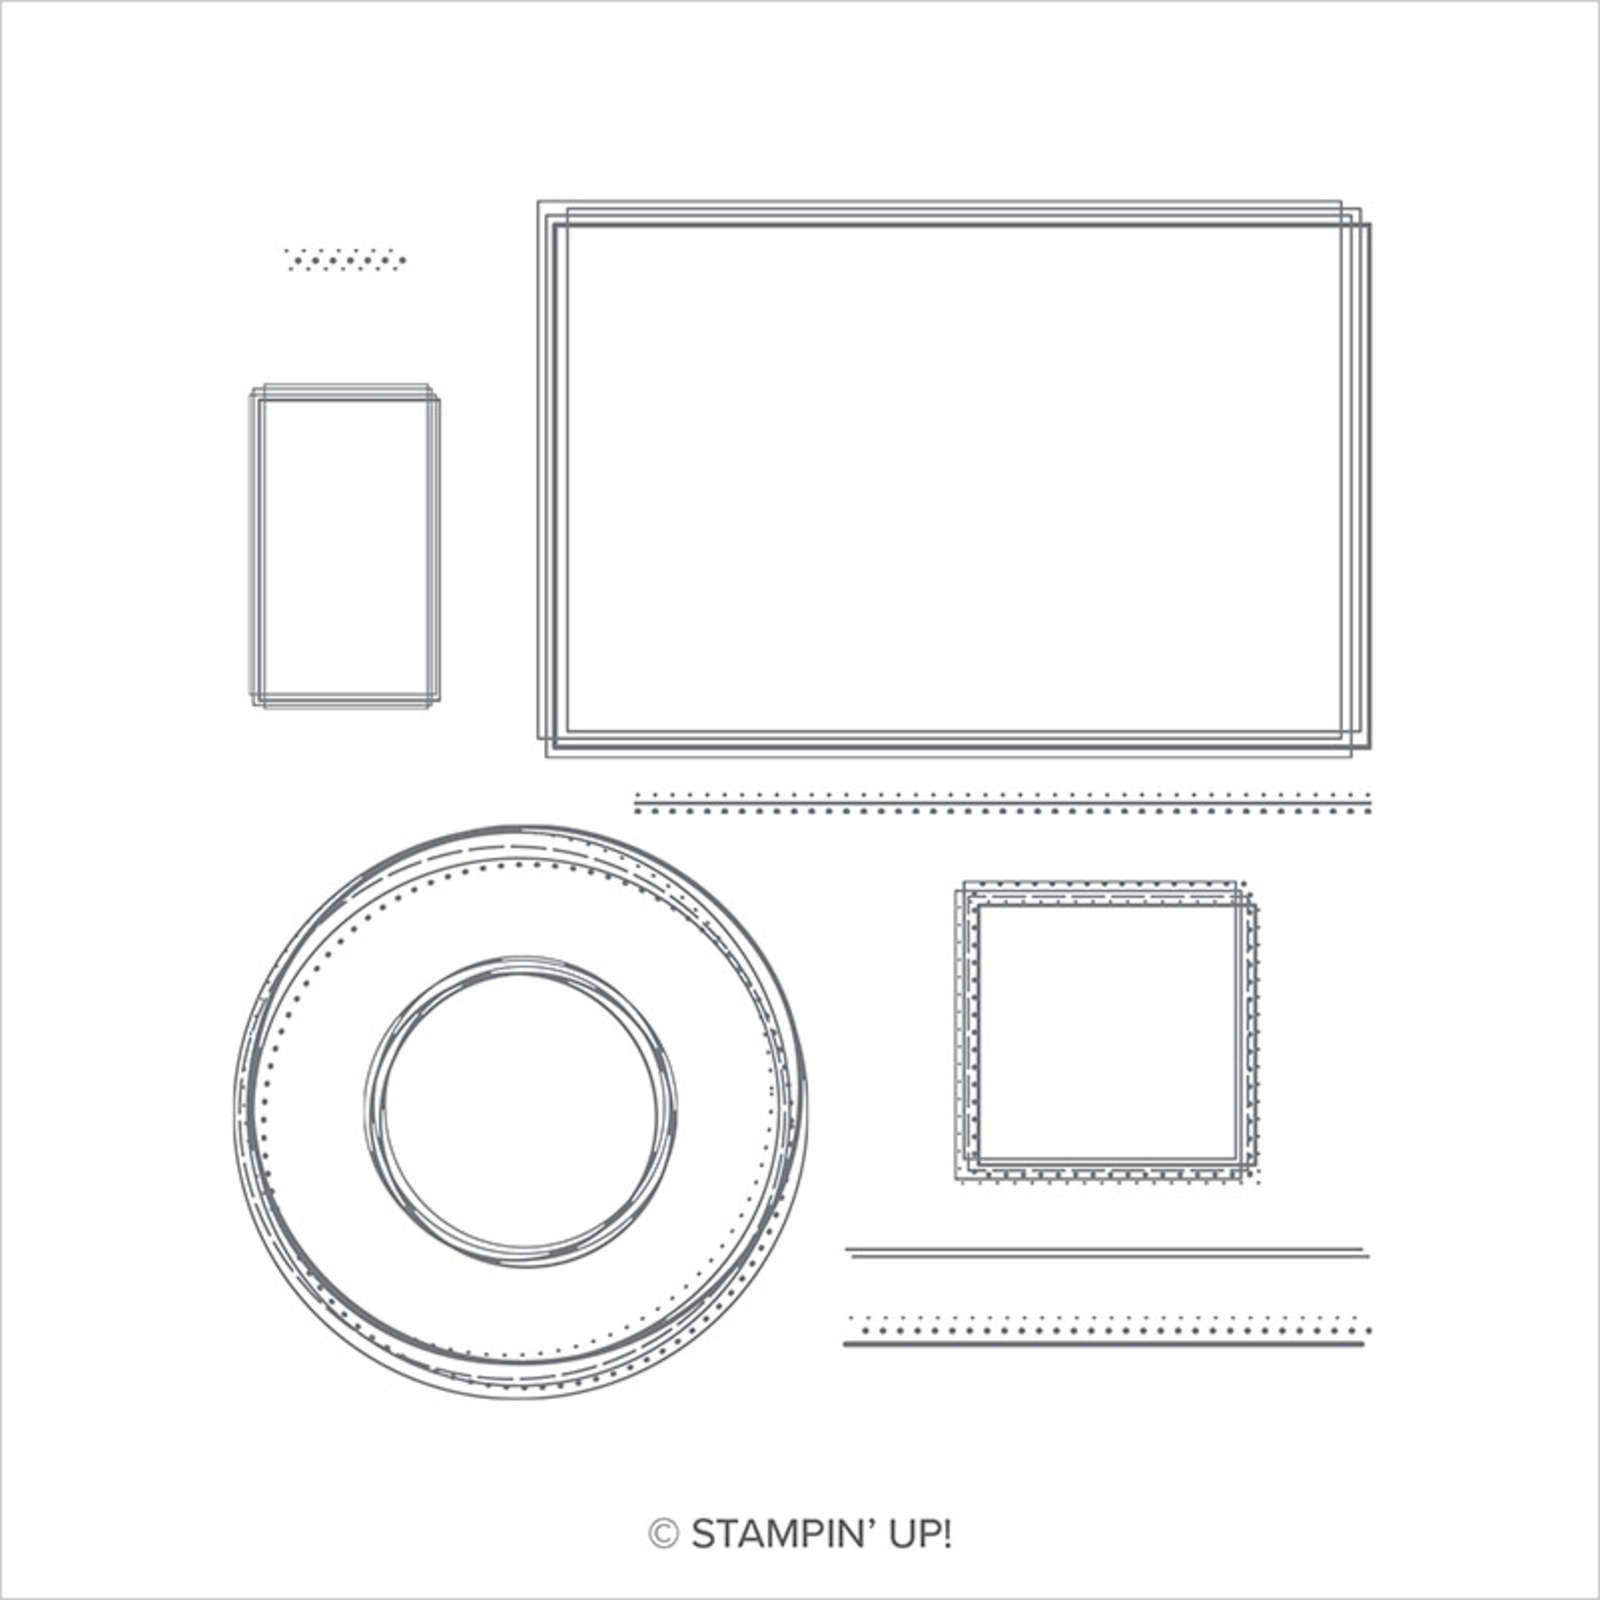
 

      Swirly Frames                                             Gilded Gems

The beautiful Poinsettia Petals bundle will be available in my Stampin' Up! shop from 4th August. If you'd like a paper copy of the our winter mini which includes ideas for this bundle and other seasonal new products please do get in touch.  zoetant@live.co.uk


You are invited to the Inlinkz link party!

Click here to enter

Friday, 24 April 2020

Reverse Masking simple as........


Reverse masking technique with stampin' up! colourful seasons and stitched nested label dies


Hi how are you doing this week in lockdown?  It's been interesting for us as this little chap arrived in our lives and has exhausted himself as well as us.  Not to mention the devastation of now having two young dogs around.  Ah well I guess decorating can wait until they have remodelled for us. 

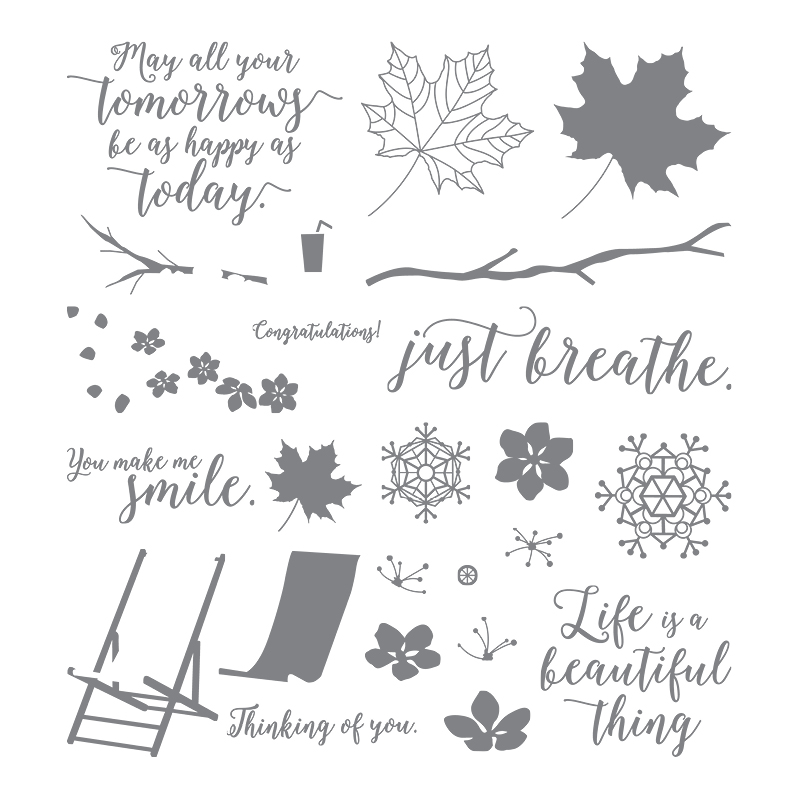
Now I've managed a bit of crafting for our Totally Techniques April hop.  It is as my blog post title suggests Reverse Masking and it is very easy.  I chose to use the Stitched Nested Labels dies to create my mask and then teamed it with the Colourful Seasons stamp set and Seasonal Layers dies.  Sadly these two items are about to retire so do check them out in our Last Chance Section in my Stampin' Up! shop.  It's a fab partnership of stamps and dies that can take you through the whole year with a little spring, summer, autumn and even winter with snowflakes! 

Colourful Seasons Stampin Up stamp set last chance
143726

seasonal layers dies last chance to buy

143751


I laid my mask onto another piece of white card and used a mask that I created with the scallop edge die from the set above.  I used a sponge to add Balmy Blue ink to create a cloudy sky and Crushed Curry ink for the sandy beach.   I did this on my Stamparatus so that I could keep the layers together using the magnets.  


Once done I removed the mask and then used the Stamparatus again to make sure the two step stamps of the deck chair landed were I wanted them.  


I added some stamped and die cut flowers from the same stamp set for additional colour, but also if I'm honest to hide a thumb smudge!  Also using a gel pen I added some white to create the effect of the waves coming to the shore.  

If you like a bargain there are some fabulous discounts on some items on the Last Chance List and if they float your boat you'll be very happy.  You can see all the items that are available now while stocks last or until 2 June in my 


If you don't have a demonstrator and would like a copy of the new upcoming catalogue please email me at zoetant@live.co.uk with your mailing address and I will add you to the list to receive one.  Customers who have shopped in the past 6 months will receive one automatically.  

Now onto the other global demos for some more inspiration for this fun simple technique. 

Thanks for visiting and stay home, stay safe.

Hugs Zoe x


You are invited to the Inlinkz link party!

Click here to enter

Sunday, 8 March 2020

When is a soup carton not a carton?

Why when it is turned into a vase of course!   We all look for ways to up cycle and recycle items and this is a great one for giving new life to what would normally be discarded.  I believe in some cases Tetra pacs can now be recycled, but this way they get more use before that.

At my lovely german demo friend Sylvia's last year she has removed the outer printed layer of paper from a similar carton and stamped on the outside.  I was keen to try and looked online to learn more.  I found that it is a popular pastime to stamp on them.

I changed it to a different route because we currently have the absolutely beautiful Peaceful Poppies designer series paper from Stampin' Up! 's spring mini.  In particular the sheet that has two 12" x 6" border designs which if you cut down the centre gives you two pieces perfect for this project. Of course you can use any sheet of designer paper and you could cut it slightly differently depending upon the size of your carton but mine wrapper around just perfectly and allowed me to cut of the rough top edges from the opening to get to my soup.

So to create your vase firstly remove the outer layer of paper. This isn't difficult but on some stubborn bits you'll need patience.    Once you have cleared all the paper you can measure up your carton and cut your designer paper accordingly.  

I then used Modge Podge matt and painted it onto the outside of the carton to adhere the paper onto the carton.  Make sure the adhesive goes all the way to the edges and you can carefully use paper clips to make sure the edges stick down flat.   The whole thing may feel a little floppy but it returns to a reasonably sturdy box once dry.  Give this plenty of time to dry, I left mine overnight.

I then added a thin coat of Modge Podge onto the designer paper.  Again give this plenty of time to dry.

I added a piece of cardstock to the bottom of the box to hide, although no one will see the base, any bits of the original coating which seemed difficult to remove from the base.

The great thing is that the inside of such cartons are coated in plastic to keep the soup inside and so nothing needs to be done to the inside.

Once all completely dry you can buy flowers to go in your vase and add some simple ribbon bows for a finishing touch and let the paper and the flowers do the talking.

My tulips have needed a regular top up of water and I pop a finger inside the carton to judge how far to fill it.

The biggest difficulty is finding the right flowers to coordinate with your new vase.

It's a simple process so why not give it a go.


Happy crafting

Zoe x


Tuesday, 2 April 2019

I'm so excited - New Stampin' Up! Storage


Stampin' Up! is launching a new set of storage units for ink pads, marker pens, ribbons, re inkers, Stampin' Blends and more today.

There are some amazing pieces and what is even better you can build up the configuration to suit you and do exactly what it says on the GIF - Your Space, Your Way.


You can stack the trays in a way that suits your needs. 

Some options for how to purchase these fabulous trays.

  • Join Stampin' Up! and get £130 of storage for just £99.
  • Go crazy and buy as many as you need to store all your lovely product
  • Buy a few pieces each month and build your design slowly.

If you'd like more details please do just contact me. 

Thanks 

Zoe x


Monday, 1 April 2019

Mothers Day Make


Here in the UK we celebrate Mother's Day at a different time to many countries and so I made my card last week for my lovely Mum as we celebrated yesterday.  It was a lovely sunny day, my parents came for lunch and Olivia surprised me by popping home from university for the day and of course she and Charlie bought me some beautiful flowers. Some arrived by post which is always exciting on Friday and more yesterday with a fun and special card.  

My card was a big hit with Mum and I'm so pleased. It is bigger than many I make, but I know my mum loves to make bigger cards so I used a sheet of A4 for the base. I added several  matting layers which I embossed using different folders.  The first was just a tad smaller than the card base and I used one of the Stampin' Up! Petal Pair folders which are long and thin. I first embossed one end placing the folder just under half way down the card from the top and then again the same placing it from bottom up.  The next layer was smaller and embossed with the Subtle folder which is I have to admit not easy to see in the catalogue or on this picture, but the one above shows the linen effect it produces.  The next layer is again a tad smaller than the previous one and is embossed with the Tufted folder.  It made me think of a quilted pin cushion and fitted in with the Stampin' Up! set images of the Needle and Thread set.  I created a faux embroidery hoop using the Swirly Frames set and used my layering circle dies to cut out the image.  Next I built up an arrangement of the faux embroidered flowers. Needle and Thread is a Stampin' Up! DisINKtive set which gives a 3D impression and allows it to look like individual embroidery threads.    You can see more examples on my stampingscene scrapbook post and cards I made for onstage using the Needlepoint Nook suite and here. 

I also used a couple of the leave dies from the Stampin' Up! spring catalogue Wonderful Floral framelit dies.  One of them embosses at the same time as cuts but to create a deeper emboss you can also use the embossing mats from page 221 in the annual catalogue to create a deeper impression.
Quick Tip I die cut vellum leaves and then removed the vellum from the die carefully. I put Versamark ink on the die and replaced the vellum leaves.  I then used the embossing mats to push the ink onto the vellum leaves before adding copper embossing powder.  Once you've heated it it highlights the veins of the leaves.  You can see it peeking out at the bottom of my floral arrangement.


If you celebrated Mothering Sunday yesterday with your mum or without I hope it was a day of special memories. 

Perhaps if you received some spends for your craft you might like to look at the new Stampin' Up! Storage which launched today. 

You can order any of these pieces and that gorgeous grid paper in my Stampin' Up! Online Shop


Thanks for checking in.

Zoe x


Monday, 11 March 2019

Stampin' Up! Painted Seasons Mixed Media Style


Stampin' Up! Painted Seasons - Mixed Media style

Today I'm sharing something a little different from the usual clean cut Stampin' Up! design and yet I'm still using Stampin' Up! products.  I've taken the Painted Seasons stamp set in another route to create a different look and I really enjoyed tinkering with inks, sponges and watercolour.  I'm also participating in a mini blog hop with my lovely friend and fellow Stampin' Up! demonstrator, Shannean Moncrieff in Australia.  She has some Home to Roost stamp set ideas to share with you to give you some inspiration for  two sets which  are part of the  super FREE gifts available this month from Stampin' Up! with a qualifying order. 

A different look for Painted Seasons

I started by stamping the images onto a piece of watercolour paper and then spritz gently with water to get the ink to run and blend.  I quickly dabbed off excess water with kitchen towel and heat set it all with my heat tool. I stamped the mini stars over the top and also added some gold embossed stars. With sponges I added extra colour to fill in the white space and also to define the edges of the watercolour paper.  I used Melon Mambo, Coastal Cabana and Granny Apple Green inks and lightly, free hand stamped the flowers again to add some detail back to them.  Torn edges of scraps sponged to deepen the tones create interest at the bottom of the card and allow for a touch of sponged Botanical Butterfly Designer Series Paper to be added along with a torn extract nearer to the top.

My matting layer is a piece of whisper white card which I sponged to get a 'softer' shade of Melon Mambo and having defined the edge of the watercolour paper with sponging I also flicked my Versamark ink pad along the edges to add random smudges of gold embossing to define it further before adding to the matt layer.  


The sentiment is partly die cut in gold foil card and the remainder stamped with Versamark and heat set with white embossing powder on black card stock.  The sentiment is from the awesome Stampin' Up! bundle Well Said which is so worth the investment!

I've entered my card into the Craft Stamper Magazine Take it Make it Challenge also. You can join the challenge HERE
The second half of the bundle is a pack of beautifully hand painted then printed designer series papers.  You can see the whole bundle in my Stampin' Up! Online Shop

Now check out Shannean's design for another take on this gorgeous stamp set bundle.  

Thanks for visiting Zoe x


You are invited to the Inlinkz link party!
Click here to enter

Friday, 22 February 2019

Z Fold Cards for Totally Techniques Stampin' Up! International Demonstrator Blog Hop


Welcome to our Totally Techniques Blog Hop for February. Our lovely French demo, Marine, chose our technique this month and so we are showing you different types of Z Fold Card tutorials.  If you've come from Kelly's blog in the USA I'm sure you've been WOW'ed already with her fab project.

Z Fold cards often open the opposite way to which I have created mine, but as you'll see from my photos I wanted the frogs to look as though they are talking to each other and therefore looking at each other so I made it so that you pull it right to open instead of left. Confused? probably but I wanted to also show that you can flip templates and make them work for you.

I used the idea from this link on SplitcoastStampers and turned it around and also made it work for metric measurements. US readers can follow the link for imperial measurements.

You'll need a piece of card that is 26cm x 10cm.
1. Score on the long side at 6cm up 2.5cm to point A.
2. Score on long side at 12cm all the way across the card.
3. Score at 18cm from point B which is 2.5cm up from the bottom edge of the card all the way to the top.
4. Cut from point A to B which is 2.5cm from the bottom edge. 
5. Carefully fold the score lines.  The short fold between A and B comes out towards you as a mountain fold and the larger fold above it is a valley going away from you as you look at it.
6. Try not to fold from point B down to the bottom edge just the fold above it which is a mountain towards you also.

You now can decorate your design.  The measurements I used are below for each numbered section.

Part 1 
matt layer is  11.5cm x 7 cm
dsp 11cm x 6.5cm

Part 2
matt layer is 5.5cm x 2cm
dsp 5cm x 1.5cm

Part 3
matt layer is 13.5cm x 2cm
dsp 13cm x 1.5cm

Part 4
matt layer is 7.5cm x 7cm
dsp 7cm  x 6.5cm

Then making sure you only add glue to the back of part 1 and 2 adhere the Z fold to a single piece of card which is 14.8 and smidge cms x 10.5cm ie a quarter sheet of A4.


I just adore these cute frogs from Stampin' Up! Saleabration set So Hoppy Together.  They are so much fun and you can do lots with them.  They are also free with a qualifying order until the end of March 2019.  Also in March you'll be able to purchase a set of dies to coordinate with them.  I used Stampin' Blends (alcohol markers) to colour them in and create some shading with the light and dark pens of Garden Green and Pineapple Punch.   I've added sentiments from the same So Hoppy Together stamp set in Poppy Parade and some red rhinestones to tie the colours together.


Next on the hop is Shannean and she has a fabulous card to share with you so don't forget to keep hopping on.  


  1. Zoe Tant - UK - You're here
  2. Barbara Meyer - Austria
  3. Annette Elias - The Netherlands
  4. Nadine Weiner - Germany
  5. Satomi Wellard - Japan
  6. Marine Wiplier - France
  7. Kelly Acheson - USA
check back for this Stampin' Up! UK promotion in March 2019


SHOP NOW

Sunday, 30 September 2018

Christmas Card Club - Faux Torn Edge Continues


Our fortnightly Christmas Card Club Challenge continues with the theme this week of including sheep, turkeys or camels or indeed a combination.  Rachel chose the theme and you can see her makes and all the other ladies by clicking on Christmas CC at the top of my blog.  There will be a fabulous selection with all different styles so great inspiration.

For me I have to say this was a them I gulped at as my first thought was I don't have any of these creatures in my stamp stash, but them I remembered this sweet little lamb who I found I couldn't part with when it retired.  I've also used Night in Bethlehem Stampin Up set from the current annual catalogue to create some depth with the buildings in the background and the important star.  I used the faux torn edge technique in a similar way to my previous post to create the ground the lamb stands on and the sky I sponged using Pool Party, Balmy Blue, Pacific Point and Night of Navy ink building up from light to dark and have left almost white space in the centre for the light from the star.   The sentiment and star are simply heat embossed in silver.  The words are from Merry Christmas to All which is an awesome Christmas sentiment set in the Stampin Up winter 2018 catalogue with a coordinating die set. You can mix and match words and die cuts to create the perfect sentiment of choice or use like me one of the short messages included.  

 This shows how I used a piece of torn paper to sponge the ground.
Here I used the other half of the torn paper to mask the ground in order to sponge the sky. 


To be sure that the buildings were solid colour I used my Stamparatus to enable me to stamp the image on itself several times to get total ink coverage.  

The lamb himself, is stamped with black memento ink and coloured with Stampin' Blends. I used light and dark Smokey Slate, Black and Petal Pink light to give a little colour to the inside of his ears and define his cheeks.


Happy Sunday All

Zoe x

All products except for the lamb who is retired are available in my Stampin' Up! Shop. 


Thursday, 2 August 2018

Cycle Crazy for Moving Along with The times


Our challenge at Moving Along with the Times is themed as 'One for the Boys' . I've made this cycling card which covers the boys and the men in our lives.  The cyclist is from Enjoy Life an eclectic mix of stamps, but one that gives you plenty of scope to create an array of family cards.

I started with my base card of thick whisper white and stamped the cyclist in Tuxedo Black Memento ink.  I then cut a piece of smokey slate card to the shape I wanted and then placed it over a piece or real red and used my trimmer to give a border.  I stamped tone on tone again with the cyclist stamp and then added a die cut 'celebrate' from the Celebrate You thinlets which I got as a free gift during Saleabration but you can now buy them from the annual catalogue too.  I used the double sided adhesive paper on black card and die cut before removing the second backing paper.

Simple and quick, but looks like you did more just by cutting a pennant type shape with your trimmer.

Do come and join us with the challenge and add your card on the MAWTT page.

You can also buy any of these products in my stampin up uk online shop.

Thanks for popping by.

Zoe x


Wednesday, 25 July 2018

How to use Stampin' Up! patterned papers

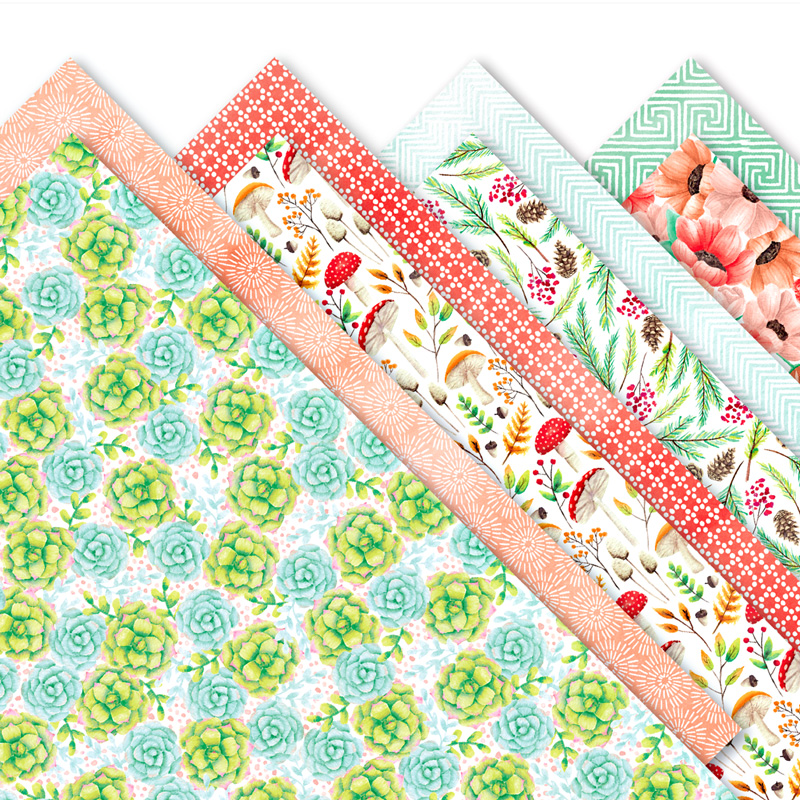
Do you worry about punching a circle, square or heart out of a whole piece of your 12" x 12" Stampin' papers? Me too or at least I used to and they I worked out if I bought one pack to stroke and adore and another to use then I got over that sadness of punching and then thinking 'Oh no I didn't mean to do that'.

Stampin' Up! is helping you this month with a very special offer. You can buy 3 of a selected list of 10 and get a 4th free.  Or you might want to choose three of one design and get a different fourth choice.  Either way you can save £10.25.

Now the next issue is when do you use your patterned papers?  Here's one simple idea that I found worked well and all you need to do is cut your sheets in to smaller squares.


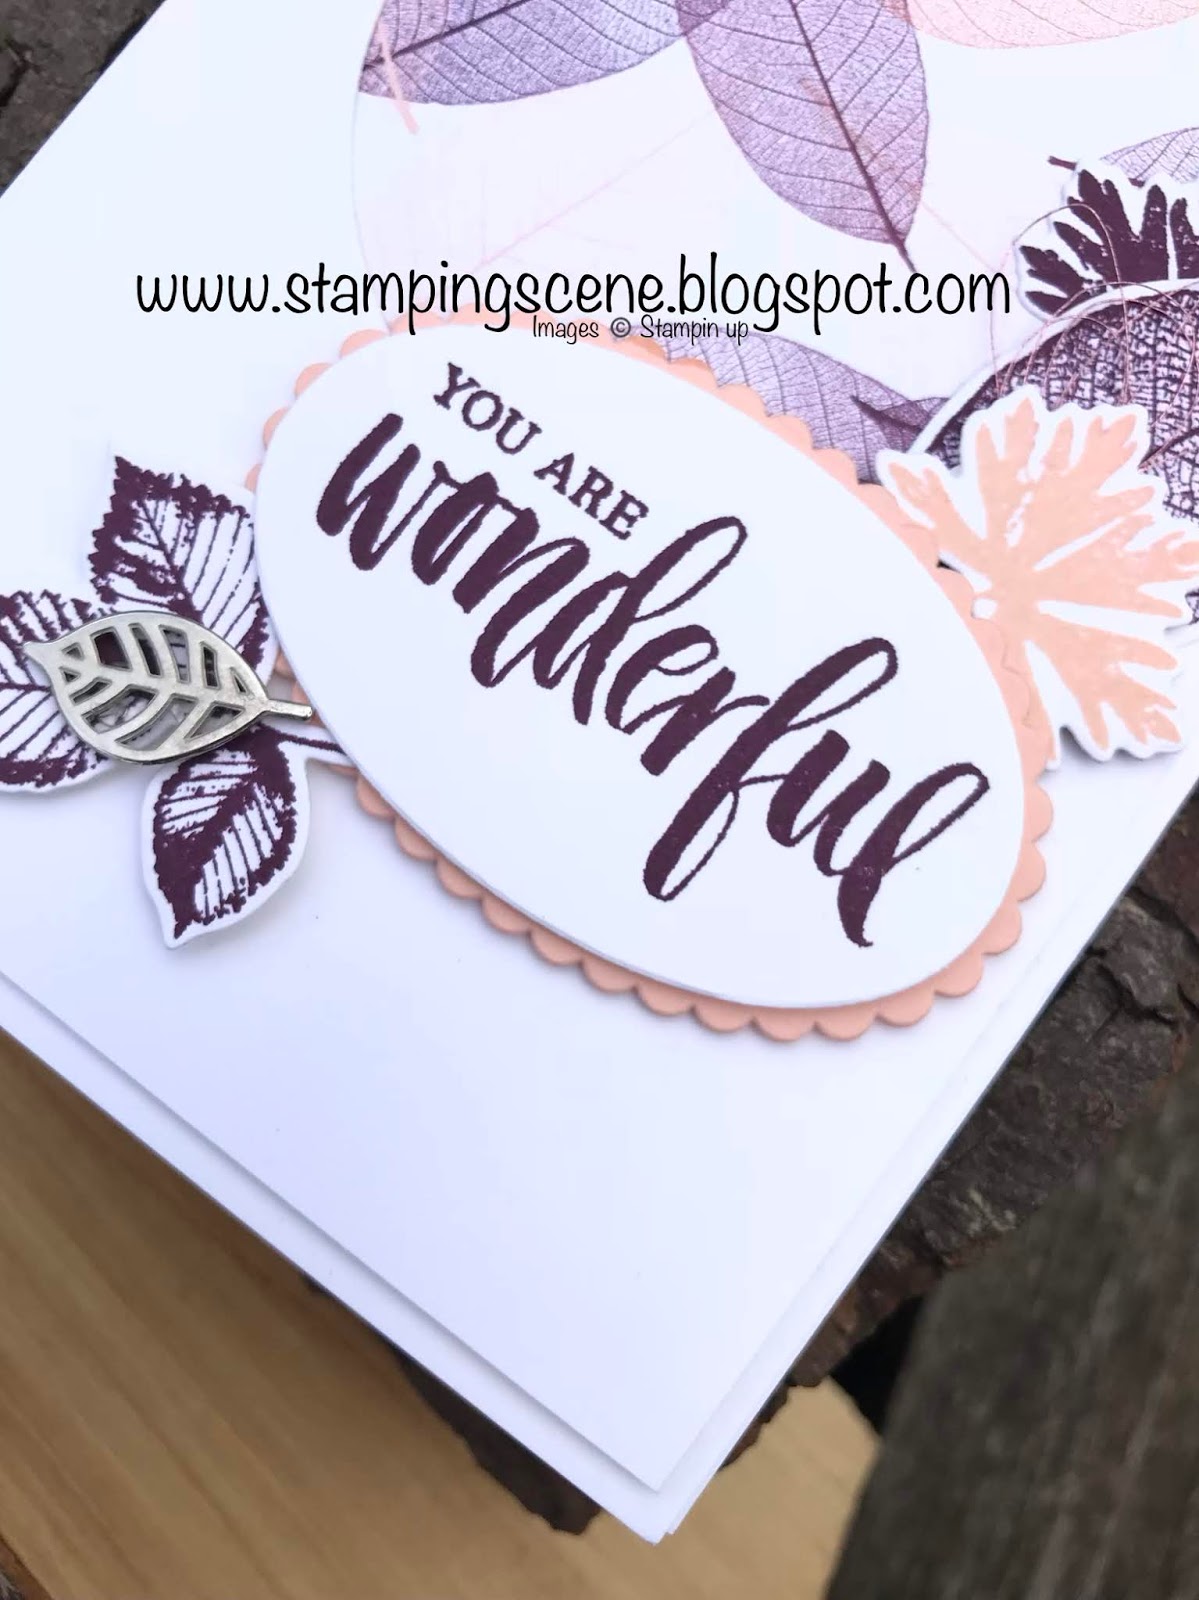
I took a base card and a matting layer in whisper white.  From the matting layer I used my layering circle dies to cut an aperture, but you could use a large circle punch too.  If you then place the matting layer on the base card where you want it and use a pencil just to make a mark or two so that you can make sure when you stick a square of paper on the base card it is in the right place under the aperture.  Add some stamped images, mine are stamped and die cut using Rooted in Nature and a sentiment which is layered over a scalloped oval.  I've also added a leaf embellishment with glue dots.  You can just about see in the picture that I've also added some new rose metallic thread that coordinates with the Blackberry Bliss, Petal Pink stamped images.

You can cut any shape for your aperture and use any colours or designs to add a little more.  To keep it even simpler just add the patterned paper and a sentiment.  Have fun using your papers. The more you use them the more confident you'll be with them.  
You can see and buy them here 
but here are a few to give you some ideas. 


Thanks for stopping by and enjoy browsing my shop. 


More soon Zoe x