Hello and welcome to another Totally Techniques International Blog Hop. Our technique this month was chosen by Barbara Meyer and it is the bleaching technique. I have done two versions of the technique for you and you can choose which you like best. The first is watercolour bleaching which involves lifting colour with water and kitchen towel and the second below uses household bleach.
My card is also for the Christmas Card Club challenge that I take part in. The chosen theme was Nativity or Anything goes and so I'm an AG card this fortnight.
My card above started with white embossing onto vanilla card using the Poinsettia Petals stamps. I then added three shades of red blending them with sponge daubers onto the card. I started with Poppy Parade followed by Real Red and finished with Cherry Cobbler. I let the colour fade out the nearer I got to the bottom of the card.
I then started to use a water painter to moisten the ink inside the embossed images and removed the water and ink by dabbing it with a piece of kitchen paper towel. This slowly allowed me to add light and shade depending upon the amount of ink on the design and the amount of water added. I repeated the process until I was happy with the result. I also splattered a few drops of water across the non stamped area lift some spots of ink also.

I then stamped and and gold embossed the poinsettia and holly leaves on Poppy Parade and Shaded Spruce card respectively. Having die cut them I then used a bone folder to curl the petals and built the design with glue dots and stampin' dimensional.
The sentiment is from the same set and is white heat embossed on black card and punched at one end with the useful Lovely Labels punch which gives you two end of tag choices and 3 widths to cut the tags in.

My next card uses household bleach to remove colour from the card stock. This works particularly well with Stampin' Up! card as the card is coloured all the way through so you literally bleach the colour out.
I poured some bleach into an old embellishment pot and then used a cottonwool ball to add ink onto my stamp in the same way I would add ink. I then stamped the poinsettia and leaves onto the card. I left the stamp on the card for a few seconds and then removed it. I then used a heat tool to speed up the drying of the image which made the image appear quicker where the card colour was bleached.
NB The age of the bleach you use can reduce the success of this process and once you've stamped you need to carefully discard any remaining bleach in the pot you use to dip in your cotton wool. Light damages bleach and it's strength. So buy a small inexpensive bottle and keep it in a cupboard for safety but also to keep it in the dark!
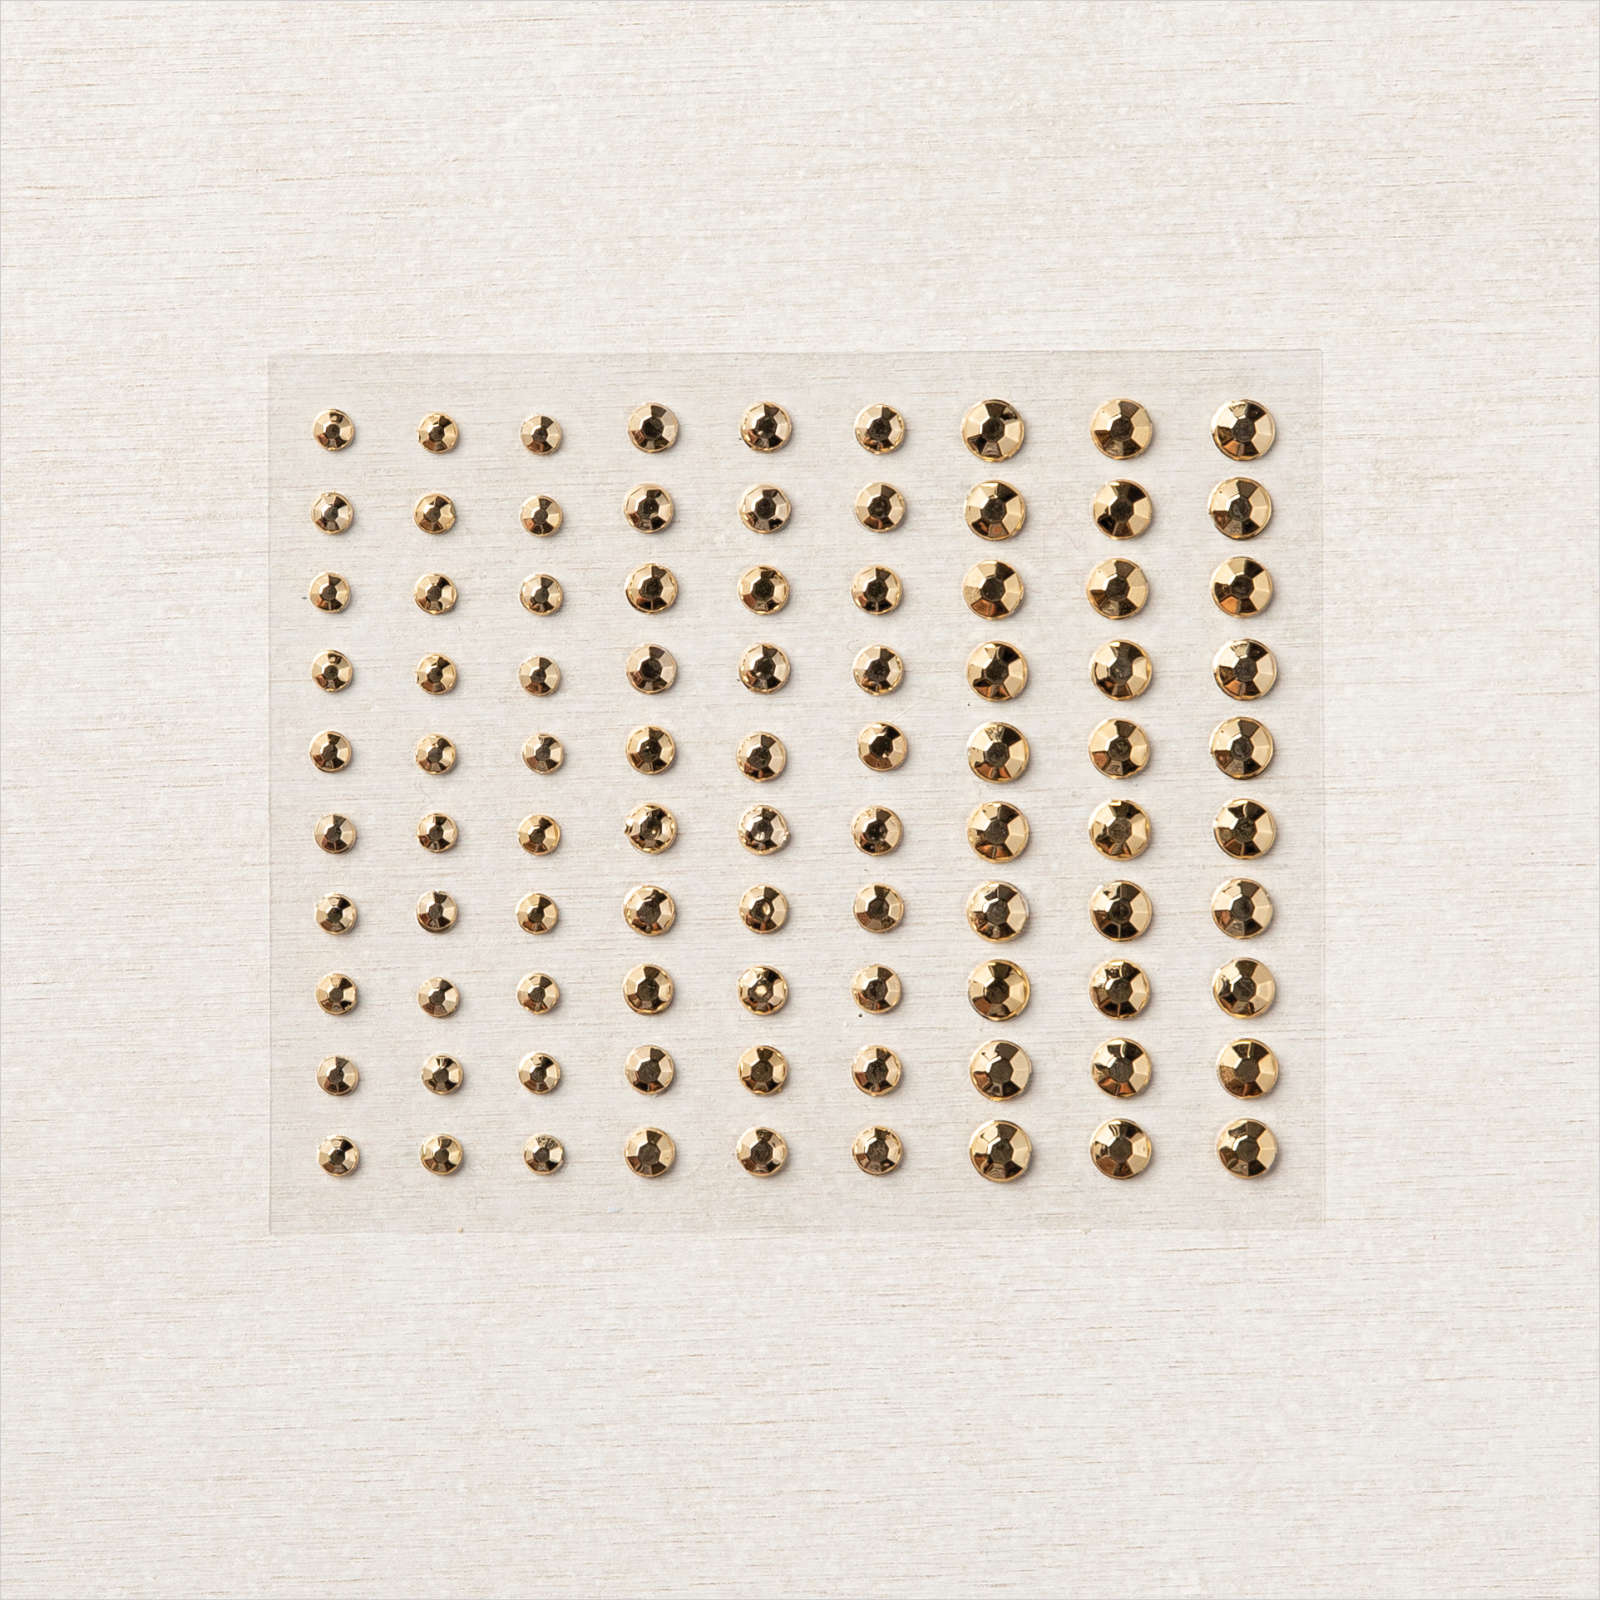
I gold heat embossed a frame on a matt vanilla layer before adding the flower, leaves, berries and sentiment. To highlight the centre of the flower I also added some gilded gems.
So which 'bleaching' effect do you prefer?
You can visit the other demonstrator blogs below and see their take on this fun technique.
Thanks for popping by.
Keep safe and happy stamping
Zoe x
The beautiful Poinsettia Petals bundle will be available in my Stampin' Up! shop from 4th August. If you'd like a paper copy of the our winter mini which includes ideas for this bundle and other seasonal new products please do get in touch. zoetant@live.co.uk


2 comments:
Ooooooh! Stunning! I love both versions - how could I choose?!?
I love both cards and both techniques. I was alsways scared od using bleach with photopolymer stamps. I should start beeing more brave when the results can be so pretty :)
Post a Comment