My STAMPING PAPERCRAFT blog - Stamping Scene

Hello and welcome to my blog. I'm a paper craft addict and love sharing my passion for paper crafting . I run online and face to face card making, memory keeping and all sorts of 3D projects. I also sell many of the products I use. If you'd like more information do drop me an email. Thank you for visiting I hope to see you again soon. Zoe x
Showing posts with label swirly frames stampin up. Show all posts

Sunday, 27 September 2020

Gifts, Ribbons and Bows


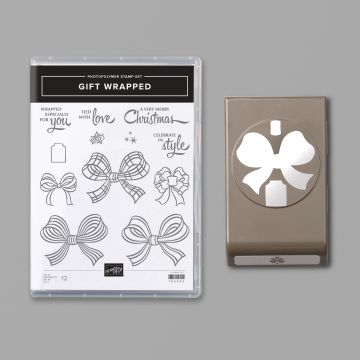
I'm excited to share my Christmas Card Club card with you today as for once as my choice I picked something some months ago as a theme and didn't then think "OMG why did I choose this!!!" .  I chose this theme knowing that we would have a new winter mini catalogue with lots of gorgeous seasonal stamps and trimmings, but never did I think it would work so well as this; a stamp set with literally ribbons and bows and I've added the gifts.  


stampin up christmas card gift wrapped bundle

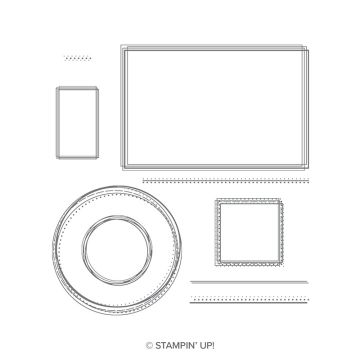
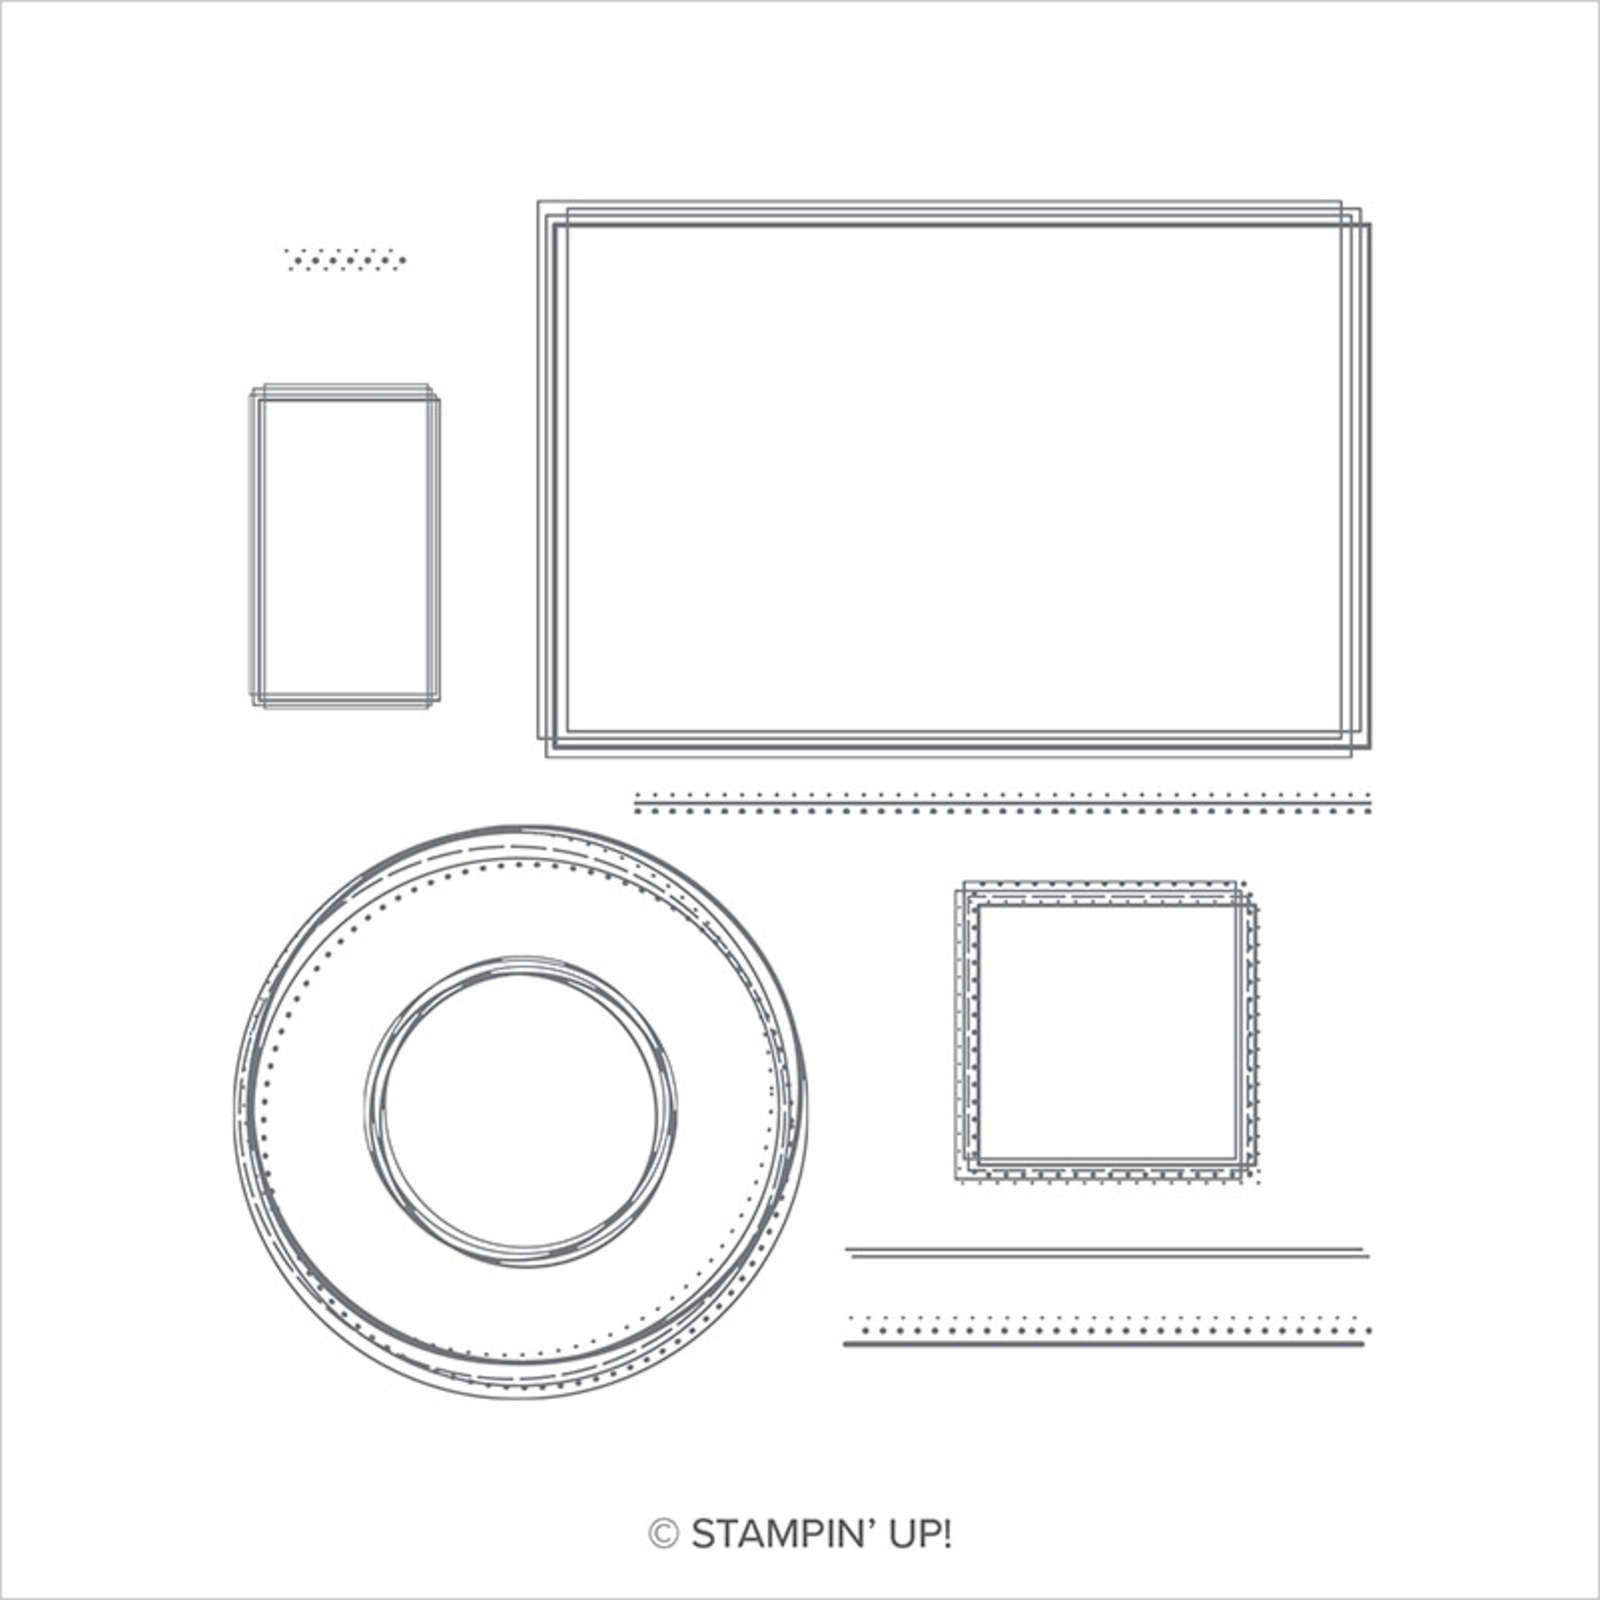
 I used the 'Tis the Season papers and the Swirly Frames stamp set to add box edges in gold embossing before trimming my gift box shapes.  I've then added embossed, stamped or coloured bows to them all and a sentiment tag to the largest.  I created an embossed matt layer and chose the de-bossed side to add the paper parcels onto it as it was smoother to stick the papers onto but I think looked better behind the parcels.  

Regular visitors know I'm a bling lover and so a few red rhinestones just finished off my middle parcel.  Wouldn't it be lovely to receive Christmas gifts like this all coordinating and bowed!!

christmas card using embossing with powder and folders and swirly frames stamp set

If you are looking for other gift wrap ideas why not look at my previous post showing a 3D gift box idea

Happy Sunday and I hope you have a great week.  I'm into Christmas mode now so making cards in my Christmas card buffet which you can join by post. Please email me for more information at zoetant@live.co.uk 

Thanks for stopping by.  Keep safe and KEEP STAMPING!

Hugs Zoe x


stampin up gift wrap bundle

Gift Wrapped Bundle


Swirly Frames Stamp Set

Swirly Frames Stamp Set


'tis the season designer series papers

'Tis the Season papers

Friday, 31 July 2020

Papercraft Bleaching Techniques - which do you prefer and here's how.


Stampin Up Poinsettia Petals


Hello and welcome to another Totally Techniques International Blog Hop.  Our technique this month was chosen by Barbara Meyer and it is the bleaching technique.  I have done two versions of the technique for you and you can choose which you like best.  The first is watercolour bleaching which involves lifting colour with water and kitchen towel and the second below uses household bleach.  

My card is also for the Christmas Card Club challenge that I take part in.  The chosen theme was Nativity or Anything goes and so I'm an AG card this fortnight. 

My card above started with white embossing onto vanilla card using the Poinsettia Petals stamps.  I then added three shades of red  blending them with sponge daubers onto the card.  I started with Poppy Parade followed by Real Red and finished with Cherry Cobbler.  I let the colour fade out the nearer I got to the bottom of the card. 

I then started to use a water painter to moisten the ink inside the embossed images and removed the water and ink by dabbing it with a piece of kitchen paper towel.  This slowly allowed me to add light and shade depending upon the amount of ink on the design and the amount of water added.  I repeated   the process until I was  happy with the result.   I also splattered a few drops of water across the non stamped area lift some spots of ink also. 


I then stamped and and gold embossed the poinsettia and holly leaves on Poppy Parade and Shaded Spruce card respectively.  Having die cut them I then used a bone folder to curl the petals and built the design with glue dots and stampin' dimensional. 

The sentiment is from the same set and is white heat embossed on black card and punched at one end with the useful Lovely Labels punch which gives you two end of tag choices and 3 widths to cut the tags in. 


My next card uses household bleach to remove colour from the card stock. This works particularly well with Stampin' Up! card as the card is coloured all the way through so you literally bleach the colour out. 


Stampin Up Poinsettia Petals

I poured some bleach into an old embellishment pot and then used a cottonwool ball to add ink onto my stamp in the same way I would add ink.  I then stamped the poinsettia and leaves onto the card.  I left the stamp on the card for a few seconds and then removed it.  I then used a heat tool to speed up the drying of the image which made the image appear quicker where the card colour was bleached.   

NB  The age of the bleach you use can reduce the success of this process and once you've stamped you need to carefully discard any remaining bleach in the pot you use to dip in your cotton wool.  Light damages bleach and it's strength. So buy a small inexpensive bottle and keep it in a cupboard for safety but also to keep it in the dark! 

I die cut the flower and leaves and added some tone on tone stamping onto the leaves for more detail using the fill-in stamp from the set for the Holly leaves.  I also die cut one of the berry stems from vellum before heat embossing with gold powder.  

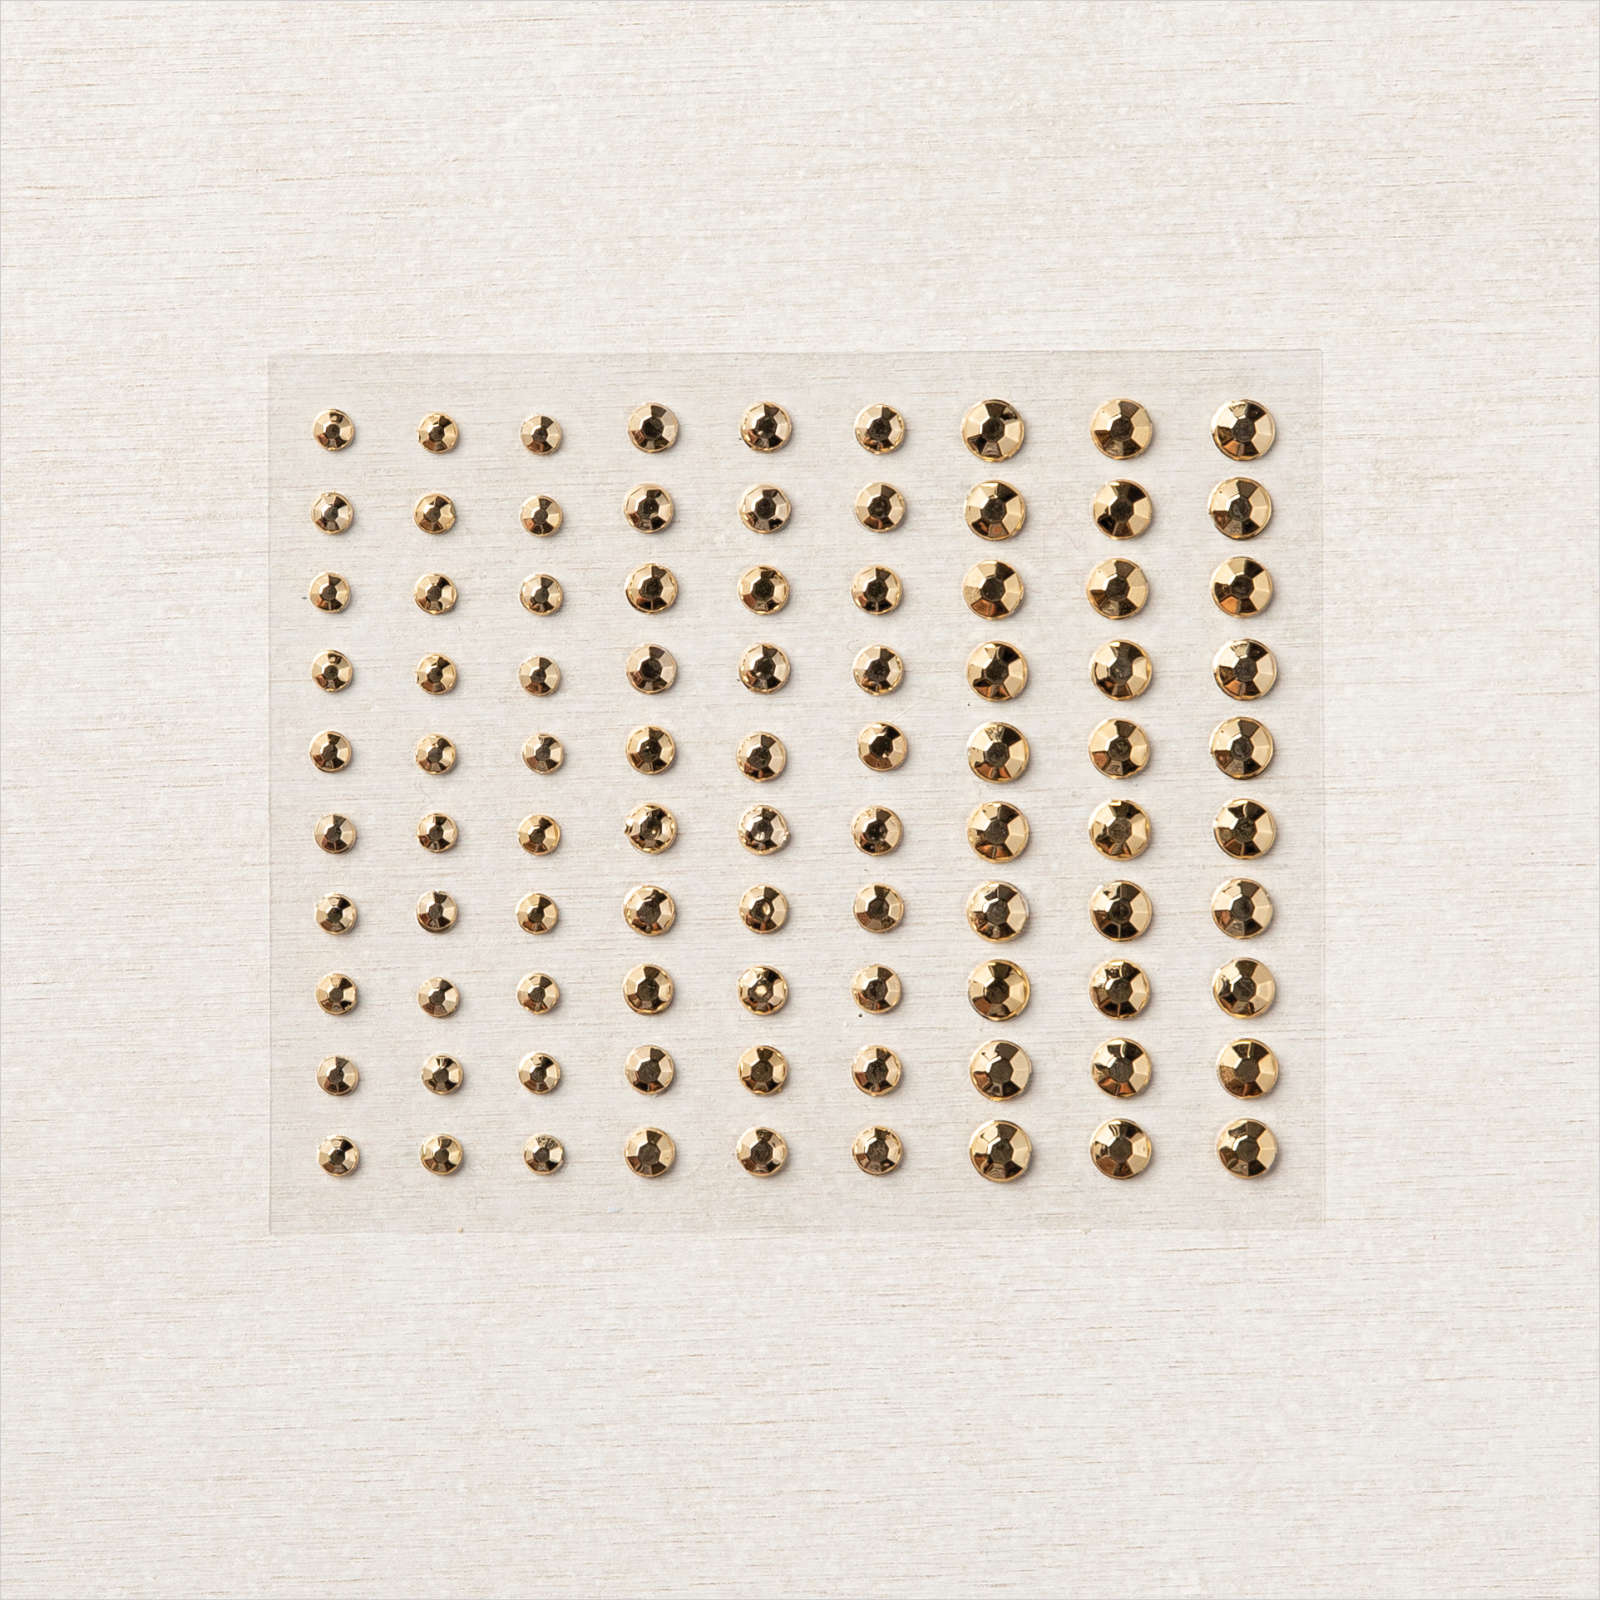
I gold heat embossed a frame on a matt vanilla layer before adding the flower, leaves, berries and sentiment.  To highlight the centre of the flower I also added some gilded gems. 

So which 'bleaching' effect do you prefer?

You can visit the other demonstrator blogs below and see their take on this fun technique.  

Thanks for popping by.

Keep safe and happy stamping
Zoe x


      Swirly Frames                                             Gilded Gems

The beautiful Poinsettia Petals bundle will be available in my Stampin' Up! shop from 4th August. If you'd like a paper copy of the our winter mini which includes ideas for this bundle and other seasonal new products please do get in touch.  zoetant@live.co.uk


You are invited to the Inlinkz link party!

Click here to enter

Sunday, 13 May 2018

Christmas Card Challenge meets Moving Along with the Times


Carol is our challenger for this fortnight's Christmas Card Club challenge. She asked for cards with the sentiment as the focus and Christine is the theme Queen for this fortnight's challenge over at Moving Along with the Times with a similar theme of Sentiment Focus with no images, so I'm killing two birds with one stone today.

I've made a very simple, elegant card and there's now doubt that the sentiment is the focus of it.  I've used my new Stampin' Up! Swirly Frames set again to create the silver embossed frame.  I cut an aperture to raise the frame above my sentiment which I stamped on another piece of card using my Stampin' markers to colour the stamp from Snowflake Sentiments and then added the 'filigree' swirl from the same set which I heat embossed in gold.  This gorgeous Stampin' Up! set will still be available in the new annual catalogue from 1 June.  Some enamel shapes are currently on the discounted retiring list so a bargain to be had.

I've added a layer of Mossy Meadow (which looks wonky in my photo) a returning in colour to the Stampin' Up! colour collection in June where it will be a neutral colour!  I've added some Cherry Cobbler enamel shapes to just finish off the design which is all mounted onto a whisper white thick card base.  Simple, but says just what you need for an elegant card.

I'm all for simple at the moment as I've snapped my Achilles tendon and so am sporting a very fetching Storm Trooper boot and am waiting for more appointments to see what happens next.  Posts might be somewhat sporadic or thin on the ground for a while so bear with me please.

Our challenge club is made up of ladies will different styles and techniques so do visit us all for more seasonal inspiration. You can find everyone listed on the page Christmas CC above.  We'd love you to join us at Moving Along with the Times too HERE.

Have a great week all. I'm celebrating my birthday this week with an MRI scan and orthopaedic appointment so it's going to be one to remember.

Hugs Zoe x

Sunday, 29 April 2018

Christmas Card Club with a Swirly Frames Wreath

Stampin Up Merry Mistletoe, Swirly Frames and the Stamparatus for simple shaker card

I've often looked at the ladies in our merry band of Christmas Card Challenges and am in awe when they share more than one card each fortnight.  I'm in with the more than one gang now as this time whilst I've made a simple design I've made a 'Foo' as folk say in Lincolnshire.  It's a cute little shaker card that I designed with my prize patrol stamp set from Stampin' Up! Onstage.  The wreath is created with one of the stamps from the in coming Stampin' Up! set Swirly Frames.  It made this so easy and I used my Stamparatus, the new Stampin' Up! stamp positioning tool available with the new catalogue on 1 June,  to add the foliage decoration with stamp set Merry Mistletoe which will sadly retire next month.  It's been a go to set for Christmas cards for me and has met so many of our challenge club themes.  

Quick and Easy Christmas Cards with Stampin' Up! Stamparatus
I've also used the new in colour Call Me Clover for the green which is a lovely  fresh,vibrant  green and coordinates well with our traditional Real Red for festive cards.  I've stamped the wreath ring in Crumb Cake and used used some new narrow solid ribbon in Real Red for the bow.  I used the decorative ribbon border to add a final touch of green on these 9.9cm (apron 4") square cards.  

Remember it's never too early for the festive season!

Have a great Sunday and don't forgot to check out the other lovely blogs in our challenge group for more inspiration.

Thanks for stopping by ....

Zoe x