My STAMPING PAPERCRAFT blog - Stamping Scene

Hello and welcome to my blog. I'm a paper craft addict and love sharing my passion for paper crafting . I run online and face to face card making, memory keeping and all sorts of 3D projects. I also sell many of the products I use. If you'd like more information do drop me an email. Thank you for visiting I hope to see you again soon. Zoe x
Showing posts with label poinsettia petals stampin up. Show all posts

Sunday, 12 September 2021

Christmas Card Club - Poinsettias


handmade christmas card with poinsettia stamps and dies

Happy Sunday and welcome to our Christmas Card Club Challenge.  Rita is our lovely challenger today and she has chosen Poinsettias for our theme.  I just love to have one or two in the house at Christmastime.  The colours are amazing and for me they are a feature of the winter season.  

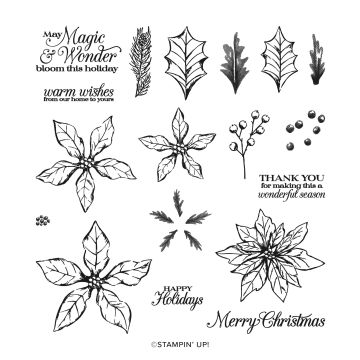
For my handmade card today I've used a stamp set called Poinsettia Petals.  I stamped the petals in Poppy Parade ink and then used a blending brush to add more ink.  You just need to take care that you start off with a light application of ink so that you can build up the depth of colour slowly.  

I'm pleased I chose red for my Poinsettias as following Emma Radacanu's amazing tennis match last night where she wore red kit it is clearly the colour for the weekend.  A young lady with a bright future don't you think!

handmade rubber stamped christmas card for card making with zoe tant

I began my card by stamping the floral spray from Words of Cheer in black ink onto a white layer.  I stamped it twice onto a piece of card 9.7cm x 14cm.  I then added the stamped and die cut flower along with vellum 'berry' die cuts which I added random spots of gilded leafing.  I added the same leafing to the centre of the top layer of the Poinsettia.  I used Tombow wet glue which i carefully added with a cocktail stick to add just a small 'smudge' of glue to each dot before adding the leafing.  I left it to dry before gently removing excess gilding to reveal the gold dots. 
heat embossed words of cheer stampin up christmas card
I love the open weave in colour ribbons so added a bow of Evening Evergreen which I tucked under the Poinsettia with glue dots.  Using the Words of Cheer set I created a sentiment heat embossed in white on black card.  The whole layer is then matted onto a layer of Soft Succulent card and a base card of Evening Evergreen. 

handmade poinsettia petals christmas card

Having used a darker colour for the card base I like to add a lighter inside piece of card. Here I've added white and continued the stamping with the Words of Cheer.  By just stamping part of the image it leaves plenty of space to write your goodwill message.

card inside using words of cheer stampin up stamp set


The dry weather continues here in Lincolnshire and so a bit of gardening is on the diary, along with a family Sunday roast as we have a birthday in the house this month so are celebrating.  Hoping you have relaxing plans too.  
poinsettia stamp from stampin up for christmas craft and cards and stamping

Thanks for popping by and enjoy your Sunday. 

Keep safe and keep stamping 

Zoe x


stampin up stamp set words of cheer 2021

Words of Cheer stamp set


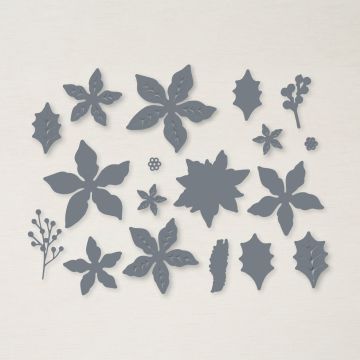
poinsettia dies from Stampin' Up!

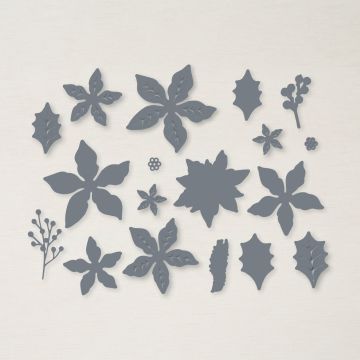
Poinsettia dies


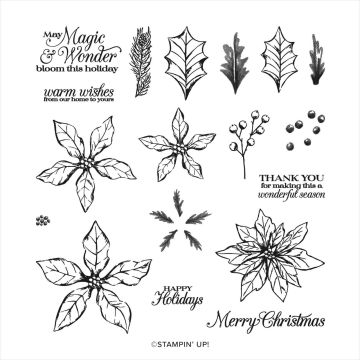
poinsettia petals stamp set stampin up with zoe tant

Poinsettia Petals stamp set


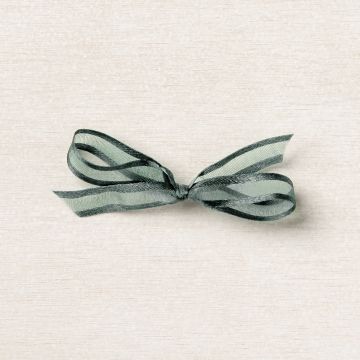
open weave organza ribbon evening evergreen for craft

Evening Evergreen Open 

Weave ribbon


Sunday, 28 February 2021

Can you name that tune?

christmas card made using Stampin Up Poinsettia Petals

What a beautiful day with the sun shining and spring flowers popping up. Once again it seems a little wrong to be making Christmas cards, but there's nothing like the fun of sharing with my Christmas Card Club friends.  Today our challenge is to create a card based on a Christmas Carol.  Rita chose our fun theme, but can you guess the carol I have chosen. 

I used the holly stamps from the Poinsettia Petals stamping on watercolour paper and then using my water painters I've dragged colour from the stamped lines onto the images as well as add some from ink lids.  I  used the Poinsettia dies to die cut the leaves and gold foil sprigs.  


 I added the die cuts to a background stamped in 2nd generation Grey Granite ink using a script stamp from Very Versailles stamp set.  I also used Versamark, heat and stick powder and some gilded leafing to add a sentiment.  Finally I used the Grey Granite stampin marker to add some splatters.

Best wishes for a good week all.  We continue to live with dust from the builder, but have had a fab walk in the sunshine today.  Ready for a cosy evening in now.  

Keep safe, well and crafting 
Hugs Zoe x

PS My carol is Deck the halls with boughs of holly. 

gilded leafing for card making use with heat and stick powder


heat and stick powdered adhesive


Poinsettia Petals stamp set shop with Zoe Tant


For all products SHOP HERE

Sunday, 14 February 2021

Blue Poinsettia's on a cold Sunday


poinsettia card using stampin up craft products

Oh boy it's been chilly here in Lincolnshire and was supposed to warm up a little this afternoon, but the wind is still howling and we have ice and snow still sitting around, but the stoves are lit and it's snuggly and I've joined the lovely crew of the Christmas Card Club with our fortnightly share.  I've gone for the Anything Goes option today and a blue frosty card to suit the day. 


I used a sponge brayer to colour the embossed background with Balmy Blue ink and then set about creating some beautiful Poinsettias by heat embossing the images in silver and using the dies to cut them and some foliage.  I stamped the sprigs and holly leaves in Misty Moonlight and used a blender pen to drag some of the ink across the berries and as you can see the holly leaves are stamped on Balmy Blue card. 

card making supplies from stampin up with zoe tant

I made it all sparkle with some silver foil card die cuts and if you look closely you can see I've added some Wink of Stella, and there are a handful of navy rhinestones too.  

Keep safe, warm and well and keep stamping. 

Hugs Zoe x

poinsettia petals stamp set

Poinsettia Petals Stamp Set


poinsettia dies stampin up card making

Poinsettia Dies


Sunday, 11 October 2020

Don't Stop Believin' or are you on the naughty list

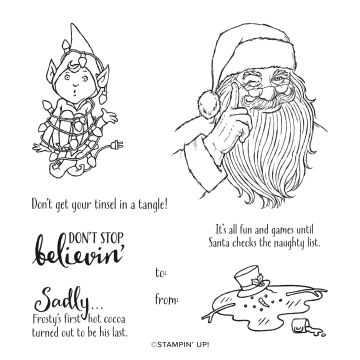
Welcome to my share for this fortnight's Christmas Card Club. Kate up in bonnie Scotland has asked for Santa, Father Christmas cards and this gorgeous stamp instantly came to mind from the Stampin' Up! winter mini called Don't Stop Believin' .  


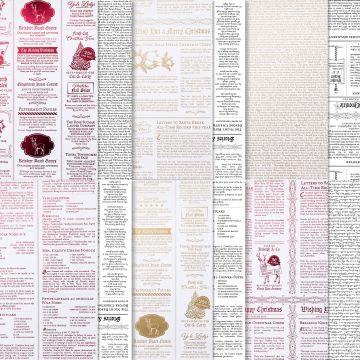
 It's a really simple technique using text printed papers although a text background stamp would work too, possibly with second generation ink.   I stamped the Santa with Tuxedo Black Memento Ink and then used Stampin' Blends to colour in and added the holly from the Poinsettia Petals stamp set.  There are also some Christmas facetted gems and lots of Wink of Stella, but not so easy to see in a photo.  The sentiment I stamped and fussy cut around it before then adding it to a piece of black card before fussy cutting it out again.  

I added a piece of embossed red foil card to bring out the red of Santa's jacket and hat and to make him 'pop' a little more from the text background.  

Hoping your Christmas makes are coming along, but if you are adrift and need supplies don't forget to visit my Stampin' Up! Online Shop via any of the item links below.  

Thanks for checking in and keep crafting!

Hugs Zoe x


Don't Stop Believin'  stamp set from Stampin' Up!


Poinsettia Petals Stamp Set


Wonder of the season designer series stampin up papers


wonderful gems enamel faceted craft gems


stampin up blends alcohol markers


red and green foil sheets

Friday, 31 July 2020

Papercraft Bleaching Techniques - which do you prefer and here's how.


Stampin Up Poinsettia Petals


Hello and welcome to another Totally Techniques International Blog Hop.  Our technique this month was chosen by Barbara Meyer and it is the bleaching technique.  I have done two versions of the technique for you and you can choose which you like best.  The first is watercolour bleaching which involves lifting colour with water and kitchen towel and the second below uses household bleach.  

My card is also for the Christmas Card Club challenge that I take part in.  The chosen theme was Nativity or Anything goes and so I'm an AG card this fortnight. 

My card above started with white embossing onto vanilla card using the Poinsettia Petals stamps.  I then added three shades of red  blending them with sponge daubers onto the card.  I started with Poppy Parade followed by Real Red and finished with Cherry Cobbler.  I let the colour fade out the nearer I got to the bottom of the card. 

I then started to use a water painter to moisten the ink inside the embossed images and removed the water and ink by dabbing it with a piece of kitchen paper towel.  This slowly allowed me to add light and shade depending upon the amount of ink on the design and the amount of water added.  I repeated   the process until I was  happy with the result.   I also splattered a few drops of water across the non stamped area lift some spots of ink also. 


I then stamped and and gold embossed the poinsettia and holly leaves on Poppy Parade and Shaded Spruce card respectively.  Having die cut them I then used a bone folder to curl the petals and built the design with glue dots and stampin' dimensional. 

The sentiment is from the same set and is white heat embossed on black card and punched at one end with the useful Lovely Labels punch which gives you two end of tag choices and 3 widths to cut the tags in. 


My next card uses household bleach to remove colour from the card stock. This works particularly well with Stampin' Up! card as the card is coloured all the way through so you literally bleach the colour out. 


Stampin Up Poinsettia Petals

I poured some bleach into an old embellishment pot and then used a cottonwool ball to add ink onto my stamp in the same way I would add ink.  I then stamped the poinsettia and leaves onto the card.  I left the stamp on the card for a few seconds and then removed it.  I then used a heat tool to speed up the drying of the image which made the image appear quicker where the card colour was bleached.   

NB  The age of the bleach you use can reduce the success of this process and once you've stamped you need to carefully discard any remaining bleach in the pot you use to dip in your cotton wool.  Light damages bleach and it's strength. So buy a small inexpensive bottle and keep it in a cupboard for safety but also to keep it in the dark! 

I die cut the flower and leaves and added some tone on tone stamping onto the leaves for more detail using the fill-in stamp from the set for the Holly leaves.  I also die cut one of the berry stems from vellum before heat embossing with gold powder.  

I gold heat embossed a frame on a matt vanilla layer before adding the flower, leaves, berries and sentiment.  To highlight the centre of the flower I also added some gilded gems. 

So which 'bleaching' effect do you prefer?

You can visit the other demonstrator blogs below and see their take on this fun technique.  

Thanks for popping by.

Keep safe and happy stamping
Zoe x


      Swirly Frames                                             Gilded Gems

The beautiful Poinsettia Petals bundle will be available in my Stampin' Up! shop from 4th August. If you'd like a paper copy of the our winter mini which includes ideas for this bundle and other seasonal new products please do get in touch.  zoetant@live.co.uk


You are invited to the Inlinkz link party!

Click here to enter