My STAMPING PAPERCRAFT blog - Stamping Scene

Hello and welcome to my blog. I'm a paper craft addict and love sharing my passion for paper crafting . I run online and face to face card making, memory keeping and all sorts of 3D projects. I also sell many of the products I use. If you'd like more information do drop me an email. Thank you for visiting I hope to see you again soon. Zoe x
Showing posts with label rubber stamps. Show all posts

Friday, 31 March 2023

Great ways to use Gilded Leafing - gold leaf for papercraft

embossed Daisy Garden rubber stamp onto blending brush background and gilded leaf sentiment


 Hey friends welcome to the March Totally Techniques blog hop. We're sharing Annette's choice this month and are using the Stampin' Up! Gilded Leafing.  You'll find lots of ideas of how to use this fun product.  

gold embossed card with daisy garden stamp and gilded leafing sentiment from amazing thanks double dies


Starting with Polished Pink card I gold embossed the lovely soon to retire Daisy Garden stamp onto the card.  I then used blending brushes to add an ombre effect to the card using Polished Pink and Poppy Parade Ink.  

Using a clean water brush I added some water splatters to the design and moped up excess water with a paper towel.  I put some craft white ink onto a cello bag and added some water. Mixed the paint and  water with the water brush before adding splatters to the design. I also added splatters using the inside lid of a marker pen and flicking the brush nib from inside out.  

My sentiment was created using the retiring Amazing Thanks dies.  One die cuts the black framing thanks and another die cut the top layer detail. For the top layer I added double sided adhesive to to both side of a piece of white card big enough to cut the word thanks out.  Once die cut I peeled off the backing paper from the facing side of the word.  I then added gilded leafing to the revealed adhesive sheet and gently brush off the excess with a small blending brush before removing the reverse side backing paper to stick the word to the black background.  From the Kind and Sincere stamp set I added the 'FOR EVERYTHING' and some elegant faceted gems for the all important bling. 

close up view of gold leaf gilded leafing sentiment on handmade card


You could use any stamp for this technique and add a variation of colours for different effects.  I love the gilded leafing for a bold statement sentiment and I'm sure my Stampin' demo friends on the hop will have some other great ideas for you.  Enjoy our hop and see you again soon. 

Hugs Zoe x

You are invited to the Inlinkz link party!

Click here to enter

Supply List 

gilded leafing flakes buy at stampin up

Gilded leafing 


stampin up daisy garden background stamp

Daisy Garden Background stamp


amazing thanks dies for handmade cardmaking

Amazing Thanks dies


kind and sincere rubber stamp set

Kind & Sincere stamp set


SHOP ALL PRODUCTS

Sunday, 23 January 2022

Christmas Card Club - Tidings and Trimmings Stampin' Up! Bundle

handmade christmas card using stampin up tidings and trimming stamps and dies

Today is the second Christmas Card Club of the year, but only my first so I have two cards in an effort to catch up.  The theme today is Nativity, but I've gone for anything goes which we can do if we are stuck for inspiration.  

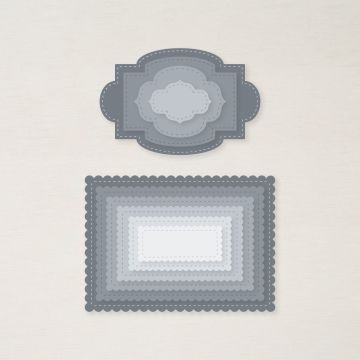
I've used the Tidings and Trimmings bundle and the Tidings of Christmas papers.  Two simple cards, but the above one is full of texture and little details.  I really like the Hammered Metal embossing folder for adding some background detail and the staggered Label Me Fancy punched labels draw the eye across the design.  

For the card below it's a really simple design making use of this lovely stocking stamp again framed on a stitched and scalloped rectangle with an elegant font for the sentiment. 

handmade christmas cards using tiding and trimmings bundle from stampin up

Do look for more inspiration from the other lovely members of our Christmas Card Club and best wishes for the week ahead.  

Thanks for stopping by, keep safe and keep stamping.

Hugs Zoe x


Shopping List for these cards

tiding and trimmings stamp set stampin up bundle

Tidings & Trimmings 

stamp and die bundle


stitched so sweetly stampin up dies
Stitched So Sweetly dies


tidings of christmas papers for craft card making

Tidings of Christmas 6 x 6" papers


label me fancy punch for craft

Label Me Fancy punch


shop or join stampin up jan to feb 2022 for bonus items T's & C's apply

Join and two stamp sets of your choice for free

January through 28 February 2022

Saturday, 4 September 2021

Stampin' Up! Have a Robin - Stampin' for Christmas Blog hop

christmas robin card using stampin up happy holly-days stamp set

 
stampin for christmas blog hop with zoe tant uk papercraft class tutor

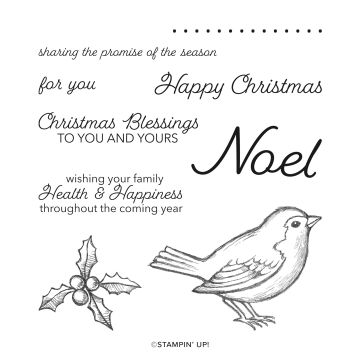
Stampin' Up! have been asked for many years to have a Robin stamp by UK demonstrators and not least me.  At last this year they have a fabulous stamp set called Happy Holly-days and it features this fab fellow.  I couldn't resist it and have used it very simply for this month's Stampin' for Christmas blog hop.  
Welcome to everyone visiting me today and particularly if this is your first visit to my blog.  I hope it's not the last and that you find lots of inspiration for festive cards on this international hop. 
demonstrating masking technique for rubber stamping
For my card I created a mask for the holly by stamping it onto copier paper and cutting it out just on the inside of the outline of the image.  I then used this to mask some of the holly as I stamped it across the card to give the impression of layers of holly. Below you can see the overlap stamping with the mask in place to protect the original stamped image. 

image masking for stamping and card makers
Here the mask has been removed and you can see the double image looking like one holly sprig is behind the other. 

masking technique for rubber stamping card making and scrapbooking


The Robin was originally stamped on the card and then again on another piece of card. It was easier to have the image in place to add the holly and then with the second image fussy cut it out and add onto the stamped Robin.  
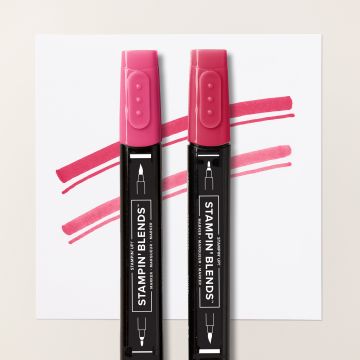
I kept the card really simple by stamping in Black Memento ink and just adding Real Red using alcohol marker Stampin' Blends to make the iconic red breast and berries 'pop'. 

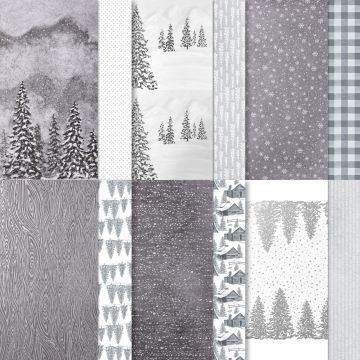
I layered the design piece onto a piece of DSP from the new winter catalogue pack called Peaceful Place.  This is a black, grey and silver design pack of papers that you can add any colour to for dramatic effect or just touches like this to frame your focal point.  

Also I'm sure like me you don't like waste anything and so an off cut of ribbon folded and tucked underneath the edge of layers just adds a simple finishing flourish.  

A simple, but eye-catching card for mantlepieces this Christmas. 

Carry on with the hop to see more Christmas card inspiration by clicking on the NEXT button. 

Thanks for popping by and come back soon. Now you're off to see the Crafty Medic. 

Keep safe and keep stamping
Zoe x

stampin for christmas blog hop with zoe tant uk stampin up demo


Be part of something special and enjoy all your Stampin' Up! favourites earlier, cheaper and discover a new fun community.  JOIN MY STAMPIN' UP! TEAM.


stampin up peaceful place patterned papers DSP

stampin up happy holly-days stamp set


Alcohol markers stampin blends real red and more


Tuesday, 1 December 2020

Waterfront Holiday

summer holiday handmade card with stampin up waterfront stamp set
Oh soon my lovely friends we'll return to holidays with sunshine, fun and the chance to meet with friends again safely.  In the meantime we can dream and keep ourselves busy with fun stamping like this simple card I've made for the Moving Along with the Times December challenge. We want you to make cards with a holiday theme either winter or summer.  What better than a secluded beach with just a few huts to shade from the sun whilst sipping you Pina Colada! 

I used #simplestamping to create my scene with the Waterfront stamp set.  I've then cut a frame using my trimmer to add a little depth as well as revamp the beach huts on a scratch piece of card and fussy cut them out before adding with stampin dimensionals.  Simple but effective and you could just walk into the scene.  

I added a very simple sentiment, but you could make it a Bon Voyage card or just a cheery hello to brighten a friends day.  

Come and join the challenge today over at MAWTT. 

Keep safe and keep stamping!

Hugs Zoe x


Find the stamp set and more in my online shop

stampin up waterfront stamp set for stamping cards scrapbooking


paper trimmer for craft


ink pads bright colours for rubber stamping craft


paper punch classic label card making tools

Sunday, 22 November 2020

Nature's Beauty Christmas Card

Nature's Beauty Christmas Card

 Welcome to our lovely selection of cards featuring deer for the Christmas Card Club challenge set by Gwen.  I was inspired by the very talented Tracy Evans and her recent use of a stencil to create a focal point on her card before adding stamping and fussy cut additions for this card.   I chose to create a circle stencil using a die and vellum and used my new blending brushes that will be available in the Stampin' Up! spring mini catalogue.  Whilst leaving my stencil in place once I have ink blended my green circle I added some water splatters that I left for a few seconds before drying with kitchen towel and then added more and sprinkled salt crystals ontop to also lift some of the colour. You need patience though to let it all dry, which I don't have sometimes as I'm too keen to move on, are you the same?  

Once all dry, in my case with a little help from kitchen paper and a heat tool I stamped the trees and the deer.  I stamped the deer also on a piece of scratch card and used a blender pen to move some of the ink from the stamped image around to colour the deer, but maintain the texturing created as part of the stamped image.  I fussy cut this second deer out carefully and removed much of the detail on the ground to give a little depth created only by adding the cut out image to the one on my circle using just glue dots for a little bit of height, but not too much.  

I also added the sentiment.  My artwork was created on shimmery white card stock so it has a little sparkle and of course this card stock works better than plain white which doesn't react too well with the water splattering.  I've added a narrow Early Espresso matt layer before adhering it all to my brushed copper foil card which I embossed using a new folder called Painted Texture that you will also see in the Spring Mini out soon.  

We have several friends in Australia and of course snowy scenes are not the best for Christmas cards and so this will be a perfect card to send down under.  

We've had some fab walks recently not least yesterday when we found a little sunshine and reached a bench for a quick photo stop, but as you can see our pup isn't one for sitting still. 


Hope you have a happy Sunday and are able to enjoy some fresh air and sunshine.  

Keep safe 

Zoe x

nature's beauty stampin up stamp set


brushed metallic card stock for card making craft


blender pens for colouring stamping card making


November One Day Sale starts Monday 23 November at 11pm until 1050pm on Tuesday 24 November. 


Sunday, 11 October 2020

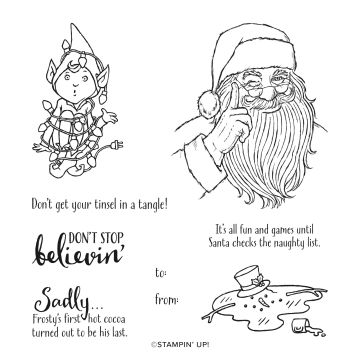
Don't Stop Believin' or are you on the naughty list

Welcome to my share for this fortnight's Christmas Card Club. Kate up in bonnie Scotland has asked for Santa, Father Christmas cards and this gorgeous stamp instantly came to mind from the Stampin' Up! winter mini called Don't Stop Believin' .  


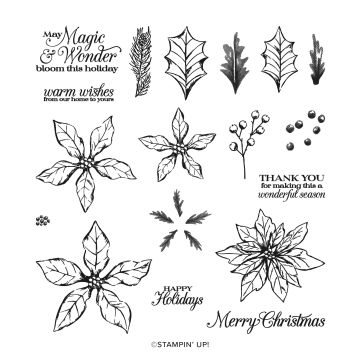
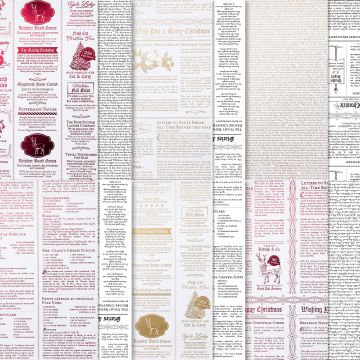
 It's a really simple technique using text printed papers although a text background stamp would work too, possibly with second generation ink.   I stamped the Santa with Tuxedo Black Memento Ink and then used Stampin' Blends to colour in and added the holly from the Poinsettia Petals stamp set.  There are also some Christmas facetted gems and lots of Wink of Stella, but not so easy to see in a photo.  The sentiment I stamped and fussy cut around it before then adding it to a piece of black card before fussy cutting it out again.  

I added a piece of embossed red foil card to bring out the red of Santa's jacket and hat and to make him 'pop' a little more from the text background.  

Hoping your Christmas makes are coming along, but if you are adrift and need supplies don't forget to visit my Stampin' Up! Online Shop via any of the item links below.  

Thanks for checking in and keep crafting!

Hugs Zoe x


Don't Stop Believin'  stamp set from Stampin' Up!


Poinsettia Petals Stamp Set


Wonder of the season designer series stampin up papers


wonderful gems enamel faceted craft gems


stampin up blends alcohol markers


red and green foil sheets

Friday, 9 October 2020

Which creature is your favourite?

stampin up birthday card using From All of Us with Zoe Tant

I love this fun stamp featuring all these cheeky creatures.  The stamp set is call From All of Us and it really is a fabulous group of friends or perhaps it could be your family members? Who would be who!  

I've created this card for the MAWTT - Moving Along with the Times, October Challenge.  I watercolour washed a background onto watercolour paper with a rough spot for the stamp to go in left blank.  I then stamped with Tuxedo Black Memento ink which is what you need to then colour with alcohol markers in my cast Stampin' Blends.  I've limited colours at the moment and ideally would have made the monkey a different colour, but I tweeked it with my colour lifter and dabbled with different colours to make him a different colour to the bear. 

I added sentiments from the same set by stamping onto patterned papers from the In Good Taste pack and used die cut matt layers in Early Espresso.  The sentiments are embossed and to get the colour I first stamped onto Versamark then gently onto the Early Espresso Pad, before adding clear embossing powder.  

What a fun bunch they are don't you think? 

Our challenge in case you hadn't guessed is animals and or birds over at MAWTT this month so why not join us.  

Below is a second card I made using the same stamp, but I fussy cut out the Ostrich.  She is kinda sassy and reminds me of someone close to my heart.  If you watched I'm a Celebrity Get Me Out of Here last year you'll remember Caitlin Jenner and her motto for each day of 'Another Day to Excel'.  Similar message here and in the current world we live in I think we all need to make every day AWESOME.


ostrich card using from all of us stampin up stamp set with zoe tant uk demo

Have a great weekend and come back on Sunday for another round of Christmas Card Club inspiration.  We are sharing Father Christmas/ Santa cards this fortnight. 

Keep safe and keep crafting.  

Zoe x


from all of us stamp set


 From All of Us stamp set


stampin up alcohol markers

Stampin Blends

Alcohol markers


Sunday, 13 September 2020

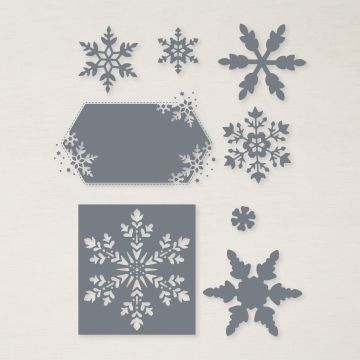
Stunning Snowflakes for sentiment bold Christmas

So Many Snowflakes Christmas card by Zoe Tant Stampin Up UK demo
Wow I love snowflakes but these are stunning.  Stampin' Up! have done an amazing job designing these beautiful dies this year.  I've used them to add sparkle to my Christmas card club card. It's Rita's   turn and she wanted Christmas Sentiments, and these gorgeous papers (Feels Like Frost) and the snowflakes set off my simple sentiment.  I cut 3/4" strips of the papers and top and tailed them with the Lovely Labels punch.  I then adhere them to a white matt layer before adding to my card base with stampin' dimensional.  My sentiment is stamped with Blackberry Bliss, not your usual Christmas colour, but it works don't you think?  

I stamped on Purple Posy card and added Purple Posy snowflakes that I die cut with double sided adhesive sheet on.  I made sure the sticky side was uppermost as I added some fine glitter to it to allow the card colour to come through, but also sparkle.  You could put the double sided adhesive on both sides of course but I only thought of that as I type, so mine are just added with wet glue.  It's a simple card but packs the WOW and is so so pretty with the beautiful papers that are printed photographs on one side with silver embossed designs on the other.  They are 6" x 6" with 4 of each design in the pack so you have two to stroke and two to use.  

As ever you can see some more designs on this theme by visiting the Christmas Card Club ladies blogs from the top link CC Club. 

Keep safe all and keep crafting. 

Hugs Zoe x

stampin up feels like frost papers
Feels Like Frost Papers


double sided adhesive sheets


Stampin Up So Many Snowflakes dies