My STAMPING PAPERCRAFT blog - Stamping Scene

Hello and welcome to my blog. I'm a paper craft addict and love sharing my passion for paper crafting . I run online and face to face card making, memory keeping and all sorts of 3D projects. I also sell many of the products I use. If you'd like more information do drop me an email. Thank you for visiting I hope to see you again soon. Zoe x
Showing posts with label horncastle. Show all posts

Friday, 18 December 2020

Starburst card making technique - Flower and Field DSP

totally techniques blog hop logo

Welcome and Happy Christmas to everyone visiting our last Totally Techniques Blog Hop.  This month we are sharing cards using the Starburst Technique as chosen by Kelly Acheson our USA demo representative.  It's a new technique to me and I've enjoyed tinkering with this technique that is much simpler than it looks.  

starburst papercraft technique card

I'm excited to share my card as I've used some new designer series papers (DSP) called Flower and Field that will be a free gift in our annual Saleabration Event starting on the 5th January which is also the launch of our new Spring mini catalogue.  Inspired by my good friend Audra Monk who used the paper to create a card with the medium daisy punch I've followed her lead and used the same materials, but as a starburst.  

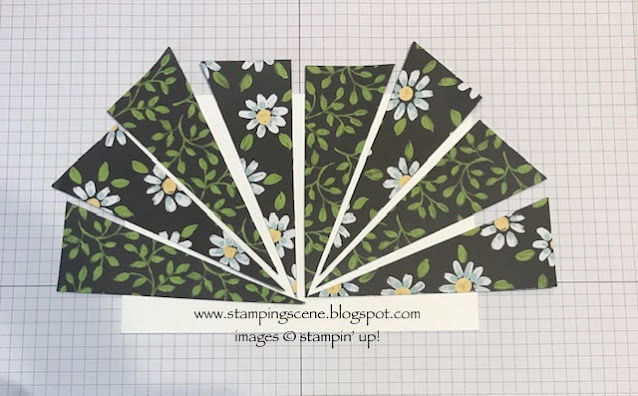
For my version I started with 4 strips of DSP that were each cut at 10 x 4 cm and cut diagonally as shown below. 
flower and field designer series paper for papercraft


Starting in the middle of a piece of card stock 10 cm x 14.3cm I spaced the papers flipping them alternately to cover the white card with thin gaps between ensuring all edges and corners were covered. 

flower and field craft papers

This is how it will look once they are all stuck onto the card. 
starburst technique for papercraft

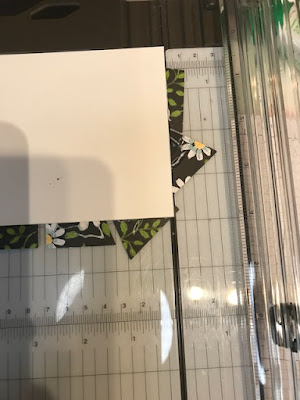
I cut off the excess paper around the edges and also then cut the remaining piece to 9.5cm x 13.8cm before adding to a black matt layer. You need to make sure glue is dry before using a trimmer to cut off the excess or use a pair of scissors. 


starburst technique for card makers


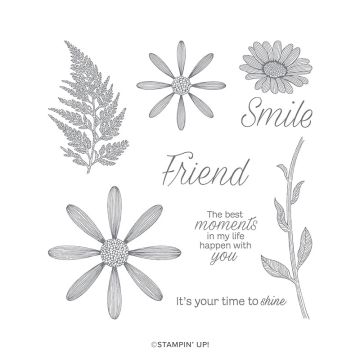
The final addition is a piece of white card and a punched daisy to which I added some Pool Party ink with a blending brush and used the small daisy stamp from the Daisy Lane stamp set to add a flower centre in So Saffron. 
starburst technique card making daisy land stamp set

starburst technique card making daisy land stamp set

starburststarburst technique card making daisy land stamp set
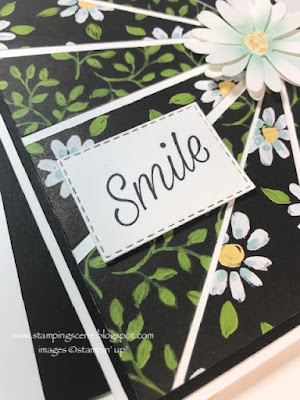
I also added a simply stamped sentiment from the Daisy Lane set which I die cut with one of the Stitched Rectangle Dies. 

If you like the papers you can join our team and benefit from early sight of new products and earn papers like this and more for free. If you'd like some more information and want to SMILE with the Tantalizing Stampers please do email me at zoetant@live.co.uk or you can click to JOIN STAMPIN' UP!

The countdown is on to Christmas and so I hope you'll visit again, but Happy Christmas in the meantime and all good wishes for a safe new year.  

Hugs and keep stamping 
Zoe x

Daisy Lane Stamp set


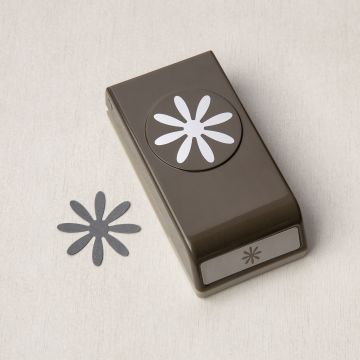
Medium Daisy Punch Stampin Up


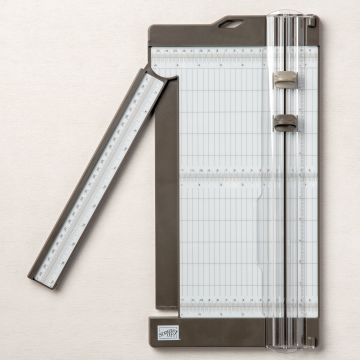
paper trimmer


Flower and Field dsp for card making

Flower and Field Designer Series Paper
Free from January 5th with £45 purchase


stitched rectangle dies for paper crafters


You can see lots more inspiration from the Totally Techniques International Design Team by clicking on the links below.  

You are invited to the Inlinkz link party!

Click here to enter

Sunday, 22 November 2020

Nature's Beauty Christmas Card

Nature's Beauty Christmas Card

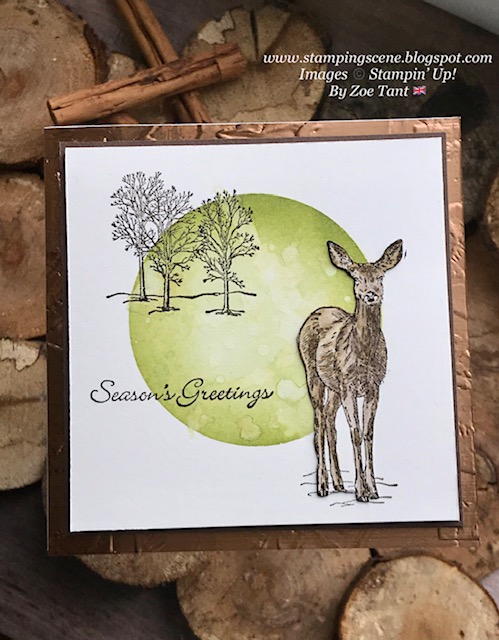
 Welcome to our lovely selection of cards featuring deer for the Christmas Card Club challenge set by Gwen.  I was inspired by the very talented Tracy Evans and her recent use of a stencil to create a focal point on her card before adding stamping and fussy cut additions for this card.   I chose to create a circle stencil using a die and vellum and used my new blending brushes that will be available in the Stampin' Up! spring mini catalogue.  Whilst leaving my stencil in place once I have ink blended my green circle I added some water splatters that I left for a few seconds before drying with kitchen towel and then added more and sprinkled salt crystals ontop to also lift some of the colour. You need patience though to let it all dry, which I don't have sometimes as I'm too keen to move on, are you the same?  

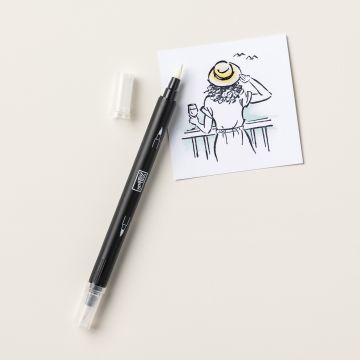
Once all dry, in my case with a little help from kitchen paper and a heat tool I stamped the trees and the deer.  I stamped the deer also on a piece of scratch card and used a blender pen to move some of the ink from the stamped image around to colour the deer, but maintain the texturing created as part of the stamped image.  I fussy cut this second deer out carefully and removed much of the detail on the ground to give a little depth created only by adding the cut out image to the one on my circle using just glue dots for a little bit of height, but not too much.  

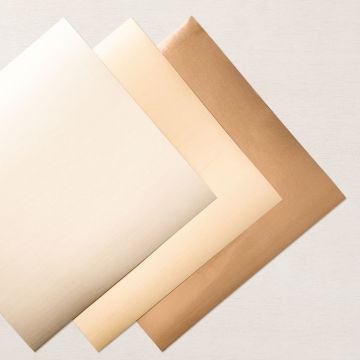
I also added the sentiment.  My artwork was created on shimmery white card stock so it has a little sparkle and of course this card stock works better than plain white which doesn't react too well with the water splattering.  I've added a narrow Early Espresso matt layer before adhering it all to my brushed copper foil card which I embossed using a new folder called Painted Texture that you will also see in the Spring Mini out soon.  

We have several friends in Australia and of course snowy scenes are not the best for Christmas cards and so this will be a perfect card to send down under.  

We've had some fab walks recently not least yesterday when we found a little sunshine and reached a bench for a quick photo stop, but as you can see our pup isn't one for sitting still. 


Hope you have a happy Sunday and are able to enjoy some fresh air and sunshine.  

Keep safe 

Zoe x

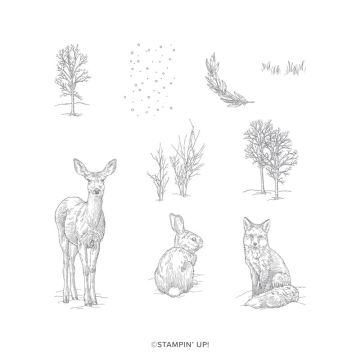
nature's beauty stampin up stamp set


brushed metallic card stock for card making craft


blender pens for colouring stamping card making


November One Day Sale starts Monday 23 November at 11pm until 1050pm on Tuesday 24 November. 


Sunday, 10 November 2019

Christmas Card Club - Anything Goes

 It's my turn to choose the theme for our Christmas Card Club Challenge today and I've gone with a really simple one ie Anything Goes.  It leaves the doors wide open for everyone to choose whatever. 

For my card I've used the fabulous Stampin' Up! Christmas Gleaming stamp set and famous dies 'scissors' tee hee for the fussy cutting of the holly.  I stamped the holly in memento black ink and used my Stampin' Up! alcohol blends markers to colour it.  Colours included Mossy Meadow, Old Olive, Soft Sea Foam, Cherry Cobbler and Ivory.  I'm really pleased with how the holly and berries turned out.  The gorgeous copper foil layer is embossed with a folder called Hammered Metal and the background paper is from the very, very popular Brightly Gleaming Specialty papers.   This particular paper is Vanilla and Pretty Peacock and is just gorgeous. 
Extra bling comes in the form of Wink of Stella on the leaves and berries where they catch the light and a simple linen thread bow.  My inspiration for the card came from the Stampin' Up! winter catalogue and I've flipped the design and layers a little.  When your mojo is low the catalogues are always a great source of inspiration. 

All the products are available in my Stampin' Up! Online Shop are are detailed below

Christmas Gleaming Stamp Set 150464
Brightly gleaming Specialty paper 150429
Copper Foil card 142020
Hammered Metal Embossing Folder 150646
Stampin' Blends various Annual Catalogue p179
Linen Thread  104199
Memento Black Ink132708
Pretty Peacock Ink Pad150083
Mossy Meadow Card stock 133683

Happy Sunday

Hugs Zoe x


Friday, 27 April 2018

Totally Techniques - Emboss Resist with video tutorial

The Totally Techniques team of international Stampin' Up! demonstrators is here again with another blog hop sharing our individual projects showcasing the emboss resist technique for paper crafters.  
Welcome to everyone visiting and hello.  If you've just arrived from Marine's blog you've already seen a fabulous example of this super easy, but fun technique.

For my example I've used the Stampin' Up! Eastern Beauty stamp set to create this circular design that could be used for anyone as a birthday card all you need to do is change the colours.  In fact if you know a tennis fan the lemon lime twist version I have shared would be perfect .  
emboss resist technique with Stampin Up bermuda bay and blueberry bushel

To show you how it is done I've recorded this video to help you and all you'll need is the basic ink paper and stamps to get started with a versa mark ink pad, clear or white embossing powder and a heat tool.  


TOP TIP
Now lots of folk ask 'can i use a hair dryer instead of a heat gun?' and sadly the answer is no because the hair dryer would blow aware the looser specks of embossing powder and also the heat is probably not quite hot enough.  You always need to be careful with heat embossing as the tool is very hot and you need to remember to put it down safely and in a sensible place where it doesn't cause any damage to the surface you place it on due to temperature of it once used. 


Emboss resist technique using Stampin Up Eastern Beauty and Perennial Birthday stamp sets

If you liked the video please subscribe to my channel to encourage me to make more useful tutorial videos for you.  Thanks for popping by and you're off to see Kelly in the USA now. 
Hugs Zoe x


1. Zoe Tant(UK) 2. Kelly Acheson(USA) 3. Nadine Weiner(Germany) 4. Lynsay Mahon(Canada) 5. Barbara Meyer(Austria) 6. Paula Dobson(New Zealand) 7. Annette Elias(The Netherlands) 8. Marine Wiplier(France)