My STAMPING PAPERCRAFT blog - Stamping Scene

Hello and welcome to my blog. I'm a paper craft addict and love sharing my passion for paper crafting . I run online and face to face card making, memory keeping and all sorts of 3D projects. I also sell many of the products I use. If you'd like more information do drop me an email. Thank you for visiting I hope to see you again soon. Zoe x
Showing posts with label paper craft tutorials. Show all posts

Friday, 26 September 2025

Set back stamping technique for card making - Try this for your DIY Christmas Cards

example of set back stamping technique for handmade christmas card

 
totally techniques papercraft blog hop log0

Welcome to our papercraft technique blog hop for September 2025.  Our theme this month was set by the lovely Fanny Minnie in Austria and it is Set Back Stamping.  You create depth to give the view of your image being set back on your handmade card.  

I have used the popular Traditions of Christmas Suite of products from Stampin' Up! but instead of using the traditional colours of Christmas I've used pinks and greens and you could if you wished use a happy birthday sentiment instead of the ones I've used from the Traditional Labels stamp set.  The floral image is from Christmas Greenery and its coordinating dies.  

It's fun to create this texture to a card and really makes your image pop and can be done with any stamp and die bundle that you have.  I enjoyed colouring the images with my alcohol markers (Stampin' Blends) and as you'll hear in my video tutorial you don't need to be an expert colourer to create super colourful images. 


Colouring is such a great activity for clearing your mind as you focus on the colouring and the stresses of your day will more than likely disappear and so it can be very relaxing.  If you like my tutorial do subscribe to my channel as there are more tutorials on the way.  

Enjoy watching and then return for our tour of blogs showcasing different ideas for this fun technique.  You can find all the products I used in the list at the bottom of this post.  

Thanks for joining me today.

Keep stamping

Zoe x

You are invited to the Inlinkz link party!

Click here to enter


Love Stampin' Up! Products and discounts
Join us in October with this amazing deal
contact me for information
join stampin up with zoe in October 2025


Shopping List
christmas greenery stamp set for card making


photopolymer christmas sentiment stamp set


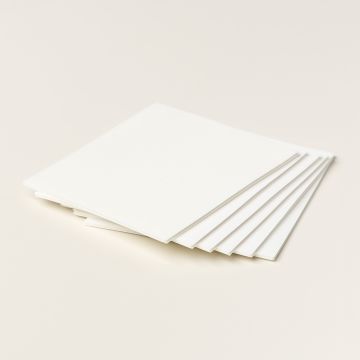
foam adhesive sheets for craft

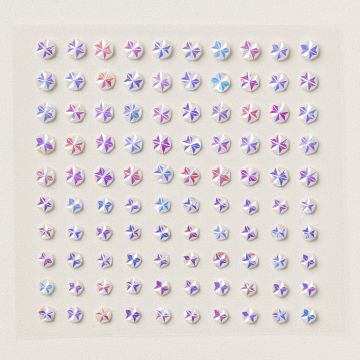
iridescent faceted gems


Friday, 24 April 2020

Reverse Masking simple as........


Reverse masking technique with stampin' up! colourful seasons and stitched nested label dies


Hi how are you doing this week in lockdown?  It's been interesting for us as this little chap arrived in our lives and has exhausted himself as well as us.  Not to mention the devastation of now having two young dogs around.  Ah well I guess decorating can wait until they have remodelled for us. 

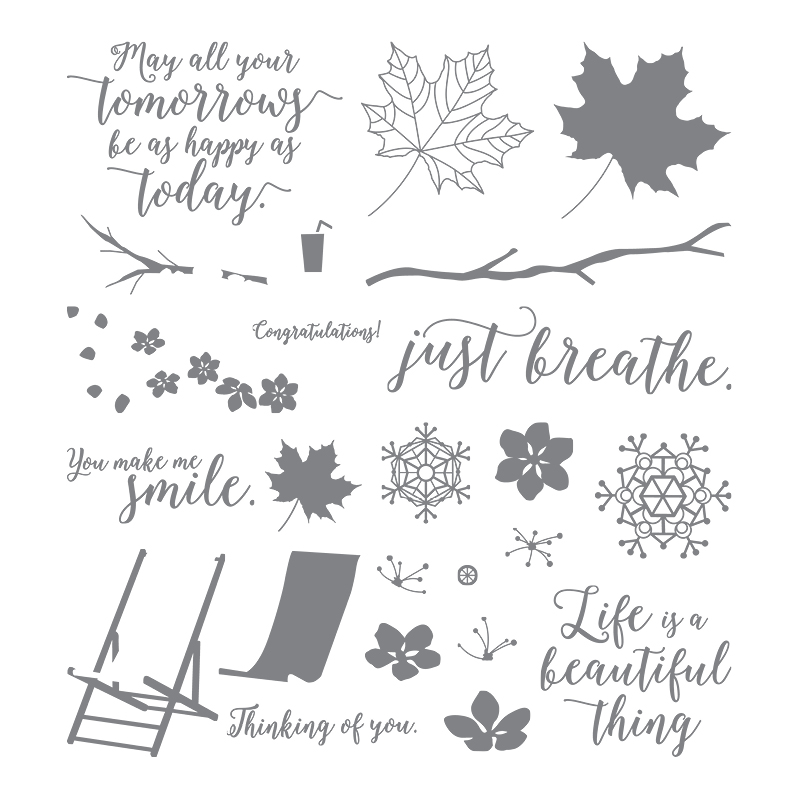
Now I've managed a bit of crafting for our Totally Techniques April hop.  It is as my blog post title suggests Reverse Masking and it is very easy.  I chose to use the Stitched Nested Labels dies to create my mask and then teamed it with the Colourful Seasons stamp set and Seasonal Layers dies.  Sadly these two items are about to retire so do check them out in our Last Chance Section in my Stampin' Up! shop.  It's a fab partnership of stamps and dies that can take you through the whole year with a little spring, summer, autumn and even winter with snowflakes! 

Colourful Seasons Stampin Up stamp set last chance
143726

seasonal layers dies last chance to buy

143751


I laid my mask onto another piece of white card and used a mask that I created with the scallop edge die from the set above.  I used a sponge to add Balmy Blue ink to create a cloudy sky and Crushed Curry ink for the sandy beach.   I did this on my Stamparatus so that I could keep the layers together using the magnets.  


Once done I removed the mask and then used the Stamparatus again to make sure the two step stamps of the deck chair landed were I wanted them.  


I added some stamped and die cut flowers from the same stamp set for additional colour, but also if I'm honest to hide a thumb smudge!  Also using a gel pen I added some white to create the effect of the waves coming to the shore.  

If you like a bargain there are some fabulous discounts on some items on the Last Chance List and if they float your boat you'll be very happy.  You can see all the items that are available now while stocks last or until 2 June in my 


If you don't have a demonstrator and would like a copy of the new upcoming catalogue please email me at zoetant@live.co.uk with your mailing address and I will add you to the list to receive one.  Customers who have shopped in the past 6 months will receive one automatically.  

Now onto the other global demos for some more inspiration for this fun simple technique. 

Thanks for visiting and stay home, stay safe.

Hugs Zoe x


You are invited to the Inlinkz link party!

Click here to enter

Tuesday, 5 March 2019

Celebration Time with easy watercolour wash technique

It's time for me to finally revisit Moving Along with the TImes design team. I'm beginning to get some crafting done as my leg gets stronger.  You can join in our sentiment only card challenge for MAWTT here. 

I've been busy making celebration cards as it's always nice to send a card to someone who has had some success and brighten their day and join in their celebration.  For this particular one I did a watercolour wash background before die cutting the 'celebrate' out and adding a silver foil celebrate in its place.  

I used colours from the Stampin' Up! Brights collection including Melon Mambo, Flirty Flamingo, Daffodil Delight, Granny Apple Green and Coastal Cabana.   I let each colour dry or rather dried with my heat tool, before adding the next.  I've also added some sequins from the Stampin' Up! annual catalogue called simply Sequin Assortment and also a little silver glitter which is adhered with dots of fine tip glue.  Just be sure to let these glittery spots dry before you do much else with your card.  

The sentiment is from a Demonstrator only set called Stamping Your Way to the Top. It's great for someone in a new job too!   I just used versa mark and white emboss powder on black card and then fussy cut the banner.

This card has gone with a bundle of goodie to one of my team who recently promoted and so I hope she likes it.

You can try the colour wash with any colours you choose, just be careful that you don't end up with brown.  Use watercolour paper and paint the first part with water using an aqua painter.  Then create a pool of ink in the lid of your ink pad by squeezing your ink pad when closed. If you have the new Stampin' Up! pads then place it face down (while closed!) on your work surface and gently push down with the heel of your hand on it and you'll create a pool of ink.  Using your aqua painter lift some of the ink and put into the water pool on your paper and move it around. When you are happy absord excess water lightly with kitchen paper and then heat set.  Repeat with your chosen colours.


Thanks for popping by and remember you can purchase the products in my online shop anytime.  There's also a selection of free gifts with qualifying purchases available until the end of March , but be quick some have proved super popular and have now gone.

More soon

Zoe x