My STAMPING PAPERCRAFT blog - Stamping Scene

Hello and welcome to my blog. I'm a paper craft addict and love sharing my passion for paper crafting . I run online and face to face card making, memory keeping and all sorts of 3D projects. I also sell many of the products I use. If you'd like more information do drop me an email. Thank you for visiting I hope to see you again soon. Zoe x
Showing posts with label stampin up uk shop. Show all posts

Friday, 26 September 2025

Set back stamping technique for card making - Try this for your DIY Christmas Cards

example of set back stamping technique for handmade christmas card

 
totally techniques papercraft blog hop log0

Welcome to our papercraft technique blog hop for September 2025.  Our theme this month was set by the lovely Fanny Minnie in Austria and it is Set Back Stamping.  You create depth to give the view of your image being set back on your handmade card.  

I have used the popular Traditions of Christmas Suite of products from Stampin' Up! but instead of using the traditional colours of Christmas I've used pinks and greens and you could if you wished use a happy birthday sentiment instead of the ones I've used from the Traditional Labels stamp set.  The floral image is from Christmas Greenery and its coordinating dies.  

It's fun to create this texture to a card and really makes your image pop and can be done with any stamp and die bundle that you have.  I enjoyed colouring the images with my alcohol markers (Stampin' Blends) and as you'll hear in my video tutorial you don't need to be an expert colourer to create super colourful images. 


Colouring is such a great activity for clearing your mind as you focus on the colouring and the stresses of your day will more than likely disappear and so it can be very relaxing.  If you like my tutorial do subscribe to my channel as there are more tutorials on the way.  

Enjoy watching and then return for our tour of blogs showcasing different ideas for this fun technique.  You can find all the products I used in the list at the bottom of this post.  

Thanks for joining me today.

Keep stamping

Zoe x

You are invited to the Inlinkz link party!

Click here to enter


Love Stampin' Up! Products and discounts
Join us in October with this amazing deal
contact me for information
join stampin up with zoe in October 2025


Shopping List
christmas greenery stamp set for card making


photopolymer christmas sentiment stamp set


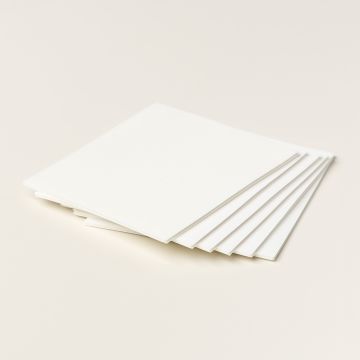
foam adhesive sheets for craft

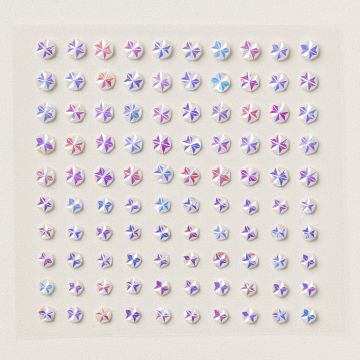
iridescent faceted gems


Friday, 28 June 2019

This Little Piggy - Danced a little jig


For our June my fab friend Kelly Acheson in the USA has chosen No Line Watercolouring for our technique in our international Stampin' Up! demonstrator blog hop.  I haven't used this technique very often so I'm learning with you.  I am quite happy with my Little Piggy dancing a jig though. I teamed my watercoloured image with one of the new Heirloom embossing folders and it's coordinating Heirloom framelit.  They are really easy to use and create either an oval or rectangular frame which could be used for cards like this or photo frames or scrapbooking.  The possibilities are endless. I created my frame with my new fave colour Pretty Peacock and matted it onto a Very Vanilla embossed layer too.  This was embossed with the 3D Tin Tile folder.   

To show you the basics of no line watercolouring I have taken some pictures whilst using the technique with this pot of paintbrushes from Stampin' Up! set Crafting Forever.  
Step 1
Ink your stamp with a very pale colour like Sahara Sand or Petal Pink. Stamp off on grid paper a couple of times leaving very little ink on your stamp and then stamp onto watercolour or shimmery white paper.  


Step 2
You'll have an only just visible image and you can now use ink from the inside of your ink pad lids to colour your image.  You may need to blend colours on an acetate sheet or clear block.  I find that painting the section I wish to colour first with water only from my aqua painter then allows the ink to flow and cover the moistened section.  You can remove excess water with a paper towel.


Step 3

You can once you've finished a section dry your image with a heat tool to set the colour.  

You can then come back and add shading neat ink that you can wash with the aqua painter to create shading. 
This is where I come unstuck as I'm not very patient and you need to be to build up the coloured sections and complete the image. 
You need to try to work on sections not connected to avoid bleeding of the colours so with this image move from one paintbrush on the right to another on the left and so on.  Mop off excess water and revisit each section when dry.  I also find having one aqua painter for just adding water and one for adding ink works well.  You can clean the inky one on kitchen paper between colours.  It is very satisfying and for me will need more practice, but you can become a faux artist and have fun colouring in.


Please visit the other ladies in the hop as I know some of them will be far more skilful than me. To see their designs click on each picture link below. 

Thanks for visiting and I'll be back with more designs and tips soon. 

Happy crafting 
Zoe x


You are invited to the Inlinkz link party!
Click here to enter