My STAMPING PAPERCRAFT blog - Stamping Scene

Hello and welcome to my blog. I'm a paper craft addict and love sharing my passion for paper crafting . I run online and face to face card making, memory keeping and all sorts of 3D projects. I also sell many of the products I use. If you'd like more information do drop me an email. Thank you for visiting I hope to see you again soon. Zoe x
Showing posts with label embossing paste. Show all posts

Friday, 28 August 2026

Ideas for metallic embellishment with water colour wash tips

handmade card using metallic embellishment and water colour wash


I have really enjoyed creating for this blog hop, mainly because I love to tinker with ink and see what I can do.  Our theme is Metallic Embellishment and many I'm sure will share some fab ideas for using the new Hot Foil Machine that Stampin' Up! has recently launched. However I don't have this yet and so decided to share some different metallic embellishment ideas with you using embossing powder, embossing paste, flower accents gems and water colour washes.  I hope you like the simple ideas to create some rather different designs.  

Watch the video tutorial to see versions of both these cards being created and a bonus idea at the end.  Enjoy the blog hop.

handmade water colour wash card with metallic embellishment


Thanks for joining our monthly Totally Techniques Blog Hop we share a technique and lots of ideas on the last Friday of each month usually.

Have a great weekend.
Zoe x

You are invited to the Inlinkz link party!

Click here to enter


Available to buy from 1st September 


Shop Supplies
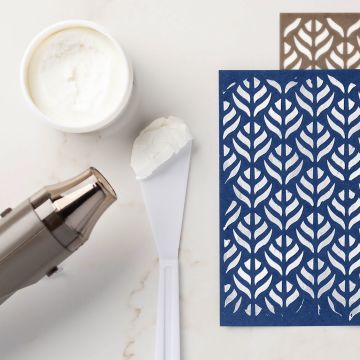
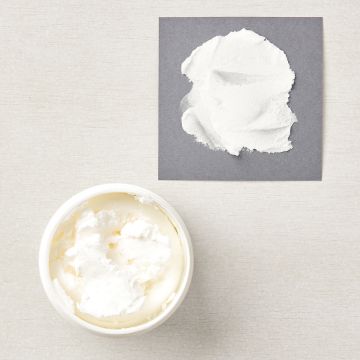
embossing paste from stampin up


fluid 100 watercolour paper


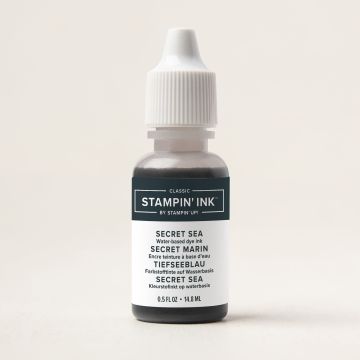
secret sea ink refill


flower accents


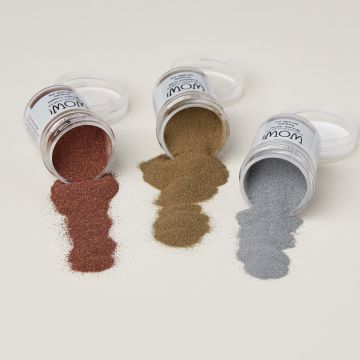
wow metallic embossing powder bundle


Friday, 26 December 2025

How to use Emboss Paste for the Totally Techniques blog hop.

handmade card using embossing paste for texture


Hi everyone I hope you have had a super Christmas if you celebrate it and are ready to see in the new year!  2025 has certainly been very eventful in so many ways and I'm hoping that 2026 will bring more joy that its predecessor.  

Our last Totally Techniques hop theme was rather rashly chosen by me quite some months ago when I had current stecils/masks to use with the paste.  When I came to create my card I was somewhat at a loss. I did consider creating my own stencils, but then struck upon the idea of adding ink to colour the paste and using it as a backdrop for a focal image. 

So with a new bundle which you'll see arrive in early January I settled upon using the Fragrant Layers bundle and the colours of Soft Sea Foam, Lemon Lolly and Fresh Freesia.  Subtle colours, but vibrant and fresh inviting Spring to come as soon as it can as a change from the damp foggy mornings we've had recently.  

You'll see in the video how I went about creating my card and how to add the ink to the paste.  It's only as messy as you want it to be for those who are clean ink free finger folk, but it verges on the mixed media for those who want to be a little more adventurous.  Enjoy and do subscribe if you find it appeals.  


Thanks for popping by and I wish you all good wishes for the remainder of the year and of course the very best for the new year ahead.  

Keep stamping

Zoe x

You are invited to the Inlinkz link party!

Click here to enter


handmade paper craft card using embossing paste


Shop  Supplies 

embossing paste for crafting

embossing paste


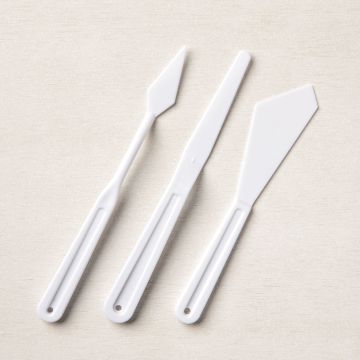
embossing paste tools

embossing paste

palette knives craft 

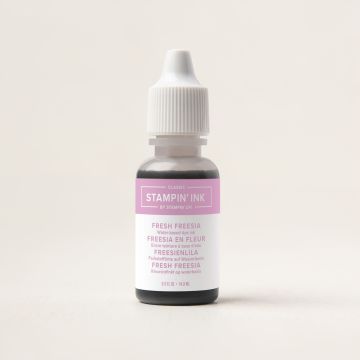
water based ink refill for paper crafting ink reinkers stampin up


Fresh Freesia Re inker 


lemon lolly ink refill for paper craft

Lemon Lolly Refill 


soft sea foam green ink refill paper crafting

Soft Sea Foam Refill


Monday, 19 June 2023

Masculine card idea - Night of Flight stamp set

fathers day / birthday card masculine design handmade
Yesterday was Father's Day and I hope you were able to celebrate how wonderful your Dad is or was.  I visited mine and gave him this card and gifts.  

I have to be honest the stamp set Night of Flight did not grab my attention at all in the catalogue as a stampin' reward, but I chose it recently with my order and have to confess I've changed my mind.  It's not difficult to fussy cut, colour or create masculine cards with.  

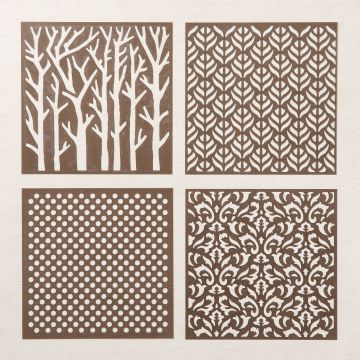
I started with some embossing paste to which I added one drop of ink from my Copper Clay refill and made sure it was well and truly mixed evenly through the paste.  I then added a thin layer through an Artistic Mix mask/stencil  adding additional texture to the DSP which had it's own texture already printed onto it in its design.  Once dry I added the antennae for the moths by using a stampin' write marker to just ink that part of the stamp.  

I stamped several of the same moth coloured them in with alcohol markers and fussy cut them out to add to my design.  I've matted the paper onto Copper Clay card and then onto the base card of Misty Moonlight one of my favourite returning colours to the Stampin' Up! colour palette this year.  

As a finishing touch I added some brushed metallic dots and a sentiment created using the Alphabest stamp set and Best Label punch.  

My Dad was chuffed with his card and the matching box I gave to him.  

Best wishes all for a great week ahead.

Happy stamping 
Optional Free gift choice with a purchase of £150


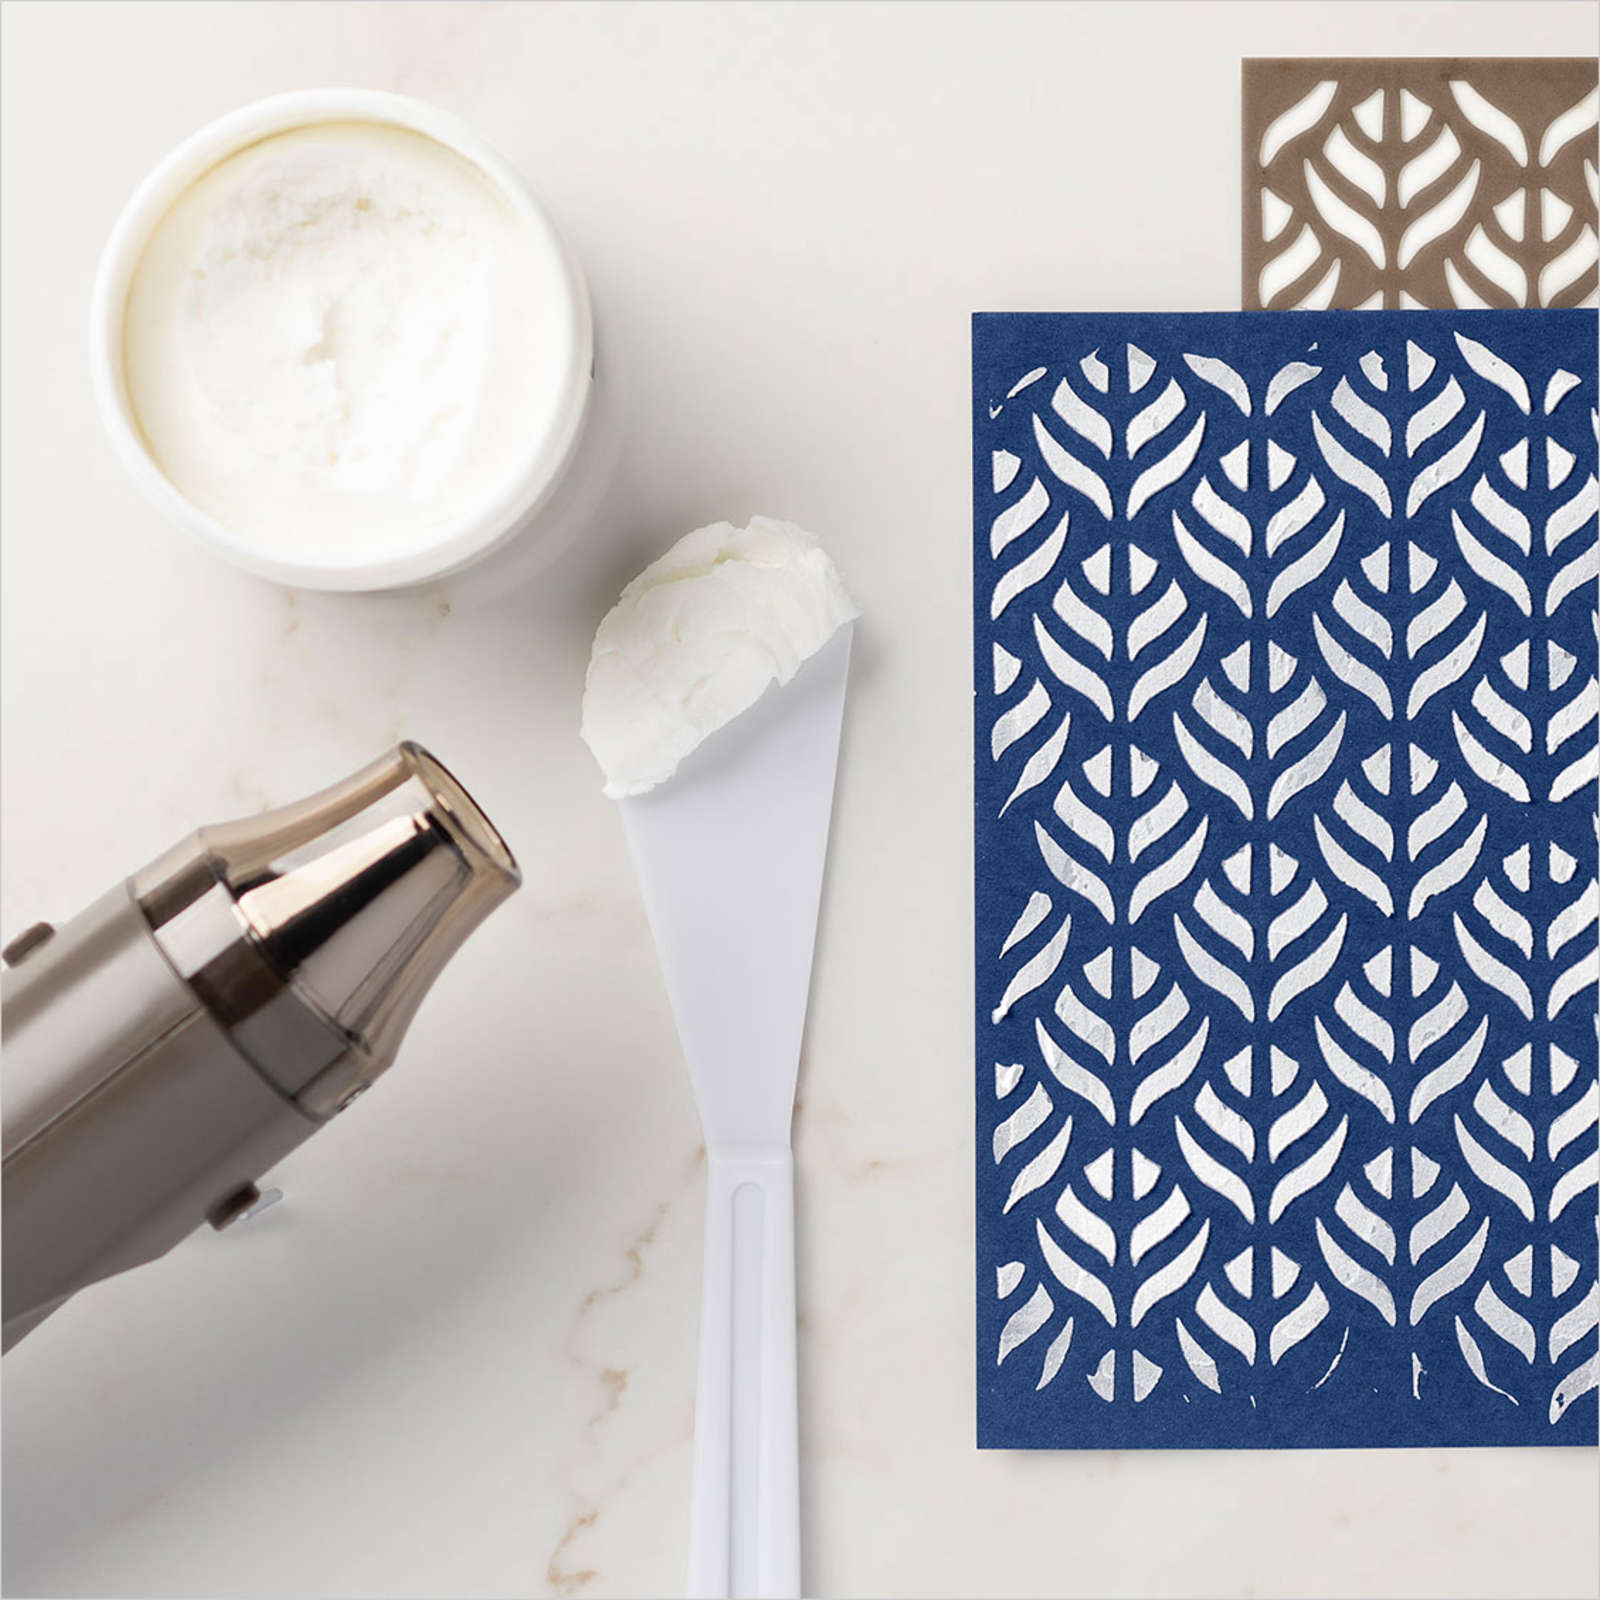
embossing paste - Apply freehand or over decorative masks, then let dry or heat set for easy texture.


earthen elegance designer series paper dip


Designer series paper sale in june 2023 stampin up uk

Friday, 27 November 2020

More Stencils and mask techniques on our Totally Techniques Blog Hop


Welcome to our November Totally Technique Blog Hop. This month we are sharing ideas and tips for using stencils/masks.  I love getting inky and so went with the Basic Pattern Masks in the annual catalogue and first of all used my new blending brushes, which will be available to order in January from the Spring Mini, to add colour from lightest to darkest through the stencil for the card below and then I used embossing paste over the inky stencil/mask to create the detail on the card above. 

Most difficult part was trying to get a half decent photo on a dull day even with lighting these just did not want to play.  As my daughter, Liv said 'They look so amazing in real life!' You'll just have to take her word on it.  

So for the card below I used one blending brush and first of all added Balmy Blue ink directly from the ink pad onto my old Stamp a ma jig plastic sheet.  I held the stencil in place on my cardstock, but you might err on the side of caution more than me and so you may want to add some tape around the card to hold it in place onto your work surface.  I would also colour a larger piece of card that you can then use dies to cut the shape you want.  

Before adding any ink to the card  you need to make sure that you prime the brush before adding to your card stock.  Don't just swipe the brush over the ink pad really get it inky.  Then blend it into to the brush on a piece of plastic like a stamp positioner sheet.  When you are ready to add to the card start off the card to avoid any heavy ink marks.   The stencil will get inky too which is fine, but don't wipe it off if you want to use for a second card like the one above.  

As you add the darker inks then you can choose where you add different shades.  As I said I used the same brush and worked through the different blues including Coastal Cabana and Pacific Point.  

Once I was done with the inking I moved the stencil carefully to one side.  I then made sure the pattern was dry before die cutting with the Stitched Rectangle dies.  I layered it with white layers and added some die cuts from Stitched Stars and Painted Labels dies in silver foil card. 


For the top card I die cut a stitched rectangle from vellum and placed it under the inky stencil ink side uppermost.  I then carefully added a think layer of embossing paste and allowed the ink from the stencil to mix with the paste as I moved it over the stencil.  Be sure to remove the stencil carefully while the paste is still wet and then allow it to dry.  In the mean time wash the stencil and other paste tools. Do not allow the paste to dry on the stencil or it won't come off.  

I've added simple sentiments to both cards from a new spring set called Art Gallery and let the stencilled patterns be the focal points.  

Basic Pattern Masks


embossing paste white for card making and crafts


Embossing Paste


stitched star dies stampin up

Stitched Stars Dies


Don't forget this is a blog hop so you can visit other international blogs to see their ideas for stencils and masks. 

Keep safe and keep stamping

Zoe x


You are invited to the Inlinkz link party!

Click here to enter