It is a good idea to make a template for the cutting which you can save for future cards. Here are the measurements I used, but I know along the hop you'll find different ideas and some will be in metric and some imperial so go through and see which suits you best.
Here's my template for making the top layer of the design. I started with a piece of cardstock 9.7cm wide by 14cm high. I marked the measurements shown to then be able to cut the template below.
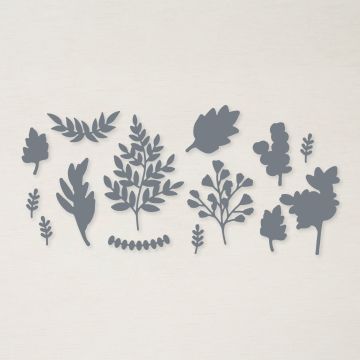
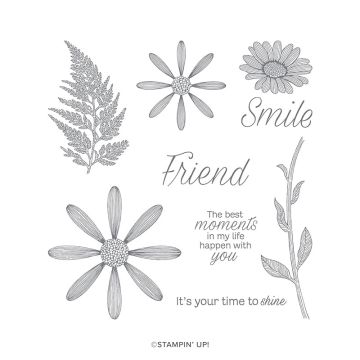
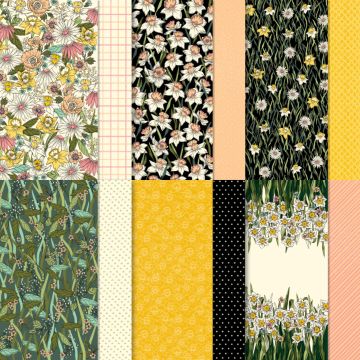
For my cards today I used the Saleabration papers Daffodil Afternoon for my design layer. The papers are bold but so pretty. From an offcuts I fussy cut a daffodil and added it with a stamped daisy from Daisy Lane stamp set to the top of the split. I also die cut some greenery using the Forever Flourishing dies.
I've simply stuck the cut paper onto a base card for the first example leaving an eye-balled even border around the edge.
This beautiful paper is perfect for Easter or Spring cards to brighten someone's day and this is also a great way to use the papers we all hoard. My sentiment is from a retired set stamped onto a die cut stitched rectangle.
None of us like to waste any of our supplies and with this cutting process you can use all the pretty paper. Using the centre part ie the split taken from the first card's paper I've firmly glued it onto a piece of white card cut at the same 9.7 cm x 14cm. I then embossed the whole piece with the Painted Texture embossing folder. It makes the paper mould into the white and of course gives more detail.
This time I also added a matt layer of Mossy Meadow card with just a couple of millimetres border. The same Forever Flourishing die was used to die cut some gold metallic specialty paper. A sentiment from the Saleabration set Special Moments which is only now available as a free gift with £90 spend until the end of the month.
Enjoy the hop and take a look at the Saleabration offers before they disappear. If you have a long wishlist there is better value in joining my team to benefit from discounts and the chance to make lots of new friends in a friendly craft community.
Keep safe and keep stamping
Hugs Zoe x
Love a lot of Stampin' Up! products join for discount and community
Choose £130 of product plus a bonus 2 stamp sets in February for just £99
Amazing value. JOIN HERE
Shopping List
Free with £45 order (excl. P&P)


2 comments:
Hi Zoe, what a gorgeous card with a wonderful technique, lovely floral images too, Kate x
Thank you for the great tutorial. You have made such a lovely card!
Hugz Tinz
Post a Comment