My STAMPING PAPERCRAFT blog - Stamping Scene

Hello and welcome to my blog. I'm a paper craft addict and love sharing my passion for paper crafting . I run online and face to face card making, memory keeping and all sorts of 3D projects. I also sell many of the products I use. If you'd like more information do drop me an email. Thank you for visiting I hope to see you again soon. Zoe x
Showing posts with label stampin up tutorials. Show all posts

Friday, 25 February 2022

Split Front Card Tutorial - Totally Techniques International Stampin' Up! Demo Blog Hop

easter card split front technique totally techniques blog hop stampin up uk
 
totally techniques blog hop with international stampin up demonstrators zoe tant uk
Welcome to our February blog hop.  Our theme from international Stampin' Up! demonstrators is the Split Front Technique.  It is a fun, but easy technique to do and you can use all sorts of different materials to make some great designs.  

It is a good idea to make a template for the cutting which you can save for future cards. Here are the measurements I used, but I know along the hop you'll find different ideas and some will be in metric and some imperial so go through and see which suits you best. 

Here's my template for making the top layer of the design.  I started with a piece of cardstock 9.7cm wide by 14cm high.  I marked the measurements shown to then be able to cut the template below. 

Split front card making tutorial cutting mat zoe tant

Once you have the marks made with small dots you can then cut across the card from each dot to another. 
Split front card making tutorial cutting mat zoe tant

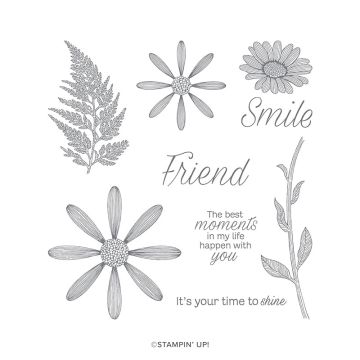
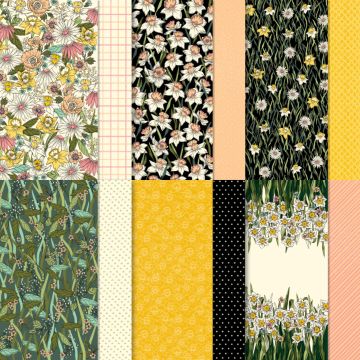
For my cards today I used the Saleabration papers Daffodil Afternoon for my design layer. The papers are bold but so pretty.  From an offcuts I fussy cut a daffodil and added it with a stamped daisy from Daisy Lane stamp set to the top of the split.  I also die cut some greenery using the Forever Flourishing dies. 

I've simply stuck the cut paper onto a base card for the first example leaving an eye-balled even border around the edge.  

split front card making tutorial using stampin up stamps daisy lane

This beautiful paper is perfect for Easter or Spring cards to brighten someone's day and this is also a great way to use the papers we all hoard.  My sentiment is from a retired set stamped onto a die cut stitched rectangle.
None of us like to waste any of our supplies and with this cutting process you can use all the pretty paper.  Using the centre part ie the split taken from the first card's paper I've firmly glued it onto a piece of white card cut at the same 9.7 cm x 14cm.  I then embossed the whole piece with the Painted Texture embossing folder.  It makes the paper mould into the white and of course gives more detail. 

split front technique card making idea tutorial
This time I also added a matt layer of Mossy Meadow card with just a couple of millimetres border.  The same Forever Flourishing die was used to die cut some gold metallic specialty paper.  A sentiment from the Saleabration set Special Moments which is only now available as a free gift with £90 spend until the end of the month.  

Enjoy the hop and take a look at the Saleabration offers before they disappear.  If you have a long wishlist there is better value in joining my team to benefit from discounts and the chance to make lots of new friends in a friendly craft community.  

Keep safe and keep stamping
Hugs Zoe x

You are invited to the Inlinkz link party!

Click here to enter


Saleabration ending soon don't miss out
Love a lot of Stampin' Up! products join for discount and community
Choose £130 of product plus a bonus 2 stamp sets in February for just £99
Amazing value. JOIN HERE


Shopping List
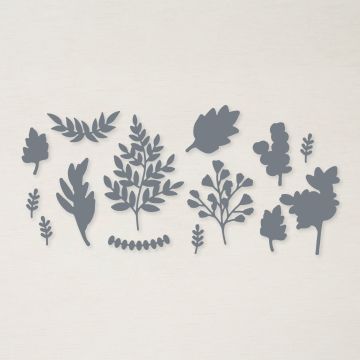
forever flourishing stampin up dies


daisy lane stamp set stampin up uk


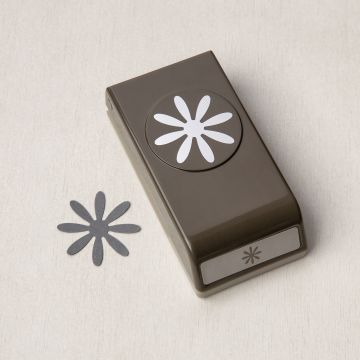
medium daisy punch for card making


daffodil afternoon papers for craft

Daffodil Afternoon DSP
Free with £45 order (excl. P&P)

Sunday, 3 September 2017

Christmas Card Club

Happy Sunday everyone! The sun is out here and I hope it is with you.  Our Christmas Card Club challenge this fortnight is set by Rachel who has asked for magical, mystical cards which I've struggled with which is silly really as all of Christmas should be magical at the very least.  However I got an idea in my head and have run reasonably successfully with it, although I'm not entirely happy with it.  I wanted to create a circular scene and add watercolour and then a sparkly shadow of the trees.   It's almost there, but not quite.  Any tips gratefully received.

Stampin' Up! sets that I've included are Lovely as a Tree, Colourful Seasons and Watercolour Christmas for the sentiment.  I've stacked the image onto dapper denim circles for an on trend look although I know that the trend is really to stamp over the edges of die cut letters and shapes.  I've used my Stamp-a-ma-jig to add the shadow in very pale soft sky ink and then a fine tip glue pen to add dazzling diamonds glitter.  A litter embossing paste to give the effect of snow drifts at the bottom of the trees.

Please do visit the challenge members from the link at the top of my blog Christmas CC for more inspiration as this theme opens so man doors and I'm sure you'll be inspired.

You may not be aware but the Stampin' Up! Winter Catalogue launched on 1 September and you can see all the festive, autumn/winter and halloween goodies by clicking HERE.

If you prefer a paper copy then please do email me at zoetant@live.co.uk and I'll get one in the post to you.

Thanks for popping by and enjoy Sunday and have a great week.

Zx

Friday, 28 April 2017

Totally Techniques Water Colour Spritz Blog Hop

 Welcome to our blog hop. You're now in the UK having jumped from Shannean down under in Australia.  You can continue the hop from here down under my post.
Water colour spritz with Swirly Bird stamps from Stampin' Up!

It's technique time and another Totally Techniques blog hop with Stampin' Up! demonstrators from around the globe.  Today we are sharing the water colour spritz technique.  You can stamp onto shimmery white card stock for a more blended look, but I went with water colour paper which reduced the blend of colours a little, but has created a fun back ground for my new die Happy Birthday available from 1 June.

To create the background you first need to stamp images and then liberally spritz with water using a stampin' spritz bottle.  These come in packs of 2.  Allow the colours to blend and bleed into each other and let your paper dry.  Once dry you can stamp onto it again perhaps with black ink to add images that will pop from the back ground or in my case I've added two layers of the die cut Happy Birthday with the black one adding shade and depth to the top layer in the soon to arrive Berry Burst card stock.  To make it pop even more I've added a layer of fine tip glue to give it a glossy coating and make it shine.  The fine tip glue is perfect for this as it dried clear, but shiny and also as its name suggests it has a fine tip to make application easy and controlled.

I've layers the piece onto black card stock and then on whisper white.  It's actually a 6 x 6 card and the colours used for the stamping include Wisteria Wonder, Rich Razzleberry, Fresh Fig, Powder Pink, Berry Burst and Perfect Plum.  A little touch of silver thread and some new very sparkly Color Theory accents keep my bling fetish under control.

Enjoy our hop we've got some great ideas and inspiration for you. Next stop is with Barbara in Austria.


Happy days and if you get lost the hop list is below.

Thanks for stopping by Zx


SaveSave
1. Patrice Halliday-Larsen (New Zealand) 2. Amy Koenders (USA) 3. Nadine Weiner (Germany) 4. Shelagh Freemantle (Canada) 5. Marine Wiplier (France) 6. Shannean Moncrieff (Australia) 7. Zoë Tant (UK) 8. Barbara Meyer (Austria) 9. Mathilde Kortekaas (Netherlands)
SaveSave