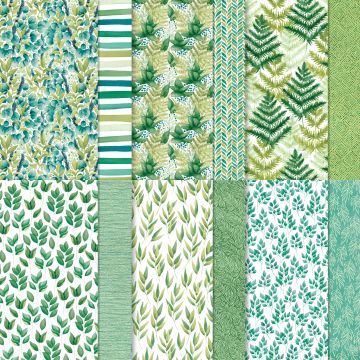
Here's a quick and easy make that I'm sharing as part of The Tantalizing Stampers blog hop to bring you fun tips for using your patterned papers or as we call them at Stampin' Up! Designer Series Papers.
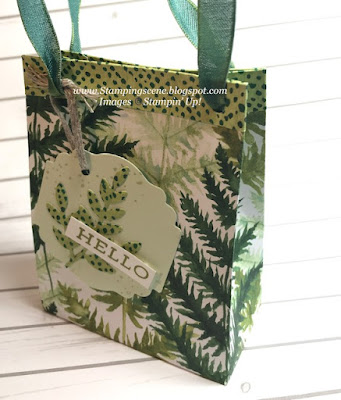
This is a cute bag that will take small gifts, perhaps the type that also come in small boxes containing sparkly things, or to make some chocolates or sweeties look even more exciting.
1. Cut a piece of DSP 91/2" x 6"
2. Score on the long side at 3", 41/2", 6" and 9"
3. On the short side score at 1/2" and 41/2"
4. Fold the half inch panel on the short side so that it makes a border around the top of the bag as seen in the picture below.

5. On the long side, with this border at the top, cut from the bottom up each score line as far as the score line to make the bottom flaps that will be the base of your bag.
6. Add double-sided tape to the inside bottom edge of one long side on the bottom edge opposite the folded decorative border.
7. Put double-sided tape onto the outside of the narrowest end of your paper when laid out in a landscape position. This will tuck inside the opposite edge to form the bag shape.
8. Remove the backing paper of this piece of tape and connect with the opposite end to form the bag.
9. Remove the backing paper of the tape at the bottom and fold in first the untaped short pieces and then the untaped long side followed by the taped long side. Use a bone folder inside the bag once stood up to secure the tape by pushing it gently but firmly down.
10. The final part is to add a ribbon handle and a decorative tag.
The most difficult part to is to fill it with chocolates and give it away, but remember the joy you bring to the recipient.
Have fun and don't forget to check through the other members of my team's ideas for using DSP. You can find them via the picture links or the typed links below.
Keep safe and keep crafting
Zoe x


6 comments:
Fabulous bag Zoe ....
Great design ...
Hugs Sylvie xx
A beautiful bag Zoe! I think I will try this one as it looks lovely in that Forever Greenery paper x
This is so cute.
Hugs
Linda xxx
A great little project Zoe.
Lorraine
Such a great way to use your DSP Zoe - I will definitely be giving this a go as your step by step tutorial makes it so easy ! Carrie xx
Oh I love cute little bags like this. It definitely makes gifts even more fun the hand over to the lucky person who receives it!
Post a Comment