My STAMPING PAPERCRAFT blog - Stamping Scene

Hello and welcome to my blog. I'm a paper craft addict and love sharing my passion for paper crafting . I run online and face to face card making, memory keeping and all sorts of 3D projects. I also sell many of the products I use. If you'd like more information do drop me an email. Thank you for visiting I hope to see you again soon. Zoe x
Showing posts with label paper craft supplies. Show all posts

Tuesday, 1 March 2022

Garden Wishes Bundle Stampin' Up!

card using shaving foam technique and dandy wishes dies and garden wishes stamps stampin up

 Happy St David's Day and Welcome March.  New month means new Moving Along with the Times challenge and our theme is Friends.  Friends are so important to us all and it pays to send a card to say hi once in a while if not more. 

I've shared a card made using the Garden Wishes Bundle (#156220), scroll down to find out about a special offer this month with this bundle and others.   I love Dandelions, to be fair preferably in hedgerows and on roadsides rather than in my garden, but I know some people do amazing things with them and of course pet rabbits usually love to munch on them. 

friend card using stampin up dandy wishes dies and garden wishes stamps with zoe tant

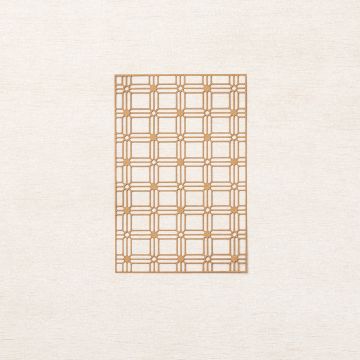
I started with an inky laser cut paper lattice that was left over from a play with ink and shaving foam, but was too pretty to discard.  Once dry I placed it as a background to my card.  I die cut pieces from the Dandy Wishes dies and added some Gilded Leafing embellishment using a versa mark pen with heat and stick powder.  You could also sparingly use a fine tip glue but would need to leave well along to dry before brushing off the excess leafing.  I've added some in color jewels for some sparkle too.   

For more ideas and tips to try to the Shaving foam technique visit my stampingscene post using stencils and this stampingscene post 

friend card using stampin up Dandy wishes dies and garden wishes stamps with zoe tant uk

The sentiment is perfect for this theme and you can embellish it simply with tear and tape and a piece of ribbon that you loop and stick along the reverse.  

friend card using stampin up garden wishes rubber stamps with zoe tant uk demo

Please join us for March's challenge and share your friend cards at MAWTT.  

Keep safe and keep stamping
Hugs Zoe x

save 20% in March 2022 on selected stamp and die bundles stampin up uk


Save 20% on the Mini Cut & Emboss machine and the bundles detailed below *

* discounts available while supplies last during March 2022

 Shopping List for the card above
stampin up in color 2021 2023 jewels


paper lattice from Stampin Up Uk


gilded leafing embellishment stampin up uk


lovely labels pick a punch


mini cut and emboss stampin up machine
 
now £44.75 


Tuesday, 13 October 2020

How to make a simple gift bag with patterned paper


tantalizing stampers blog hop with patterned paper ideas


Here's a quick and easy make that I'm sharing as part of The Tantalizing Stampers blog hop to bring you fun tips for using your patterned papers or as we call them at Stampin' Up! Designer Series Papers. 

This is a cute bag that will take small gifts, perhaps the type that also come in small boxes containing sparkly things, or to make some chocolates or sweeties look even more exciting. 

how to make a gift paper with pretty papers

1. Cut a piece of DSP 91/2" x 6"
2. Score on the long side at 3", 41/2", 6" and 9"
3. On the short side score at 1/2" and 41/2"
4. Fold the half inch panel on the short side so that it makes a border around the top of the bag as seen in the picture below. 


5. On the long side, with this border at the top, cut from the bottom up each score line as far as the score line to make the bottom flaps that will be the base of your bag.  
6.  Add double-sided tape to the inside bottom edge of  one long side on the bottom edge opposite the folded decorative border.   
7. Put double-sided tape onto the outside of the narrowest end of your paper when laid out in a landscape position. This will tuck inside the opposite edge to form the bag shape. 
8. Remove the backing paper of this piece of tape and connect with the opposite end to form the bag. 
9. Remove the backing paper of the tape at the bottom and fold in first the untaped short pieces and then the untaped long side followed by the taped long side.  Use a bone folder inside the bag once stood up to secure the tape by pushing it gently but firmly down. 
how to make a small gift bag with paper

10. The final part is to add a ribbon handle and a decorative tag.  

The most difficult part to is to fill it with chocolates and give it away, but remember the joy you bring to the recipient.  

Have fun and don't forget to check through the other members of my team's ideas for using DSP.  You can find them via the picture links or the typed links below. 

Keep safe and keep crafting 
Zoe x
 

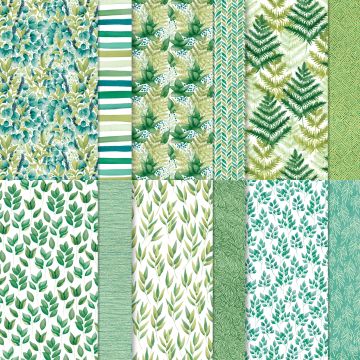
stampin up forever greenery dsp


reversible green peacock ribbon


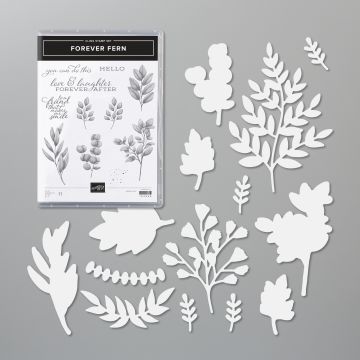
Forever Fern Stamp set and dies


You are invited to the Inlinkz link party!

Click here to enter

Friday, 1 May 2020

Mixed Media Flowers

Hi all how are you holding up?  We continue to be busy with our new and slightly older puppies and are made to laugh by the two of them constantly.  At the moment it is fun to steal each other's beds.   My card today has a message for everyone.  You are all wonderful and even when the chips are down you can do it!  Hang in there everyone hopefully we are heading to brighter days and a little more freedom.

My card is for the Moving Along with the Times  and Craft Stamper monthly challenges.   I've gone for something a little off the wall having decided to experiment with Stampin' Up! pigment sprinkles and shaving foam.  This process didn't work out quite how I expected, but it did create a very bold background paper which I then played about with.  I also got some less bold papers created with the same pot of foam and used it to stamp and create my 3D flower using the Painted Poppies stamp set from the Spring mini.  I stamped several flowers and fussy cut them out including cutting to the centre of the flower to create individual petals. I used a bone folder to curl these petals.  I've layered different pieces of the main flower and also added two smaller flowers in the background.   I also used some masks to create stencilled patterns onto the background and some embossing paste for texture.  I used another mask to add ink to my matt layer also blending Bermuda Bay and Crushed Curry ink.


I've added some deconstructed white bakers twine and some Noble Peacock rhinestones along with an embossed sentiment from Rooted in Nature which I also fussy cut around and stuck on with black dimensionals which are just great when you are adding a dark colour and don't want your sticky pads to show.

Don't forget to check out the Last Chance to buy list on the Stampin' Up! website and you might find a bargain or certainly get your favourite stamp sets before they retire at the end of the month.   I send out thank you treats to all who order in my online shop and complimentary catalogues if you've spent at least £25 with me in the past 6 months.  Please get in touch if you don't have a Stampin' Up! Demonstrator and would like details of catalogues and products.  I'm at zoetant@live.co.uk or you can find me on Facebook and Instagram. 

Hope to see you following soon and also joining in our challenge at MAWTT or Take it Make it at CRAFT STAMPER.

Thanks for checking in here with me and keep safe and stay well.

Hugs Zoe x

Sunday, 1 March 2020

Ah hoy there!


The March Challenge at Moving Along with the Times starts today.  We're sharing anything but a card projects and asking you to join us and share your projects over on the MAWTT blog HERE

I've used one of Stampin' Up! 's mini pizza boxes and decorated it to make gift packaging for a present for the men in your life.  I've used some of the Golden Honey specialty designer series paper which is a free gift with purchase when you spend £45 in my Stampin' Up! shop until the end of March or while supplies last.  


I cut pieces of the paper as follows
Top   31/4" x 314" 
Sides 3/4" x 3 1/4" and you need 4. 

To the top of my gift box I added some embellishments made using the Stampin' Up! set Sailing Home from the annual catalogue and the coordinating dies Smooth Sailing.  The anchor and compass were heat embossed in gold before either being die cut or punched out with the 1 1/2" circle punch. Some gold foil rope die cuts and a sentiment from Label me Bold makes it a perfect gift box.  

The compass is really neat as the needle can be die cut separately and then using a brad can rotate on the compass face.  

The pizza boxes can double as treat boxes and are just the right size for a tasty cookie for work colleague gifts or kids treats. The inside of the box is food suitable with a lining to stop any cookie flavour leaking through.  

I hope you'll join us at MAWTT this month and thanks for stopping by. 

Happy March 

Zoe x