Hi stamping friends. I'm sharing today one of the cards I've created with a piece of shaving foam technique'd piece of shimmery white card stock. I taught the shaving foam technique at one of last week's classes and next time we'll do different things with all the patterned pieces we created.
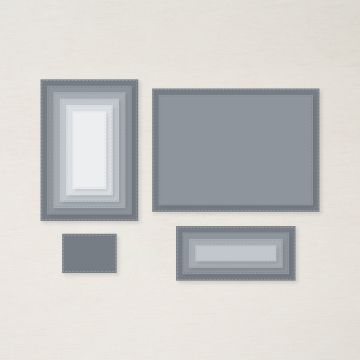
Here I just simply used a piece which I die cut with the Stitched Rectangle dies and used it as a matt layer to add more colour, but not overpower my image.
If you've not done the shaving foam technique it is potentially a little messy, but take your time and you shouldn't end up with an excess of mess. Here's how
- Cut some white or shimmery white card that will lay in foam easily. You will get several runs with different patterns and mix so have a few sheets ready.
- Add a small amount of shaving foam to a shallow tray - I used an empty stamp case.
- Smooth out the foam to create a larger area that isn't too thick across one side of the stamp case. To smooth it out use an old gift card, membership card or similar or just a short 15cm ruler.
- Add random drops of ink refill in the colours of your choice. Remember to think about how the colours you choose might mix well, but could also end up as brown. I used Coastal Cabana, Polished Pink and Mango Melody from Stampin' Up!.
- Use a cocktail stick or coffee stirrer to either swirl the ink gently through the foam or goes in stripes up and down and side to side.
- Now lay one sheet of your chosen card onto the inky foam.
- Gently push the card down and then lift it out. Remove excess foam to the second half of your stamp case with the gift card and wipe off the remaining foam with kitchen towel. Put this down somewhere where you won't forget it is there so you don't put it on or under anything else.
- Look at the fab ink pattern you have created then continue with the next piece of card.
You may find that you might want to move the foam about a little after two or three goes or maybe even add more ink. It's all about experimentation.
You can then use the self created papers however you want. As I said above I used one piece as a matt layer.
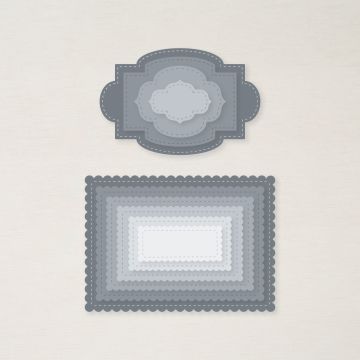
I stamped and coloured the image with alcohol markers to match the colours used in the shaving foam. I've also added a layer of Coastal Cabana and die cut the image using the So Sentimental dies. My image is a free stamp that you can earn this month with a qualifying purchase. Visit my shop to find out more.
You can also use the foam pieces to cut out shapes, create a triptych, or as frames. Really use it like a patterned paper.
I'll share more images after the next class.
Keep stamping and keep safe.
Zoe x
Shopping List


No comments:
Post a Comment