Welcome to the Totally Techniques February 2021 blog hop. We have lots of ideas for using a sponge brayer to share with you this month.
I have three simple examples.
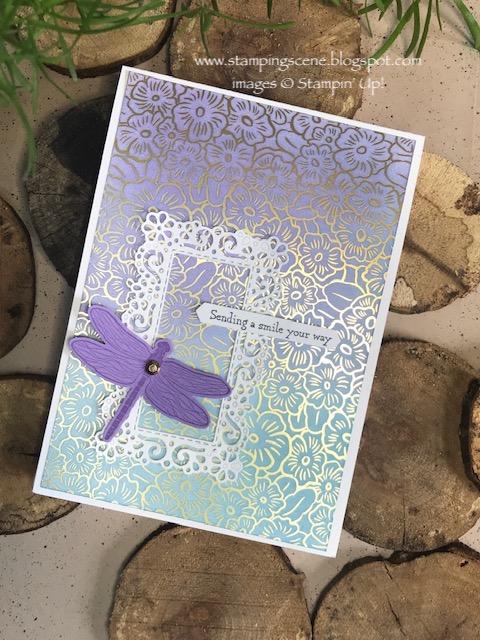
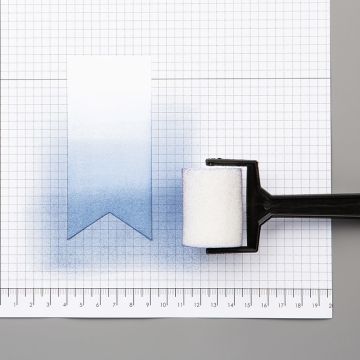
For this first example I used a sponge brayer. Starting with the the lightest colour, Balmy Blue, I added ink to some white background patterned paper. Starting just off the paper I carefully brayer the ink across the paper moving up it adding more ink when needed. I repeated the process with Highland Heather but a little above the blue to start with and then worked back down to blend the blue and lilac shades. To finish I added a small amount of Gorgeous Grape to add more depth of colour to the top. Of course once you try this you can always turn your paper around to have the darker shades at the bottom. Your design you choose. I've added a die cut frame and a stamped and punched dragonfly for a spotlight and a simple sentiment from Many Messages stamp and die set.
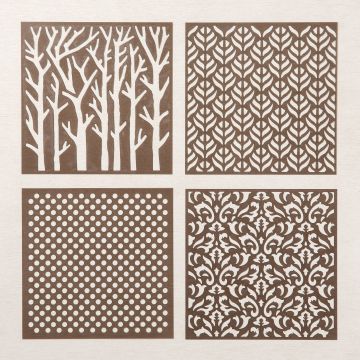
My second idea shows how you can add gently amounts of ink using a stencil/mask to create background details and also create a design piece that you can then die cut or punch shapes out of and add to your card. I used the Basic Pattern Decorative masks to first design an ombre effect out of which I punched a circle for the backdrop to my butterfly and then added a subtle background to soften the 'white space' in the background.
When using stencils it pays to use reposition able adhesive on the back of your matt layer and any pieces you choose to pattern to keep them in place whilst the stencil is on top. I would also suggest using some old Washi tape to hold your mask in place. Remove it carefully once done and try to pull off at a 90degree angle to reduce the risk of it tearing your card if it happens to hold the card in place also.
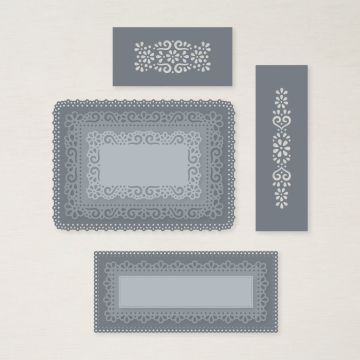
This beautiful butterfly was stamped in Versamark ink using Butterfly Gala stamp set. I added some heat and stick powder which I heated very very gently until it literally just melted and then used Stampin' Up!'s new Gilded Leafing to add the gold and gently brush away the excess once finished. This stamp set has antennae that you can then stamp directly onto the background before positioning the butterfly with glue dots or dimensional. Again I used the Ornate Style dies to create the stitched rectangle in a bold colour statement.
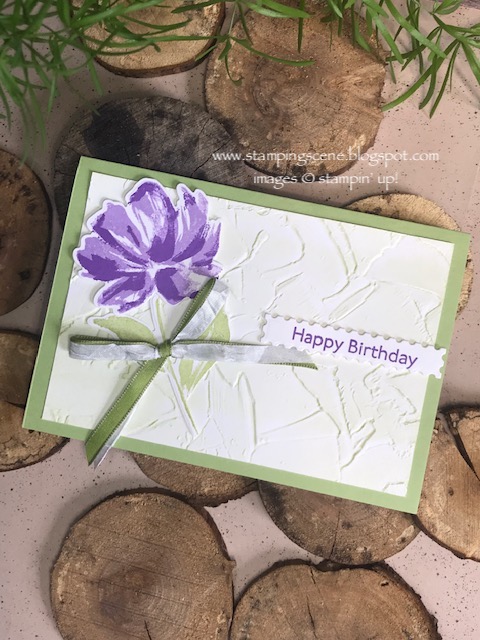
This final card is a technique I recently shared in a post about using ink on embossing folders. For this I used the sponge brayer to add ink to the folder. It is very subtle in this example as I used Soft Sea Foam ink on white card, but it creates a textured backdrop for the flower from Art Gallery stamp set which I think you'll agree speaks for itself. The sentiment is from the same set and I love the postage stamp effect of the die from the coordinating dies, Floral Gallery, which I used to die cut it. I also like the two tone bow which is simple to do using the green ribbon from the Ornate Garden Suite and some white crinkled seam binding ribbon. I recommend this ribbon to all my customers as it is versatile and flexible and very forgiving if you aren't great at bows. It is already crinkled so doesn't matter how many times you try to tie that bow it is going to look great even with your added crinkles!!
Keep safe lovely readers, and keep stamping.
Hugs Zoe x
Basic Pattern Decorative Masks/stencils




3 comments:
Zoe you have shared some fantastic cards today - I especially like the idea of using the sponge sprayer with a stencil.
Looks like you had Fun too Zoe. Beautifully creative cards. Love them. Hugs Rita xx
Fabulous card Zoe LOVE The colours xx
Hugs Sylvie xx
Post a Comment