My STAMPING PAPERCRAFT blog - Stamping Scene

Hello and welcome to my blog. I'm a paper craft addict and love sharing my passion for paper crafting . I run online and face to face card making, memory keeping and all sorts of 3D projects. I also sell many of the products I use. If you'd like more information do drop me an email. Thank you for visiting I hope to see you again soon. Zoe x
Showing posts with label card making tutorials. Show all posts

Friday, 27 June 2025

Ways to create single layer cards - Madras Plaid Technique


madras plaid inking technique on dog birthday card


Hey everyone it's Totally Techniques time again.  Diane chose our theme of single layer cards.  This I think is more difficult than it sounds unless of course you are a CAS - clean and simple fan and even then not being able to add layers can be a challenge, but hopefully you will find lots of inspiration from our hop this month. 

I have chosen to share the Madras Plaid technique along with a super cute Dachshund dog that you'll be able to find in the online exclusive section of my shop next month.  


madras plaid inking technique with stampin up Layered Thoughts stamp


The Layered Thoughts sentiment stamp set works for everyone on your handmade card list and just add your own images to suit.  I used Layers of Beauty for the flowers. 

layered thoughts stamp set stampin up with madras plaid inked background

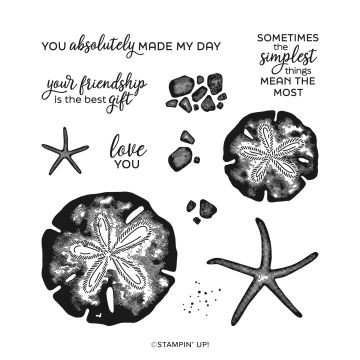
You might have inky fingers with this technique so why not make several pieces in different colours to keep safe for when you need them.  I used Seaside Wishes now only £7.60 for the rocks. 


Thanks for joining me today and enjoy the hop with lots of ideas.  

Keep stamping

Zoe x

You are invited to the Inlinkz link party!

Click here to enter


Supply List

seaside wishes stamp set only £7.60

Seaside Wishes - Last Chance to buy
layered thoughts stampin up stamp set


Layered Thoughts


long time no see stamp set

LONG TIME NO SEE - featuring the Daschund available 1 July 2025

flat in color pearls

2025-2027 In Color flat pearls


water based ink pad for stamping


Ink pads


Friday, 26 November 2021

Mirror Stamping with the Totally Techniques Design Team

stampin up sneak peek of awesome otters mirror stamping technique

 I just had to use this cute Otter stamp for my offering for the Mirror Stamping technique that the Stampin' Up! Totally Techniques Design Team are sharing this month.  How cute are they and perfect for showing this simple technique.  


This is an early sneak peek of something coming in the new year with a fresh bright start from the Awesome Otters stamp set and if you love cute you will adore this set.  For my card I first created a watery background with smooshing ink onto shimmery white card.  I made sure it was dry before adding some very subtle stamping using another stamp from the set adding ink to the watery lines using a Stampin' Write Marker to give the impression of movement in the water.  Once completely dry I added a matt layer with just a narrow border.


I then stamped one otter onto thick white card and coloured it with alcohol markers/ Stampin' Blends and fussy cut it out.  I restamped it onto the watery background to replace  some of the furry fluff that was cut off in the fussy cutting.   I adhered this otter with her pink fish onto the water layer. 

To reverse or rather mirror the second otter I did the following simple process. 

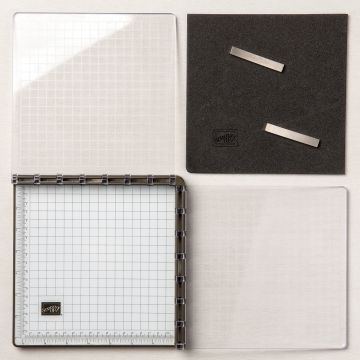
Pop the otter stamp onto your positioning tool (Stamparatus) and add a foam pad with a silicon mat on top of it. Ink the stamp.  I used Tuxedo Black Memento ink as I coloured with the alcohol markers. 
Stamp the otter onto the silicone matt.  Do this two or three times to make sure there is lots of ink on the mat.
Carefully place a piece of white card onto the image which I used my magnets on to prevent it from moving they just aren't in the picture.  Carefully put pressure on the card to make sure the whole image is picked up by the card.  

You then have a reverse image of the original otter and can do the same process of colouring him in and fussy cutting.  I added his furry bits back with a marker pen to make sure I didn't mess up my water background.  

Of course life never runs smoothly in the world of rubber stamping and so having made a mess of my sentiment stamped simply in the water I made some more watery background and stamped and die cut the circle to hide my inky smudge.  I wanted tiny hearts to act as bubbles so used up some embellishments from the last spring catalogue which I think are just perfect.  This of course would be a perfect valentine, wedding, engagement or anniversary card.  

Enjoy our hop sharing mirror stamping ideas and tips. 

Keep safe and keep stamping

Hugs Zoe x


You are invited to the Inlinkz link party!

Click here to enter
/>
stampin up Stamparatus stamp positioning placement tool for craft


shimmery white card for card making and craft


Tuxedo Black Memento Ink Pad for card making stamping


Thursday, 1 April 2021

Join our April challenge.

nature hand made card with rabbit from Nature's Beauty stampin up with zoe tant

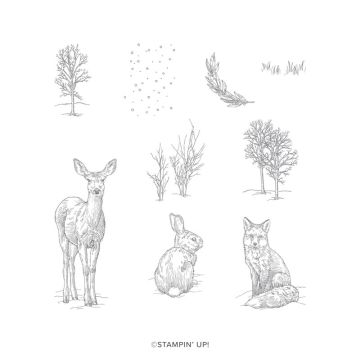
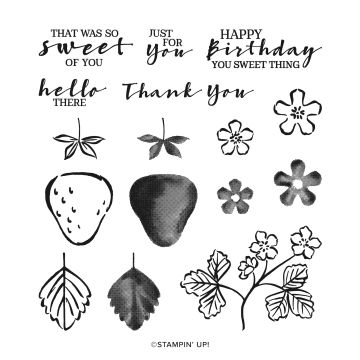
 Over at MAWTT this month we are sharing cards with birds and or animals on them.  I couldn't resist using this sweet rabbit from the Nature's Beauty stamp set along with some pretty flowers from Sweet Strawberry stamp set.  It seemed appropriate with the challenge starting as the Easter weekend is upon us. Happy Easter all let's hope the weather is kind.  

I stamped the rabbit in Grey Granite ink onto a die cut stitched circle and then stamped again on an off cut of card so that I could fussy cut out the body to then decoupage it onto the one stamped on the circle to add some depth.  I've added flowers and leaves stamped with Pear Pizzazz, Soft Sea Foam, Grey Granite and Blushing Bride.  The Sweet Strawberry is a two step stamp set which makes it easy to have a bolder outline of an image and then stamp the fill in colour.  

I added some score lines for detail scoring on the reverse of the design layer and some marker pen spots.  

A simple card for Spring.  We've got lots of seeds planted in trays and are hopeful for a good crop from our garden this year.  It's great to get the whole family involved and we loved it last year. 

Please do join in the challenge over at Moving Along with the Times. You can find it HERE. 

Keep safe and enjoy the long weekend 

Hugs Zoe x


Nature's Beauty Stamp Set

Nature's Beauty


sweet strawberry stamp set stampin up with zoe tant demo uk

Sweet Strawberry 


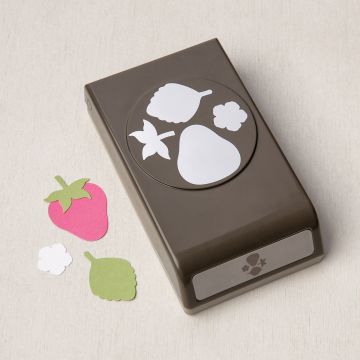
strawberry builder punch for paper craft

Strawberry Builder Punch


SHOP ALL PRODUCTS

Friday, 26 March 2021

Ideas for using alcohol markers AKA Stampin' Up! Blends


using alcohol markers stampin blends and rubbing alcohol on vellum to create background

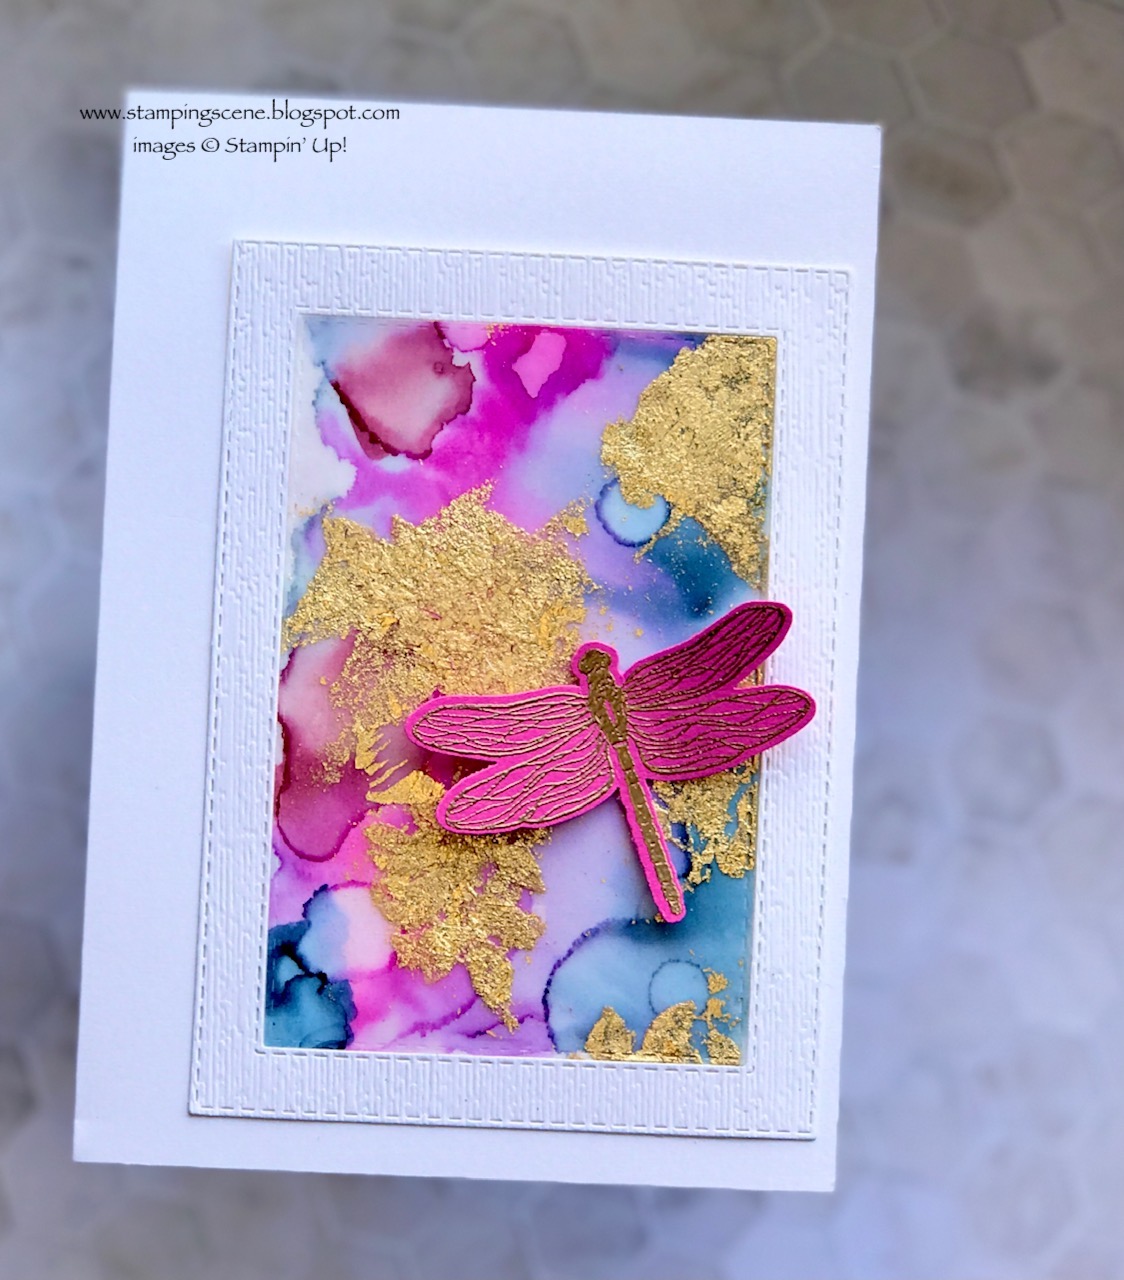
I love this creation if I say so myself.  It really appeals to me because I love playing with ink and slightly off the wall looks.  It is also pleasing to me as it was an experiment that went wrong at the point of adding leaves in gold leaf that as you can see went very wrong as you can't see the leaves and my daughter said she thought it looked great with 'sponges' rather than neat gold leafed leaves.  A happy accident success and if you like it too even better!


It is now my card for the Totally Techniques Blog Hop today when this group of international Stampin' Up! demos are sharing ideas for things to do with your Stampin' Blends, our form of alcohol markers. 

This technique requires
Vellum
Stampin' Blends /Alcohol markers
Isopropyl Alcohol/Rubbing Alcohol
Versamark Ink
Heat and Stick Powder
Gilded Foiling Embellishment

You start by colouring the vellum randomly with your Stampin' Blends.  Darker colours work best to maintain enough colour to actually show. I used Magenta Madness, Rich Razzleberry and Misty Moonlight.  

Ideally you then want a small paint brush or pipette to put drops of the rubbing alcohol onto the ink and watch it do the magic.  You can move the vellum about to make the drops roll and blend the colours.  Allow it to dry and then if you want to move the ink about more add more drops.  Remember less is more with a technique like this and so build it slowly.  

Once it is completely dry you could stamp in Versamark and use heat and stick powder add a gold leaf effect or just smear the Versamark pad in random places on the design.  Sprinkle heat and stick powder over the Versamark and heat very gently until it just melts and then add some Gilded Leafing embellishment and use a sponge or dry paint brush to remove any excess. 

To finish the design I added a frame die cut using the Stitched Rectangle dies from a piece of white card that was embossed using the Subtle embossing folder.  I also added a gold heat embossed dragonfly on Magenta Madness card. 
I had spare from the original vellum piece so created a second card using the inside piece of the white card frame and then cut a stitched square from the last piece of vellum.  I made a gilded stripe using tear and tape and added the Gilded Leafing to it.

I mounted my design onto layers of Misty Moonlight embossed card and a piece of the new soon to arrive in color designer series paper stack.   The flowers stamped also in Misty Moonlight are from the Basket of Blooms stamp set and I used kit glue dots to create the gold leafed flower centres. A lush card that appeals to the bling girl in me.  I can add a sentiment to either card as and when I want or just send as an artwork card.  

Here the hope of more sunshine and warmer days still grows and that soon freedom will be ours once again.  I hope dear readers you are keeping safe and well and not too stir crazy. 

Hugs 
Zoe x

vellum card stock shop zoetant.stampinup.net
Vellum Cardstock


You are invited to the Inlinkz link party!

Click here to enter

Friday, 26 February 2021

Ideas for using a sponge brayer in card making


 Welcome to the Totally Techniques February 2021 blog hop.  We have lots of ideas for using a sponge brayer to share with you this month.  

I have three simple examples.  

card made using sponge brayers to create ombre effect

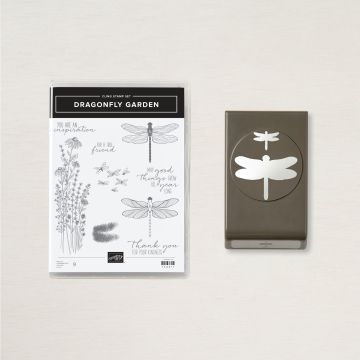
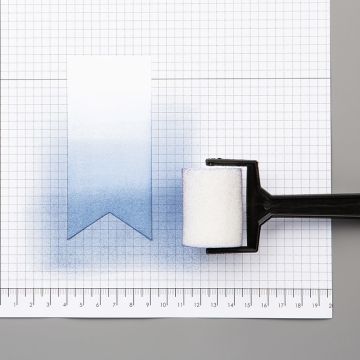
For this first example I used a sponge brayer. Starting with the the lightest colour, Balmy Blue, I added ink to some white background patterned paper.  Starting just off the paper I carefully brayer the ink across the paper moving up it adding more ink when needed.  I repeated the process with Highland Heather but a little above the blue to start with and then worked back down to blend the blue and lilac shades.  To finish I added a small amount of Gorgeous Grape to add more depth of colour to the top.  Of course once you try this you can always turn your paper around to have the darker shades at the bottom.  Your design you choose.  I've added a die cut frame and a stamped and punched dragonfly for a spotlight and a simple sentiment from Many Messages stamp and die set.  

tips for using stencils, masks and a sponge brayer for card making ink effects

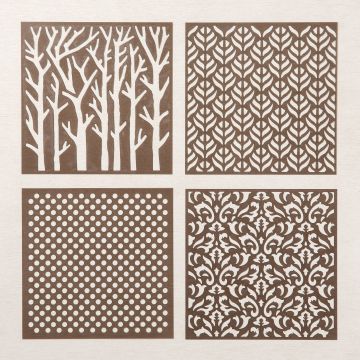
My second idea shows how you can add gently amounts of ink using a stencil/mask to create background details and also create a design piece that you can then die cut or punch shapes out of and add to your card.  I used the Basic Pattern Decorative masks to first design an ombre effect out of which I punched a circle for the backdrop to my butterfly and then added a subtle background to soften the 'white space' in the background.  

When using stencils it pays to use reposition able adhesive on the back of your matt layer and any pieces you choose to pattern to keep them in place whilst the stencil is on top.  I would also suggest using some old Washi tape to hold your mask in place. Remove it carefully once done and try to pull off at a 90degree angle to reduce the risk of it tearing your card if it happens to hold the card in place also.  

This beautiful butterfly was stamped in Versamark ink using Butterfly Gala stamp set. I added some heat and stick powder which I heated very very gently until it literally just melted and then used Stampin' Up!'s new Gilded Leafing to add the gold and gently brush away the excess once finished.  This stamp set has antennae that you can then stamp directly onto the background before positioning the butterfly with glue dots or dimensional.   Again I used the Ornate Style dies to create the stitched rectangle in a bold colour statement. 

ink on embossing folder technique using sponge brayers from stampin up

This final card is a technique I recently shared in a post about using ink on embossing folders.  For this I used the sponge brayer to add ink to the folder.  It is very subtle in this example as I used Soft Sea Foam ink on white card, but it creates a textured backdrop for the flower from Art Gallery stamp set which I think you'll agree speaks for itself.  The sentiment is from the same set and I love the postage stamp effect of the die from the coordinating dies, Floral Gallery, which I used to die cut it.   I also like the two tone bow which is simple to do using the green ribbon from the Ornate Garden Suite and some white crinkled seam binding ribbon. I recommend this ribbon to all my customers as it is versatile and flexible and very forgiving if you aren't great at bows. It is already crinkled so doesn't matter how many times you try to tie that bow it is going to look great even with your added crinkles!! 

Keep safe lovely readers, and keep stamping.  

Hugs Zoe x


Ornate Garden Dies for card making

Ornate Style Dies


sponge brayers for card making scrapbooking

Sponger Brayers


Basic Pattern Decorative Masks for craft

Basic Pattern Decorative Masks/stencils


You are invited to the Inlinkz link party!

Click here to enter

Friday, 28 August 2020

Pattern Play Die Cut Inlay technique

stampin up pattern play bundle playful alphabets with zoe tant uk demonstrator watercolour wash

I'm excited today as I'm taking part in the Stampin' Up! Leader's Summit Online.  Connecting with lots of other international team leaders.  I'm also grateful as we were supposed to be in New Orleans for a face to face conference which we were turning into our family holiday, but Menofog prevented me from being organised and booking flights and of course due to the pandemic the conference was cancelled.  We consider ourselves very lucky.  

   totally techniques stampin up international demo blog hop

Now tonight I'm joining in with the monthly Totally Techniques Blog Hop. Annette Elias our dutch representative chose our theme which is to share the Die Cut Inlay Technique.  There are lots of options so I'm sure you'll love all the different takes on this theme from the rest of the team and hopefully this simple version that I have prepared. 

I started with watercolour paper and added a rough watercolour wash using ink from the inside lid of various colour ink pads.  I added water to the paper first with a water brush then added the inks and blended them roughly.  I used a heat gun to quickly dry the paper.  Colours used were Pretty Peacock, Rococo Rose, Purple Posy and Highland Heather.   Next step was to stamp with the Pattern Play stamp set using the same colours and in many cases second or third generation ink and I kept stamping in some areas until the ink showed no more.  I added marker pen splatters and also some water splatters that I lifted some colour spots with as described in this stamping scene post for the bleaching technique.  

Next step is to add foam adhesive sheet to the back of the design and die cut the letters.  I saved the die cut letters for the card below and replaced the ones for the card above with the white die cut letters that I took from the white card below to which I had added double sided adhesive sheet to the back also.  You then swap the different letter pieces over meaning that you have now wastage and get two cards made at once. 

Before adding the foam backed letters to the card below I also added some stamping, marker splatters and sequins before peeling the backing from the foam letters and adding them in place.  You do the same to the card above with the plain white letters.  It's easy to add the missing bits from letters like P and A if you keep them in order on your workspace. 


Fun birthday cards created and now an evening of stamping and business news with fellow demos.  I'm so lucky.  Stampin' Up! sent us all a gift from Tiffany & Co also and I shall be using mine again tonight. 


Keep safe all and have a great time popping through the hop to see the other examples of the Die Cut Inlay Technique.  

Hugs Zoe xx


You are invited to the Inlinkz link party!

Click here to enter

Wednesday, 10 April 2019

I went BIG for a floating frame card


The Floating Frame technique is very popular right now not least with Stampin' Up! demonstrators.  I wanted to try and the perfect opportunity presented itself this past weekend when hubby and I went to support Olivia with one of her RAG (raising and giving) events took place at her university. Olivia and her team liaised with the local RSPCA (Royal Society for the prevention of cruelty to animals) to organise a dog show and so we took our puppy, Little Miss Naughty, along to join in and support.  We were very excited when she won the award for The dog the judge most wanted to take home! No before you ask Olivia wasn't the judge.  

At the event a lovely lady called Gina took some fantastic pictures of the dogs taking part. She specialises in pet photography.  We couldn't resist this shot and I decided to have my first attempt at one of these frames but decided to go BIG!   

To start I stamped in black Staz On ink all the lovely flowers from the Stampin' Up! Tea Together stamp set featured in the Spring catalogue.  I coloured them simply with marker pens using Daffodil Delight, Flirty Flamingo and Granny Apple Green and then die cut them out. The dies will hopefully be available again possibly in the new Stampin' Up! annual catalogue in June, but there is no reason why you couldn't use another floral set or indeed sit and fussy cut these out.  

 I'm offering a class to make a frame for folk local to me so watch my next newsletter for the details. 

To make the frame I of course had to cut out an aperture for my photograph and that left me a piece to create a lovely card which initially looked like this.  


I've since finished it by adding a sentiment and some rhinestones for the inevitable bling regular readers will know I love.  The 'happy birthday' is from the fabulous Well Said Stampin' Up! bundle and is simply stamped  and heat embossed in white on black card stock.  Downside is white cards are not always easy to photograph, but I think it is clear enough to see the effect you create with this technique.


QUICK TIP
Don't wear man made fleeces or fibres when doing this technique as the static can be challenging!!! That's all I'll say.


Thanks for popping by and do come back soon for more inspiration.

Hugs Zoe x