My STAMPING PAPERCRAFT blog - Stamping Scene

Hello and welcome to my blog. I'm a paper craft addict and love sharing my passion for paper crafting . I run online and face to face card making, memory keeping and all sorts of 3D projects. I also sell many of the products I use. If you'd like more information do drop me an email. Thank you for visiting I hope to see you again soon. Zoe x
Showing posts with label stampin up shop uk. Show all posts

Friday, 26 November 2021

Mirror Stamping with the Totally Techniques Design Team

stampin up sneak peek of awesome otters mirror stamping technique

 I just had to use this cute Otter stamp for my offering for the Mirror Stamping technique that the Stampin' Up! Totally Techniques Design Team are sharing this month.  How cute are they and perfect for showing this simple technique.  


This is an early sneak peek of something coming in the new year with a fresh bright start from the Awesome Otters stamp set and if you love cute you will adore this set.  For my card I first created a watery background with smooshing ink onto shimmery white card.  I made sure it was dry before adding some very subtle stamping using another stamp from the set adding ink to the watery lines using a Stampin' Write Marker to give the impression of movement in the water.  Once completely dry I added a matt layer with just a narrow border.


I then stamped one otter onto thick white card and coloured it with alcohol markers/ Stampin' Blends and fussy cut it out.  I restamped it onto the watery background to replace  some of the furry fluff that was cut off in the fussy cutting.   I adhered this otter with her pink fish onto the water layer. 

To reverse or rather mirror the second otter I did the following simple process. 

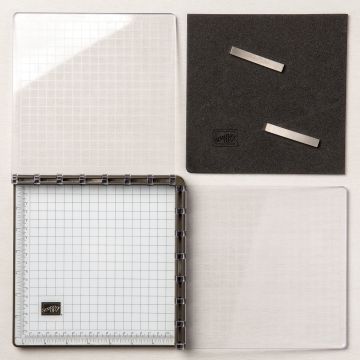
Pop the otter stamp onto your positioning tool (Stamparatus) and add a foam pad with a silicon mat on top of it. Ink the stamp.  I used Tuxedo Black Memento ink as I coloured with the alcohol markers. 
Stamp the otter onto the silicone matt.  Do this two or three times to make sure there is lots of ink on the mat.
Carefully place a piece of white card onto the image which I used my magnets on to prevent it from moving they just aren't in the picture.  Carefully put pressure on the card to make sure the whole image is picked up by the card.  

You then have a reverse image of the original otter and can do the same process of colouring him in and fussy cutting.  I added his furry bits back with a marker pen to make sure I didn't mess up my water background.  

Of course life never runs smoothly in the world of rubber stamping and so having made a mess of my sentiment stamped simply in the water I made some more watery background and stamped and die cut the circle to hide my inky smudge.  I wanted tiny hearts to act as bubbles so used up some embellishments from the last spring catalogue which I think are just perfect.  This of course would be a perfect valentine, wedding, engagement or anniversary card.  

Enjoy our hop sharing mirror stamping ideas and tips. 

Keep safe and keep stamping

Hugs Zoe x


You are invited to the Inlinkz link party!

Click here to enter
/>
stampin up Stamparatus stamp positioning placement tool for craft


shimmery white card for card making and craft


Tuxedo Black Memento Ink Pad for card making stamping


Sunday, 24 October 2021

Joyful Life Christmas Helpers

simple fancy fold christmas card using stampin up joyful life stamp set hedgehog
 Happy Sunday and welcome to my blog on this at the moment sunny morning.  I'm sharing a very simple fancy fold card today for my contribution to our Christmas Card Club Challenge.  Today's theme is Santa's helpers so I've used the fun set Joyful Life and stamped this super cute hedgehog in Tuxedo Black Memento ink before colouring it in with alcohol markers.  Having fussy cut it out I added it to a die cut circle on a die cut scalloped circle of Shaded Spruce card.  I added a ribbon offcut by stapling it onto the green circle and some dots with a chalk marker.  A simple sentiment on a stitched die cut rectangle and you have a quick and easy card.  
fancy fold stampin up card making stamping

The card base is a C6 and I have scored the card front at 5.25 and folded it back on itself before adding patterned paper to the inside and the front panel.  
 
joyful life stamp set fancy fold card stampin up

This weekend we are empty nesters with Charlie well and truly settled into Uni and Liv has gone to meet up with Uni friends.  It's quiet without them which is nice, but I'm not sure I'm ready for it full time just yet.  The four legged critters are keeping us busy though which fills the void.  

Keep safe lovely readers and keep stamping.

Hugs Zoe x


stampin up set joyful life


Stamp Set Joyful Life


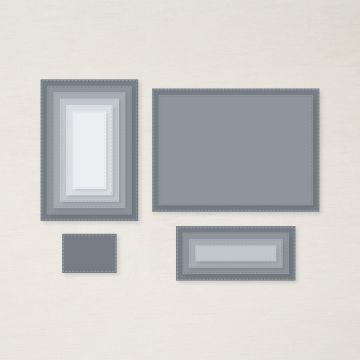
stiched rectangle dies stampin up shop with zoe tant


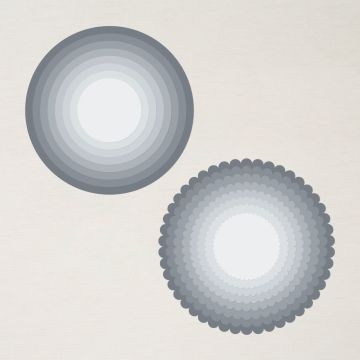
layering circle dies stampin up uk zoe tant


tidings of christmas dsp card making patterned papers


Friday, 27 August 2021

Stampin' Totally Techniques Blog Hop - watercoloring


watercoloring tips technique blog hop stampin up seasons of joy stamp set

stampin up totally techniques blog hop with uk demo zoe tant

Welcome once again to the Totally Techniques Stampin' Up! international demonstrator blog hop. Kelly Acheson chose our watercoloring technique for this month and I've had fun with this super cute image from the set called Seasons of Joy in the Stampin' Up! winter catalogue.  It's a free set when you place a qualifying order, host a party online or in person or just gather orders with friends and submit together.  

I stamped my image onto Fluid 100 water colour paper using a Whisper White pigment ink pad.  I then added white embossing powder before heating.  

To reduce any curling of the paper I used the largest brush first of all to paint water front and back over the paper.  They say if you do the same to the front as the back it will help with this and the same goes for heat embossing. I usually start on the underside/back of the card to reduce the chance of blowing powder off my image before it melts.  


Using the same brush I added some Soft Sea Foam ink to the image to create a background around and on the leaves.  Each time I added colour I used my heat tool to dry the ink. Occasionally your paint brush may download more watery ink than you want so a piece of kitchen paper is handy too.  I then went back in to add the different colours to the leaves occasionally starting with the lighter colour before adding the slightest amount of a darker colour for them to blend.  I dried off sections as I went and then returned to add more colour if needed.  I took the ink from the inside lid of the ink pads I used.  

I found the hands weren't so easy on this cute chap and so put gloves on instead to match his trousers lol! The cat had several layers of ink to build up the colour so that he was visible playing in the leaves.  By embossing the image it is more forgiving than perhaps no line watercoloring but can leave you with very small gaps to add any ink.  

As I dried each section I could return with more ink and the finishing touch was to add with a marker some additional grass blades for a little depth. I didn't do this until the whole piece was well and truly dry. 
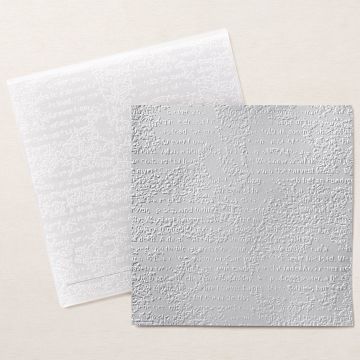
Once finished I used the largest brush to add a watery wash of blue and green before drying and die cutting.  I then added a piece of Coastal Cabana card which I embossed with ink on the Timeworn Type 3D embossing folder.  

 A simply embossed sentiment, with ribbon and coordinating paper was the finishing touch. 

The colours used included Tuxedo Black Memento ink, white craft, Cajun Craze, Mango Melody, Calypso Coral, Old Olive, Soft Sea Foam, Misty Moonlight, Bermuda Bay, Coastal Cabana, Just Jade and Cherry Cobbler. 

Enjoy the hop.

Keep safe and keep stamping 
Zoe x

You are invited to the Inlinkz link party!

Click here to enter


Join the team and share the fun
Contact me for details 


stampin up seasons of joy stamp set

free stamp set with qualifying purchase

ink pads for rubber stamping lots of colours


Timeworn Type 3D embossing folder


black and white gingham ribbon for craft