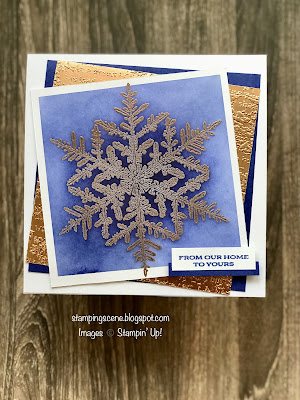
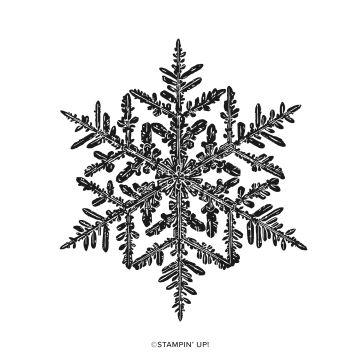
Welcome to our Totally Techniques Stampin' Up! demo blog hop for July. We are sharing masking techniques. I've used the new masking paper found on page 149 of the Stampin' Up! annual catalogue for my share and this stunning Snow Crystal stamp. Snow seems a long way from our thoughts right now, but we've had a Canadian scout stay with us this week and he shared pictures from his home in Ontario which along with the fact that I couldn't resist sharing a touch of Christmas in July is why I have a Christmas card for you.
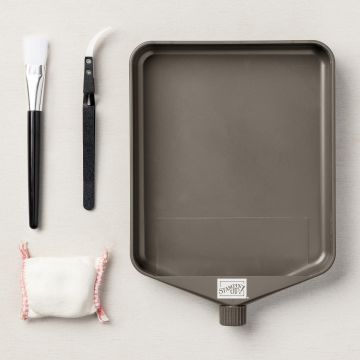
The masking paper comes in sheets (12.7 x 17.8 cm) and has low tack glue on one side once you remover the backing paper. It allows you to mask of anything you don't want to stamp on or get ink on. You can do so many things to create overlapping flowers, stripes or anything that grabs your imagination really. I cut strips that were 1 inch (2.5cm) wide and placed them around the edge of a square piece of white card. As I was going to use a blending brush to create my red square before adding them to the card I took off some of the glue as my brush might have pushed too hard and it could have made it difficult to remove the mask. You can reduce the tackiness of the glue by very gently putting the sticky side on your jeans, or forearm and peel it off. Just be careful with anything fluffy.
Once my strips were in place I used a blending brush to first add some Sweet Sorbet ink followed by Poppy Parade and then a touch of Real Red to keep the central area bold. Once I was happy with the colour of my square I carefully removed the masks pulling them at an angle to help reduce the risk of any tape not wanting to come off. This produced a fab neat edged square. I used my heat tool to dry off the ink all over the piece before doing an embossing powder test to be sure that the powder would only stick to the snowflake once I had stamped it. As soon as it was dry and safe I stamped the Snow Crystal stamp in VersaMark ink over the square and added gold embossing powder. Sometimes with embossing such a large image you can get powder fuzz but to avoid this you can use an embossing buddy which you can get in our embossing additions tool kit.
I heated the powder and wow what a great snowflake! I added the stamped layer to a layer of Real Red card and then matted the artwork onto a Shaded Spruce card base.
A simple, elegant sentiment embossed in gold was all I needed to finish the card.
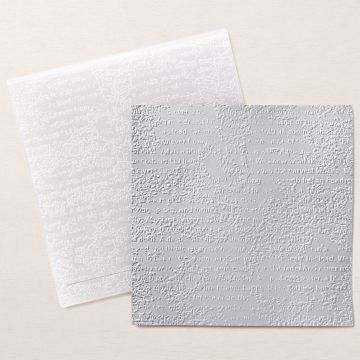
I also created this card using Starry Sky and Night of Navy ink. I've added a layer of copper foil card embossed with the Timeworn Type 3D folder and off set the matt layers. |
| Free Gifts when you spend £45 excl P&P SHOP NOW |
 |
| Join us to enjoy a discount on your craft shopping More Info |


1 comment:
Beautiful embossing on the snowflake, a lovely bold design.
Lorraine
Post a Comment