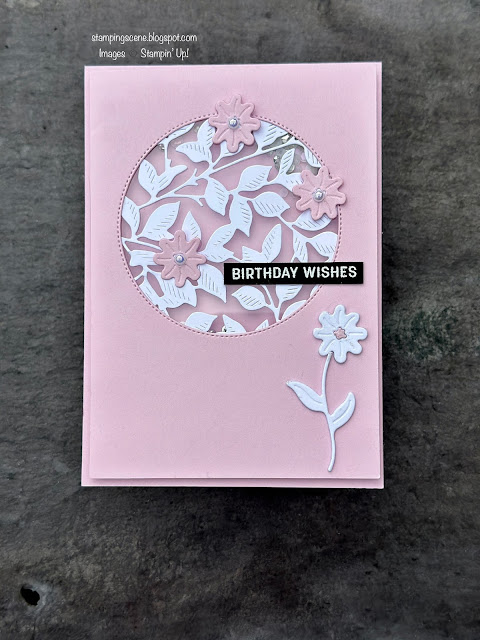
Welcome to my make for the May Totally Techniques blog hop. Lovely Lynsay Mahon in Canada chose our theme of Shaker Cards and I created this card for the 2023 Sales and Promotions Demonstrator Council new product spotlights for our global facebook group for demonstrators and it also happens to be a simple shaker card to make.
You'll need the following
- A tent fold base card mine is Bubble Bath a new Stampin' Up! colour.
- A matt layer 0.5cm/0.25" narrower and shorter than the base card. Same or coordinating as base
- circle die - Stylish Shapes
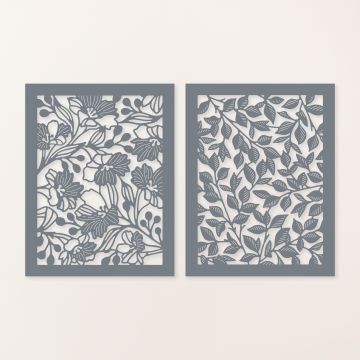
- Gorgeous Garden dies - yes they are in the annual catalogue page 164
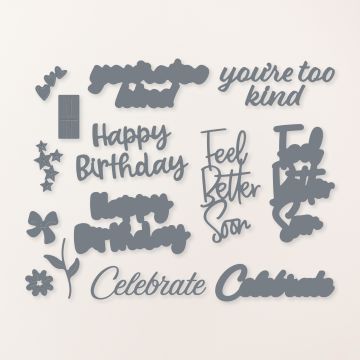
- Wanted to Say dies - page 167 for the flowers
- Sending Smiles stamp set for the sentiment
- Shaker sparkle of your choice
- Irrisdescent Pearls
- window sheet
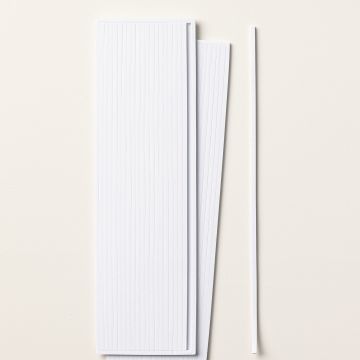
- foam adhesive strips
Start by cutting an aperture in the matt layer. To the reverse of this adhere a piece of the leaf dies from the Gorgeous Garden dies that is big enough to more than cover the aperture. On top of this layer on the reverse add a rectangle of window sheet again large enough to cover beyond the circle aperture. You can add glue dots to the back of the leaves once the window sheet is in place from the front of the card by lifting them carefully with a pokey tool to save getting wet glue everywhere.
Add some foam adhesive strips in a square bigger than the circle again on the reverse side making sure there are no gaps at the corners or along the side so that your shaker sparkle doesn't leak out. Also add foam adhesive across the top and bottom of the matt layer reverse so that when you come to stick this onto the card base this whole layer is supported.
Add your shaker sparkle to the front of the closed card roughly where your circle aperture will be over it and then remove the backing paper from the matt layer and stick onto the front of the card.
Now to the front of the card you can add the sweet die cut flowers with iridescent pearls and also a flower in the bottom right corner of the card front. If you use the flower from the Wanted To Say dies I carefully stuck three layers on top of each other and kept the pink centres from the other flowers used to add a coordinating centre to the white flower again sticking them together carefully first.
Heat emboss a sentiment in white onto black for a finishing touch.
A simple but wow card to impress your friends. Have fun making one yourself.
Thanks for stopping by, enjoy the rest of the hop
Happy stamping
Zoe x
Supplies





2 comments:
A very pretty card Zoe. I hope all is well with you, Kate x
Hi Kate thank you. We are getting there thank you. Hope you are both well too xx
Post a Comment