 |
Love of Leaves and Stitched Leaves Dies from Stampin' Up!
|
Here is a simple stamping technique that you will love and is really easy to achieve. I chose this technique for our monthly International Stampin' Up! demonstrator blog hop this month and I hope you like it as much as I do.
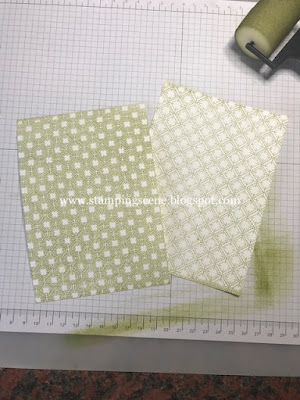
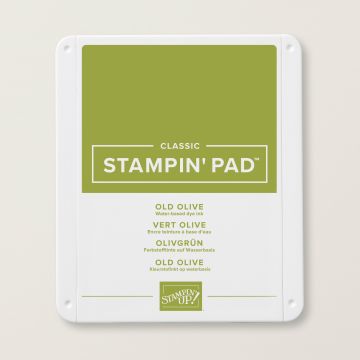
In its simplest form of the technique you need to add ink to one side of an embossing folder, add your card and put through your die cutting machine. That is what I did for these cards using just one ink, one stamp set and one die set and embossing folder. I used a sponge brayer to add ink to my Dainty Diamonds 3D embossing folder before placing a piece of white card on the unlinked side to pass the closed embossing folder through my die cutting machine. You can experiment and use either side of the folder to create a pattern with ink on the embossed section or in the debossed section. You can see the difference with this particular folder below. I used Old Olive ink.
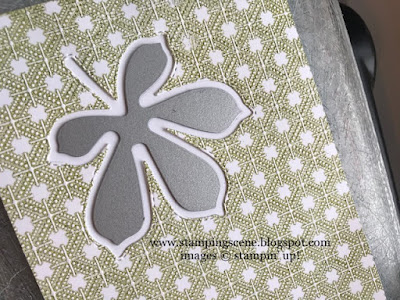
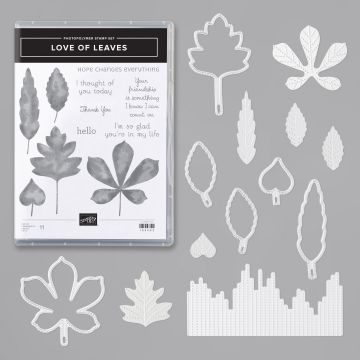
Once you have your inked embossed pieces you can use them as a background, die cut them, add them as a matt layer or whatever works for your project. I die cut leaves which I then used on some cards and also used the negative remaining and used the stitched vein die to add the detail to the leaf aperture negative.
You can use the outside piece of the cutting die to make sure the stitched part is in the correct place either directly on your card base or on an additional piece of matting card that you can then use sticky foam pads to raise the embossed layer over the top.
Using a single colour can be very effective and is also a great project if you don't have a big supply of colours. I used the die cut leaves to create more cards and part of the die set includes a stitched pattern die that just does what it says marks a stitched pattern without cutting anything out except for the stitching. It acts as a simple background to show case the pretty leaf cut from the card above.
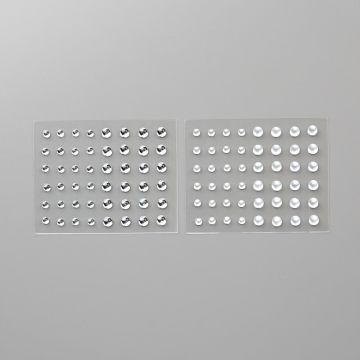
I also added some Old Olive ribbon just looped under the leaf here and alcohol marker of the same colour again to colour the clear epoxy droplets to pop a little more colour and make them show more on the white card base.
I used the Woodland embossing folder for a couple of versions of this technique. You can see a masculine Woodland embossing folder card or a Woodland gift box.
As I said it can be as simple a technique as you want to make it and using different folders and ink colours can change the whole look.
Tomorrow is the last day of the Designer Series Paper sale with 15% off selected paper packs. If you haven't ordered your favourites yet be sure to get a saving ordering this month.
Thanks for dropping by and enjoy the blog hop with more inspiration via the links at the bottom of this post.
Keep safe and keep stamping
Zoe x
Love of Leaves Bundle
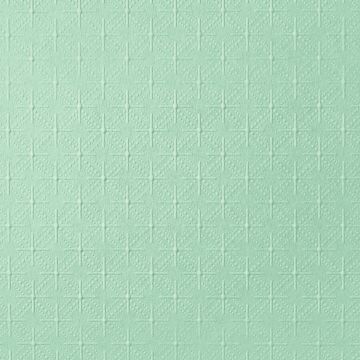
Dainty Diamonds 3D embossing folder
sponge brayers
Old Olive Ink Pad
Frosted and clear epoxy droplets
Blog Hop Links Below






5 comments:
These are stunning Zoe, love the embossed backgrounds.
Hugs
Linda xxx
Oh I love your cards Zoe, so lovely and such subtle colours!
Fabulous cards Zoe .... great ideas Thankyou ....
Will try it ....
Hugs Sylvie xx
As a member of the Krazy Coupon Club Blogs , I’m constantly searching for deals on art supplies to try out new techniques myself. Thanks for sharing your insights and inspiring creativity!
What a helpful tutorial on inking with embossing folders! I love learning new techniques to enhance my card-making projects. Savingscentstogether
Post a Comment