I love this creation if I say so myself. It really appeals to me because I love playing with ink and slightly off the wall looks. It is also pleasing to me as it was an experiment that went wrong at the point of adding leaves in gold leaf that as you can see went very wrong as you can't see the leaves and my daughter said she thought it looked great with 'sponges' rather than neat gold leafed leaves. A happy accident success and if you like it too even better!
It is now my card for the Totally Techniques Blog Hop today when this group of international Stampin' Up! demos are sharing ideas for things to do with your Stampin' Blends, our form of alcohol markers.
This technique requires
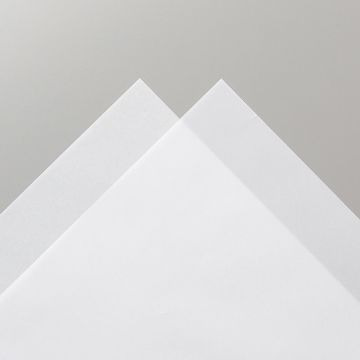
Vellum
Stampin' Blends /Alcohol markers
Isopropyl Alcohol/Rubbing Alcohol
Versamark Ink
Heat and Stick Powder
Gilded Foiling Embellishment
You start by colouring the vellum randomly with your Stampin' Blends. Darker colours work best to maintain enough colour to actually show. I used Magenta Madness, Rich Razzleberry and Misty Moonlight.
Ideally you then want a small paint brush or pipette to put drops of the rubbing alcohol onto the ink and watch it do the magic. You can move the vellum about to make the drops roll and blend the colours. Allow it to dry and then if you want to move the ink about more add more drops. Remember less is more with a technique like this and so build it slowly.
Once it is completely dry you could stamp in Versamark and use heat and stick powder add a gold leaf effect or just smear the Versamark pad in random places on the design. Sprinkle heat and stick powder over the Versamark and heat very gently until it just melts and then add some Gilded Leafing embellishment and use a sponge or dry paint brush to remove any excess.
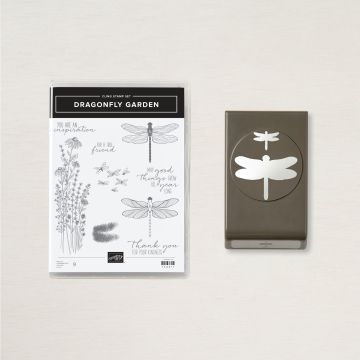
To finish the design I added a frame die cut using the Stitched Rectangle dies from a piece of white card that was embossed using the Subtle embossing folder. I also added a gold heat embossed dragonfly on Magenta Madness card.
I had spare from the original vellum piece so created a second card using the inside piece of the white card frame and then cut a stitched square from the last piece of vellum. I made a gilded stripe using tear and tape and added the Gilded Leafing to it.I mounted my design onto layers of Misty Moonlight embossed card and a piece of the new soon to arrive in color designer series paper stack. The flowers stamped also in Misty Moonlight are from the Basket of Blooms stamp set and I used kit glue dots to create the gold leafed flower centres. A lush card that appeals to the bling girl in me. I can add a sentiment to either card as and when I want or just send as an artwork card.
Here the hope of more sunshine and warmer days still grows and that soon freedom will be ours once again. I hope dear readers you are keeping safe and well and not too stir crazy.
Hugs
Zoe x


6 comments:
Love it Zoe, very artistic!
Love the colour combo and splashes of ink highlighted by the gilded leaf! Stunning! Great way to highlight these products
YES!!! That is stunning! The jewel tones with that gold Leafing is magical. Beautiful project!
"An experiment that went wrong", how cool is the result?! I love your card! I have to try this technique with my blends. Thanks for sharing, Zoe!
This is gorgeous Zoe...love those colours ....
Hugs Sylvie xx
Zoe can you use alcohol inks and blending solution love your results.. stunning sylvie xx
Post a Comment