My STAMPING PAPERCRAFT blog - Stamping Scene

Hello and welcome to my blog. I'm a paper craft addict and love sharing my passion for paper crafting . I run online and face to face card making, memory keeping and all sorts of 3D projects. I also sell many of the products I use. If you'd like more information do drop me an email. Thank you for visiting I hope to see you again soon. Zoe x
Showing posts with label die cut masking technique. Show all posts

Saturday, 1 August 2026

How to do die cut masking using Springtime Scenes Bundle


fancy fold reveal card


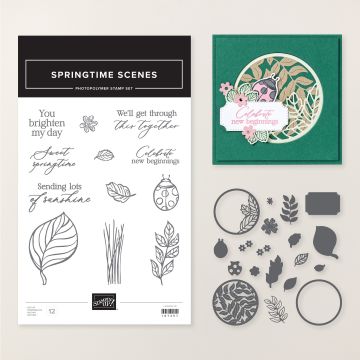
As summer continues to keep us bathed in sunshine I've made a card to send you sunshine using the Springtime Scenes bundle to share a simple example of the die cut masking technique for the Totally Techniques blog hop.  

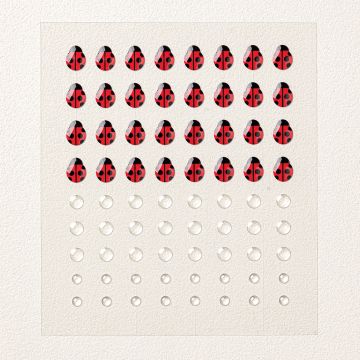
This bundle has proved to be a favourite for me as I particularly like the sentiment I've used in my video and who doesn't love a card with a ladybird or two.  

die cut masking of ladybird
My card also features a fun fold that has a hidden little panel that only shows when you open the card.  I hope you enjoy it and think about what you could use to create something similar.  This bundle if perfect for all sorts of designs as the dies lend themselves to other uses as well as the obvious cut out the coordinating images.  


Continue with the hop below.

Have a fun week as I'm sending sunshine your way.

Zoe x

You are invited to the Inlinkz link party!

Click here to enter


Supplies Used and where to buy

Springtime Scenes die and stamp bundle


Friday, 28 July 2017

Totally Techniques Blog Hop - die cut masking technique


Hi and welcome to July's Totally Techniques blog hop.  We're sharing our take on the die cut masking technique this month. It's a technique that is easy to do and you can have a lot of fun with it.  There's a great tutorial here that will help to get you started or you can follow the simple instructions below.

1. Using removable note sheets or removable 'sticky' tabs cut out the die cut of your choice.  I used the Stampin' Up! Large Letter dies.

2. Position the die cut pieces on your card layer making sure that they are secure, but still removable.

3. Spritz, stamp, smudge, sponge or whatever ink over the masks to build your design.  I used sponges, stamps Timeless Textures and Touches of Texture.  Colours used were Pink Pirouette, Crumb Cake, Soft Sky and Rose Red.

4. You can add extras like glitter dots with a fine tip glue pen at this stage, but before removing the masks make sure everything is dry so as not to smudge any glue or ink.  

5. Remove the masks to reveal the clean letters in the original card stock colour.  

As the Meerkats would say 'Simples'!!

To finish my card I add flowers which were stamped using the Touches of Texture smallest flower and then punched with the Sprinkles punch, an addition to my sentiment from Lovely Inside and Out and some additional flowers.  The design is matted onto Crumb Cake card which has been smudged around the edges with the same colour ink and then a Soft Sky card base.  

You're here in the UK with Zoe Tant, but please do go on a mini globe tour to see the designs with Die Cut Masking from my lovely demonstrator friends.  

All products can be bought in my online store HERE 


1. Nadine Weiner Germany
2. Shelagh Freemantle  Canada
3. Shannean Moncrieff   Australia
4. Zoe Tant  UK
5. Barbara Meyer Austria


Thanks for checking in...
Zx