My STAMPING PAPERCRAFT blog - Stamping Scene

Hello and welcome to my blog. I'm a paper craft addict and love sharing my passion for paper crafting . I run online and face to face card making, memory keeping and all sorts of 3D projects. I also sell many of the products I use. If you'd like more information do drop me an email. Thank you for visiting I hope to see you again soon. Zoe x
Showing posts with label male cards. Show all posts

Tuesday, 1 September 2020

Create a scene for the MAWTT September Challenge


It's been a long time since I've been able to join in as part of the design team at Moving Along with the Times.  Life and health have got in the way, but I'm just about on time this month YAY! as they launch the challenge of 'Create a scene'.  

For my scene I've used the popular stamp and die set, Sailing Home with Smooth Sailing dies.  I've created a neutral colour combo giving it a sort of sepia look.  I stamped the lighthouse using Soft Suede ink and then used one of my new paint pens, the smallest nib, to move the colour from the stamped image across it to effectively colour it in.  I did the same with the sailing boat, but used Early Espresso to give a darker shade and hopefully create some distance between the two and hit the challenge theme of a scene.  To create the sea I took a tip from my team member Dawn Howard and used the Birch background stamp to create waves.  

I've added some simple die cut details and sentiment all from the stamp set or dies.  

You can join in our MAWTT challenge here.


Have a good month and Welcome September, it's sunny with us today but cool so we are also doing some gardening while we can.  

Happy crafting and be safe.  

Zoe x


stampin up smooth sailing dies


Smooth Sailing Dies


stampin up sailing home stamp set with zoe tant uk demonstrator

Sailing Home stamp set

Thursday, 17 May 2018

Rooted in Nature coming soon to Stampin' Up!


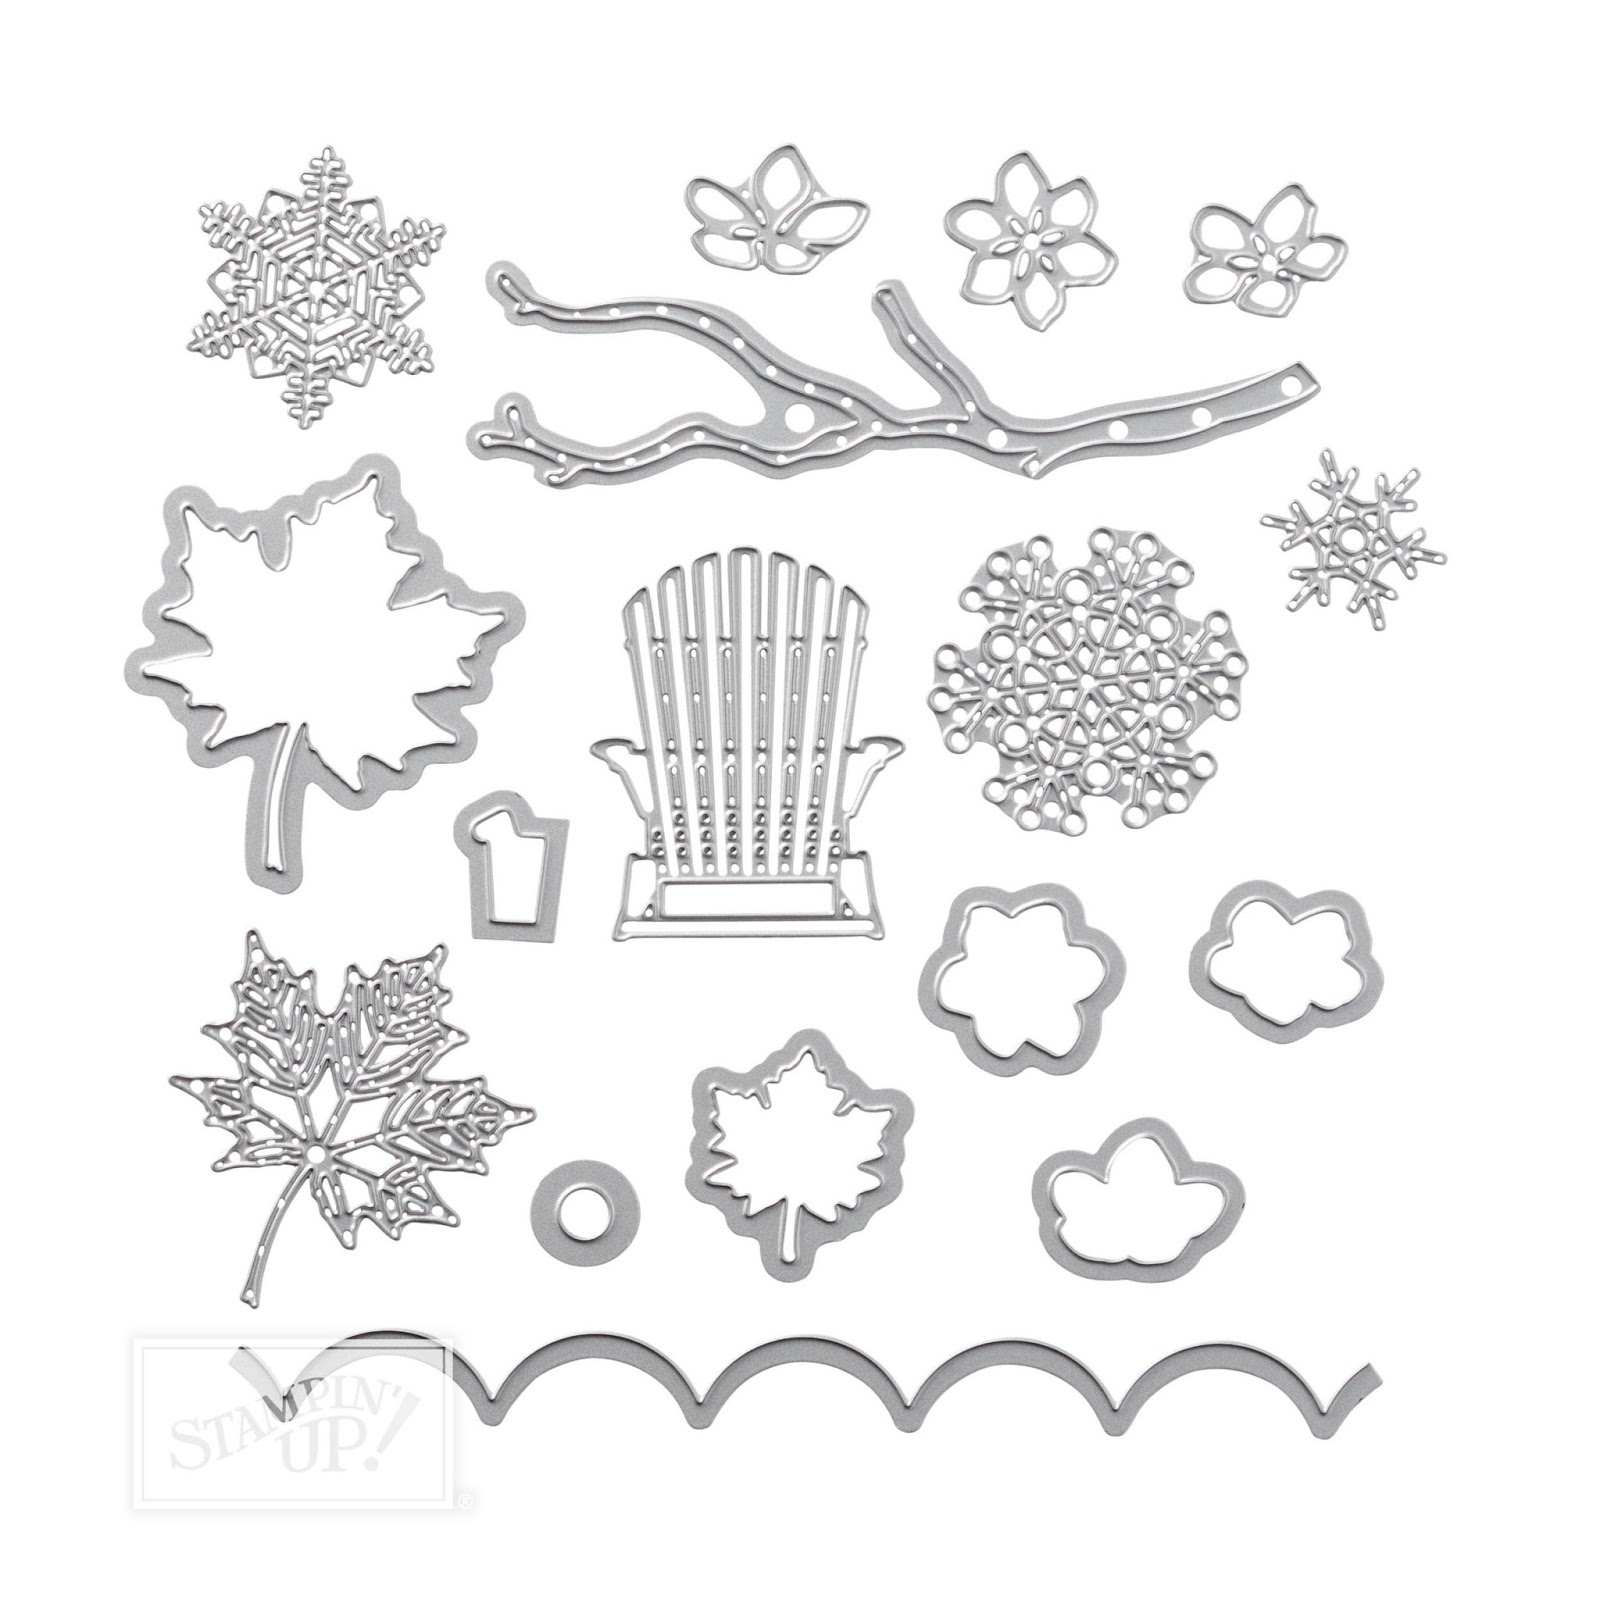
I adore this fabulous new bundle from Stampin' Up!. It's called Rooted in Nature and includes a set of stamps and a set of dies.  It's perfect for male cards, but will lend itself to memory keeping, Christmas cards and lots, lots more.  I've made this card using the dies and stamps and you can also see that the leaves which I die cut for the background are also embossed with leaf veins as the dies include 3 pieces that don't cut but emboss your card or you can emboss the die cuts that they coordinate with.

We have some new pearlised doilies too which you can see immediately on this card as I've fussy cut off the scalloped rim and used the reverse of the doily and sponge brayered it with Cajun Craze ink.

I created the back ground as I've mentioned by die cutting and embossing leaf shapes in two sizes which I then stuck with tombow to a piece of very vanilla card.  It's tone on tone but sufficient to give a texture background. I cut the piece to the required size and matted it onto a piece of Soft Suede card.  I've then built up my focal point using burlap ribbon, copper foil die cut and embossed leaves and stamped leaves on a stitched frame lit circle.  The sentiment is part of the Rooted in Nature set which i've cut into strips and used the parts I wanted having stamped the images in different colours. I can keep the pieces I didn't use for another card.  I've also added a wooden element which is retiring soon so maybe think about stocking up now before they disappear at the end of the month.

This is such an awesome set of stamps and dies that are fab for multimedia creations with so much texture already in the bundle.

You can see it in the new catalogue from 1 June and if you've shopped with me in the past 6 months you'll receive a complimentary copy of the 2018 - 2019 Stampin' Up! annual catalogue. If you haven't  shopped, but would like a copy of the catalogue please contact me at zoetant@live.co.uk

Thanks for checking in today. I hope you'll love this set as much as me. Be assured I'll be sharing more projects using it soon.

Hugs Zoe x

Tuesday, 18 July 2017

Stampin' Technique with markers and clear blocks

This technique is fun, easy and gives original results every time.  All you need is a large clear block, a spritzer and marker pens.

This is what you do


  • using the lightest to the darkest colours, colour the block in shades of your choice. I've used Soft Sky first and then Crumb Cake for the sand.  
  • hold the block over things that will cope with a little water spritz and spray over the ink with water
  • place the block, ink side down, on your card stock (whisper white here) and allow the ink pools to go onto the card you'll see through the block how the look changes and when the ink has transferred to the card
  • allow to dry if damp
  • stamp images, sentiments of your choice over the top.  I've use the fun deck chair from Colourful Season and a simple sentiment from the same set.  
  • I've added two strips of Real Red card stock, looped linen thread and white accents to finish the look.  

The stamp set has some matching dies which can be used to add other accents or for a more feminine look a scallop border in Real Red rather than the stripes. 

Please share your makes using this technique I'd love to share on my blog. 

More soon Zx