My STAMPING & PAPERCRAFT blog - Stamping Scene
Friday, 28 March 2025
Let's make a Split Front Trifold card
Friday, 28 February 2025
How to create stamping kissing technique for card making
You ever had a go at the 'kissing technique' for papercrafting. It basically means you ink a solid stamp and then kiss it with a clean image stamp to remove ink from the solid shape stamp and then when you stamp on card it reveals the shape with an image inside it. You can spot the fish and snorkling crab in my blue circles. It's fun and you can experiment with different colours to see which works best for you. Also if you have a very inky ink pad you might like to try stamping off first before kissing your image onto the inked stamp to reduce the intensity of colour applied.
Have fun on our monthly Totally Techniques Blog hop via the links below.
Thanks for popping by
Hugs Zoe x
Supply List
Kiss of Texture stamp Set
Submarine Life stamp set
Friday, 31 January 2025
How to create a fringing effect on your handmade cards
Friday, 27 December 2024
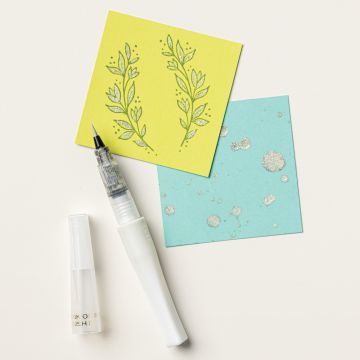
How to create a watercolour wash for papercraft
I love how simply you can start with this technique and how you can adapt it with layers or embellishiments and stamping to suit your personal design. It's quick to create although sometimes you may want to allow time for your watercolour wash to dry before using it. You can use a heat tool to speed up this process also if you can't wait.
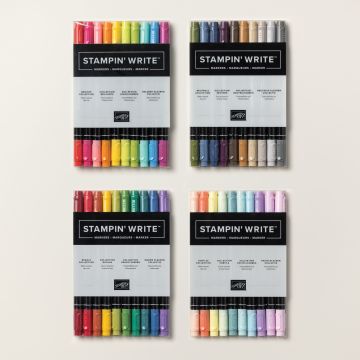
If you love the Stampin' Write Markers you might want to look at a speical offer coming on 7 January 2025 where you can take up option one to earn 2 free sets of 10 marker pens. Please contact me for more details using the subscribe button above for more information.
Here is a short video tutorial of how to do the simple technique I have used on the background on the circle on this card.
I hope the festive season if you celebrate has been happy and full of fun and I wish everyone who reads this a happy, healthy and successful 2025. See you again soon.
Thanks for visiting
Hugs Zoe x
Supply List
Kiss of Texture Stamp Set 164759 available from 7 January 2025
Friday, 29 November 2024
How to make Front Flip cards with Totally Techniques
Hi there and welcome to November's Totally Techniques Blog Hop. If you want to add a little movement to your card you'll love our technique this month. We are sharing Front Flip cards with you which can be simple or more detailed to suit your own style.
I've gone for a pretty simple version because when I started to create it my brain didn't want to go in the right direction. Have you had days like that?
I've used a fun set called Submarine Life and you'll possibly notice a new cheeky character inside the card who you will find in the new year in our Saleabration (SAB) brochure. SAB if you are new to Stampin' Up! shopping is a fabulous promotion that runs from 7 January next year until the end of February and you can get bonus freebies with your orders. Check back for more information coming.
Instructions
1. Cut a piece of card 14.8cm x 21cm
2. With the card in landscape position measure and draw in a feint pencil line 5.25cm from the left edge from top to bottom of the card.
3. Cut a circle that will form the outer edge of your image piece and score it across the midde. Position the circle so that the fold lines up top and bottom on the feint pencil line. The circle should be in the centre section of the card.
4. Use some washi or low tack tape to position the same die used for the circle ontop of your cut circle on the card. You now need to partial die cut half the circle by only passing the card partially through your die cutting maching.
5. Now use an eraser to remove the pencil line and then score above and below. Use the scratch circle to make sure your scoring is where the pencil line was. Also score the card on the long side for the width of the card at 10.5cm.
6. Fold the score lines above and below the circle to fold the outer edge back towards the centre fold of the card.